
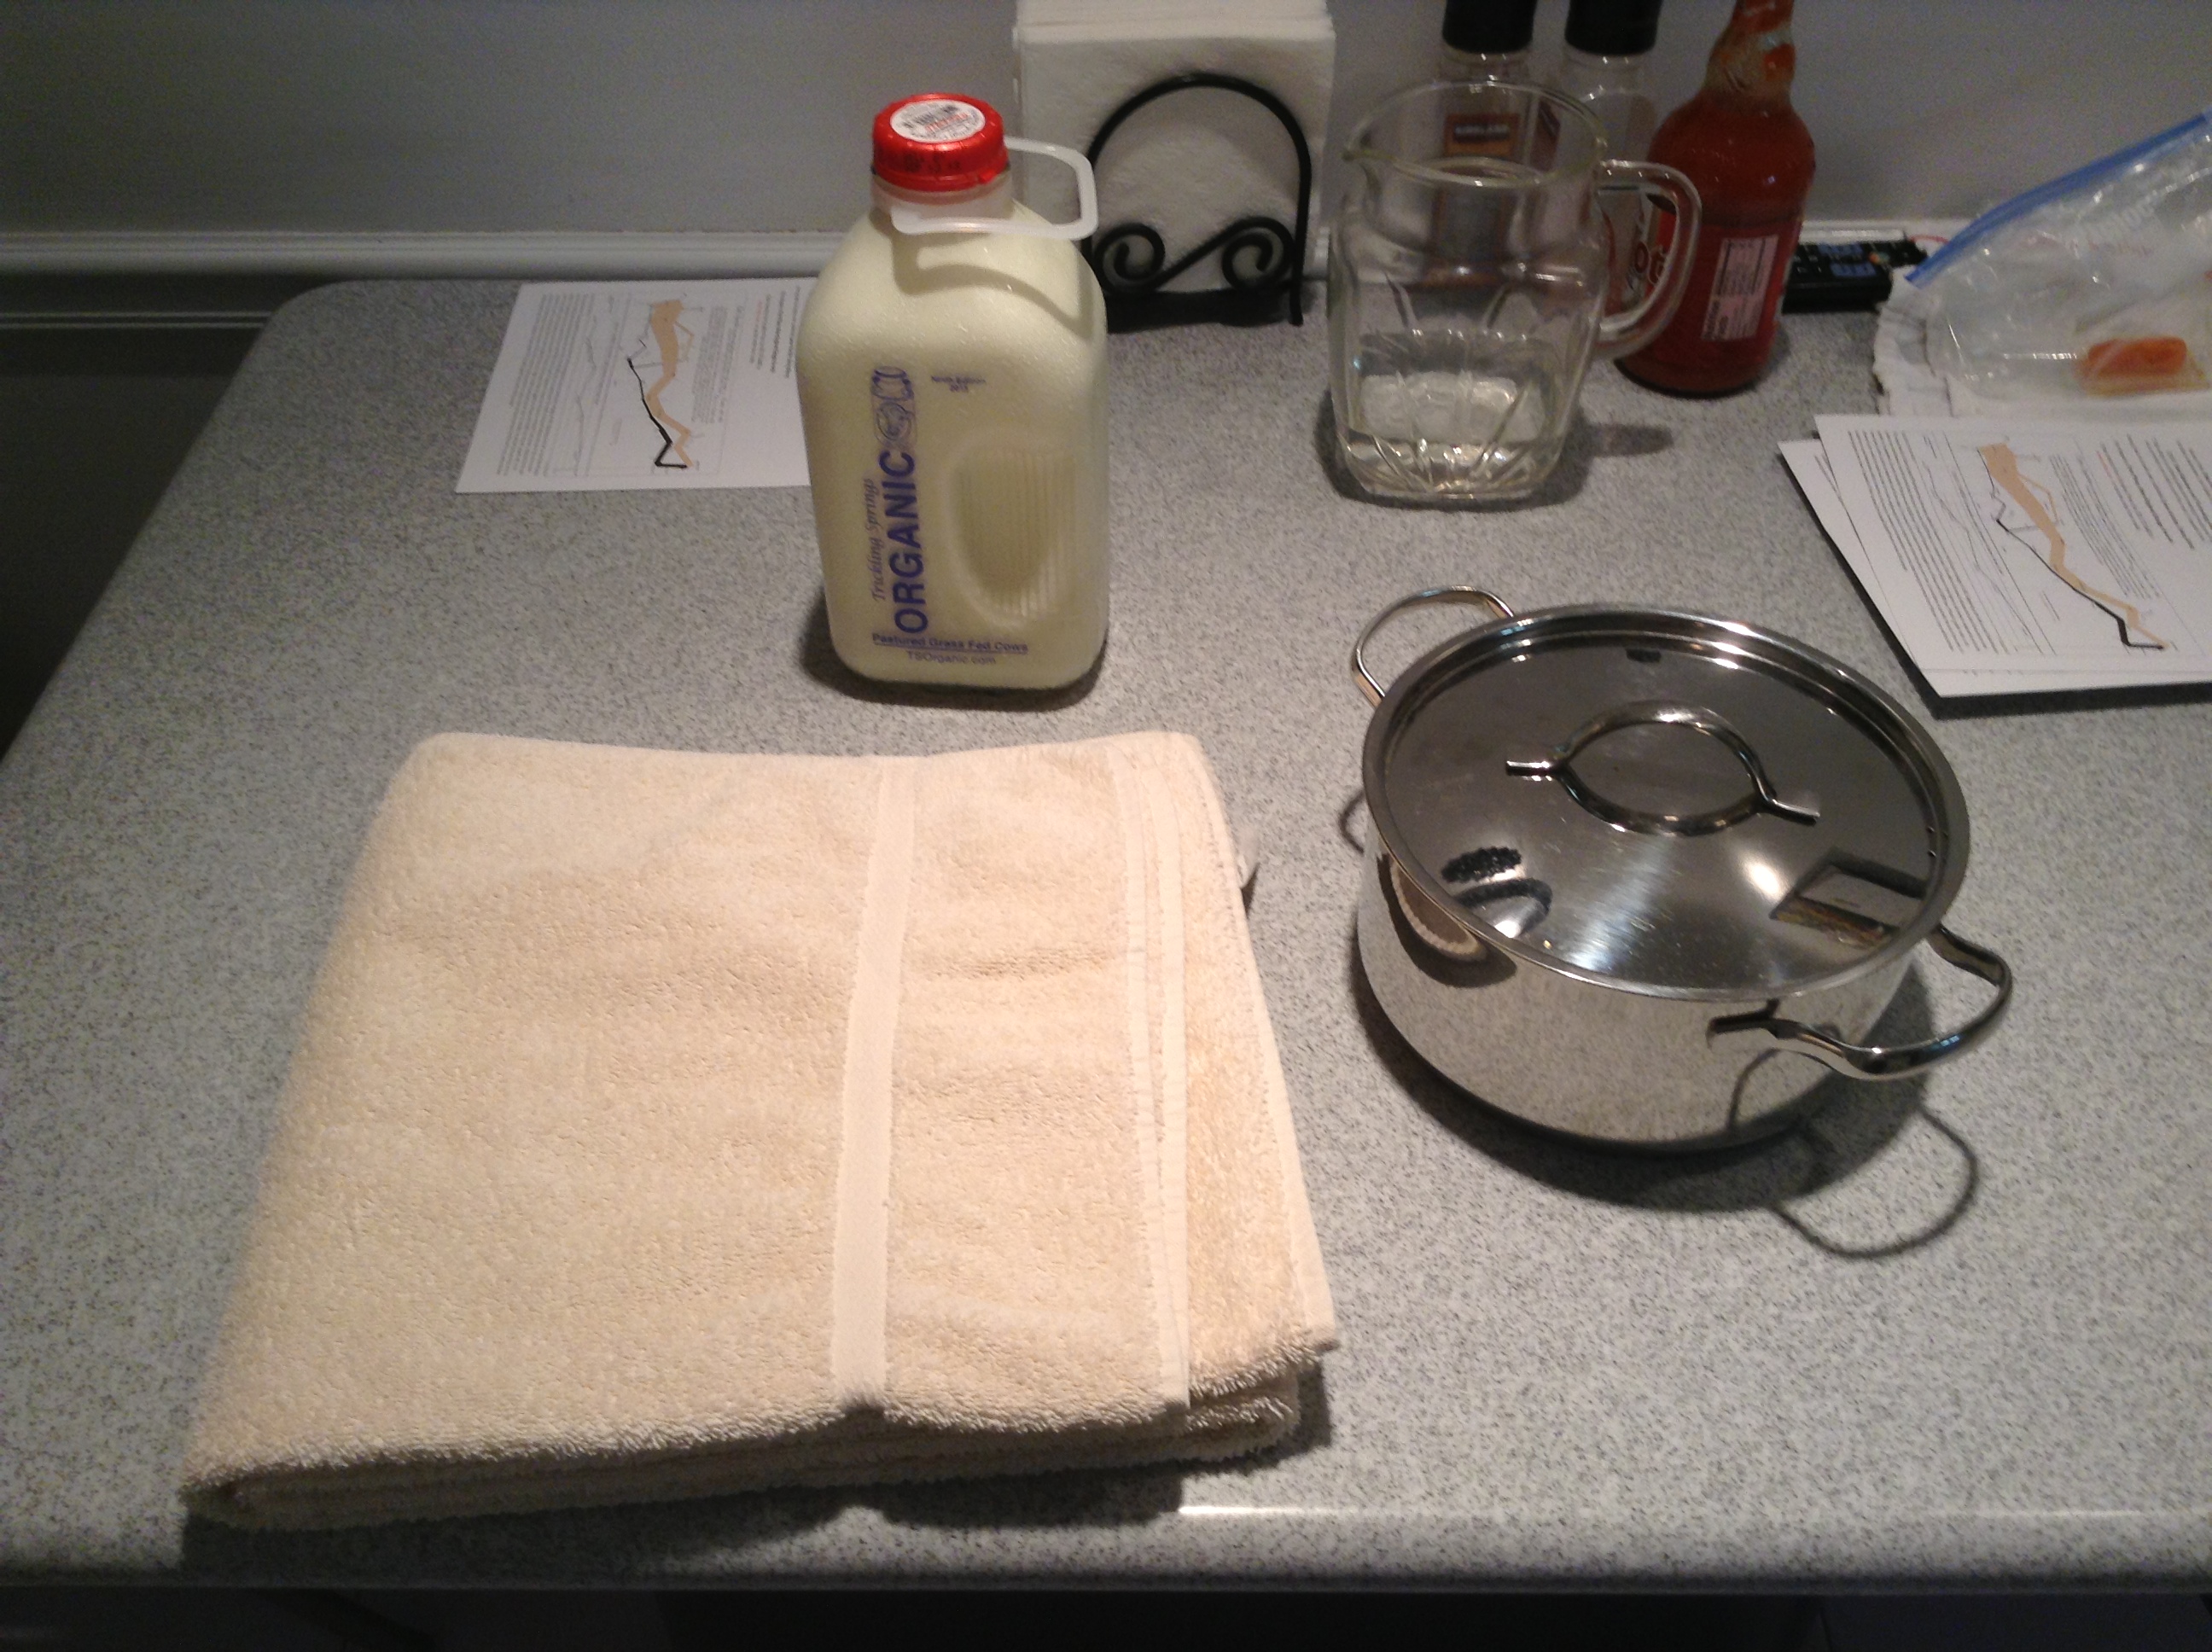
You can make Greek yogurt in the comfort of your home using kitchen supplies that you probably already have. All you need is the following:
- Half a gallon of milk (preferably organic, grass-fed pasteurized goat’s or cow’s milk)
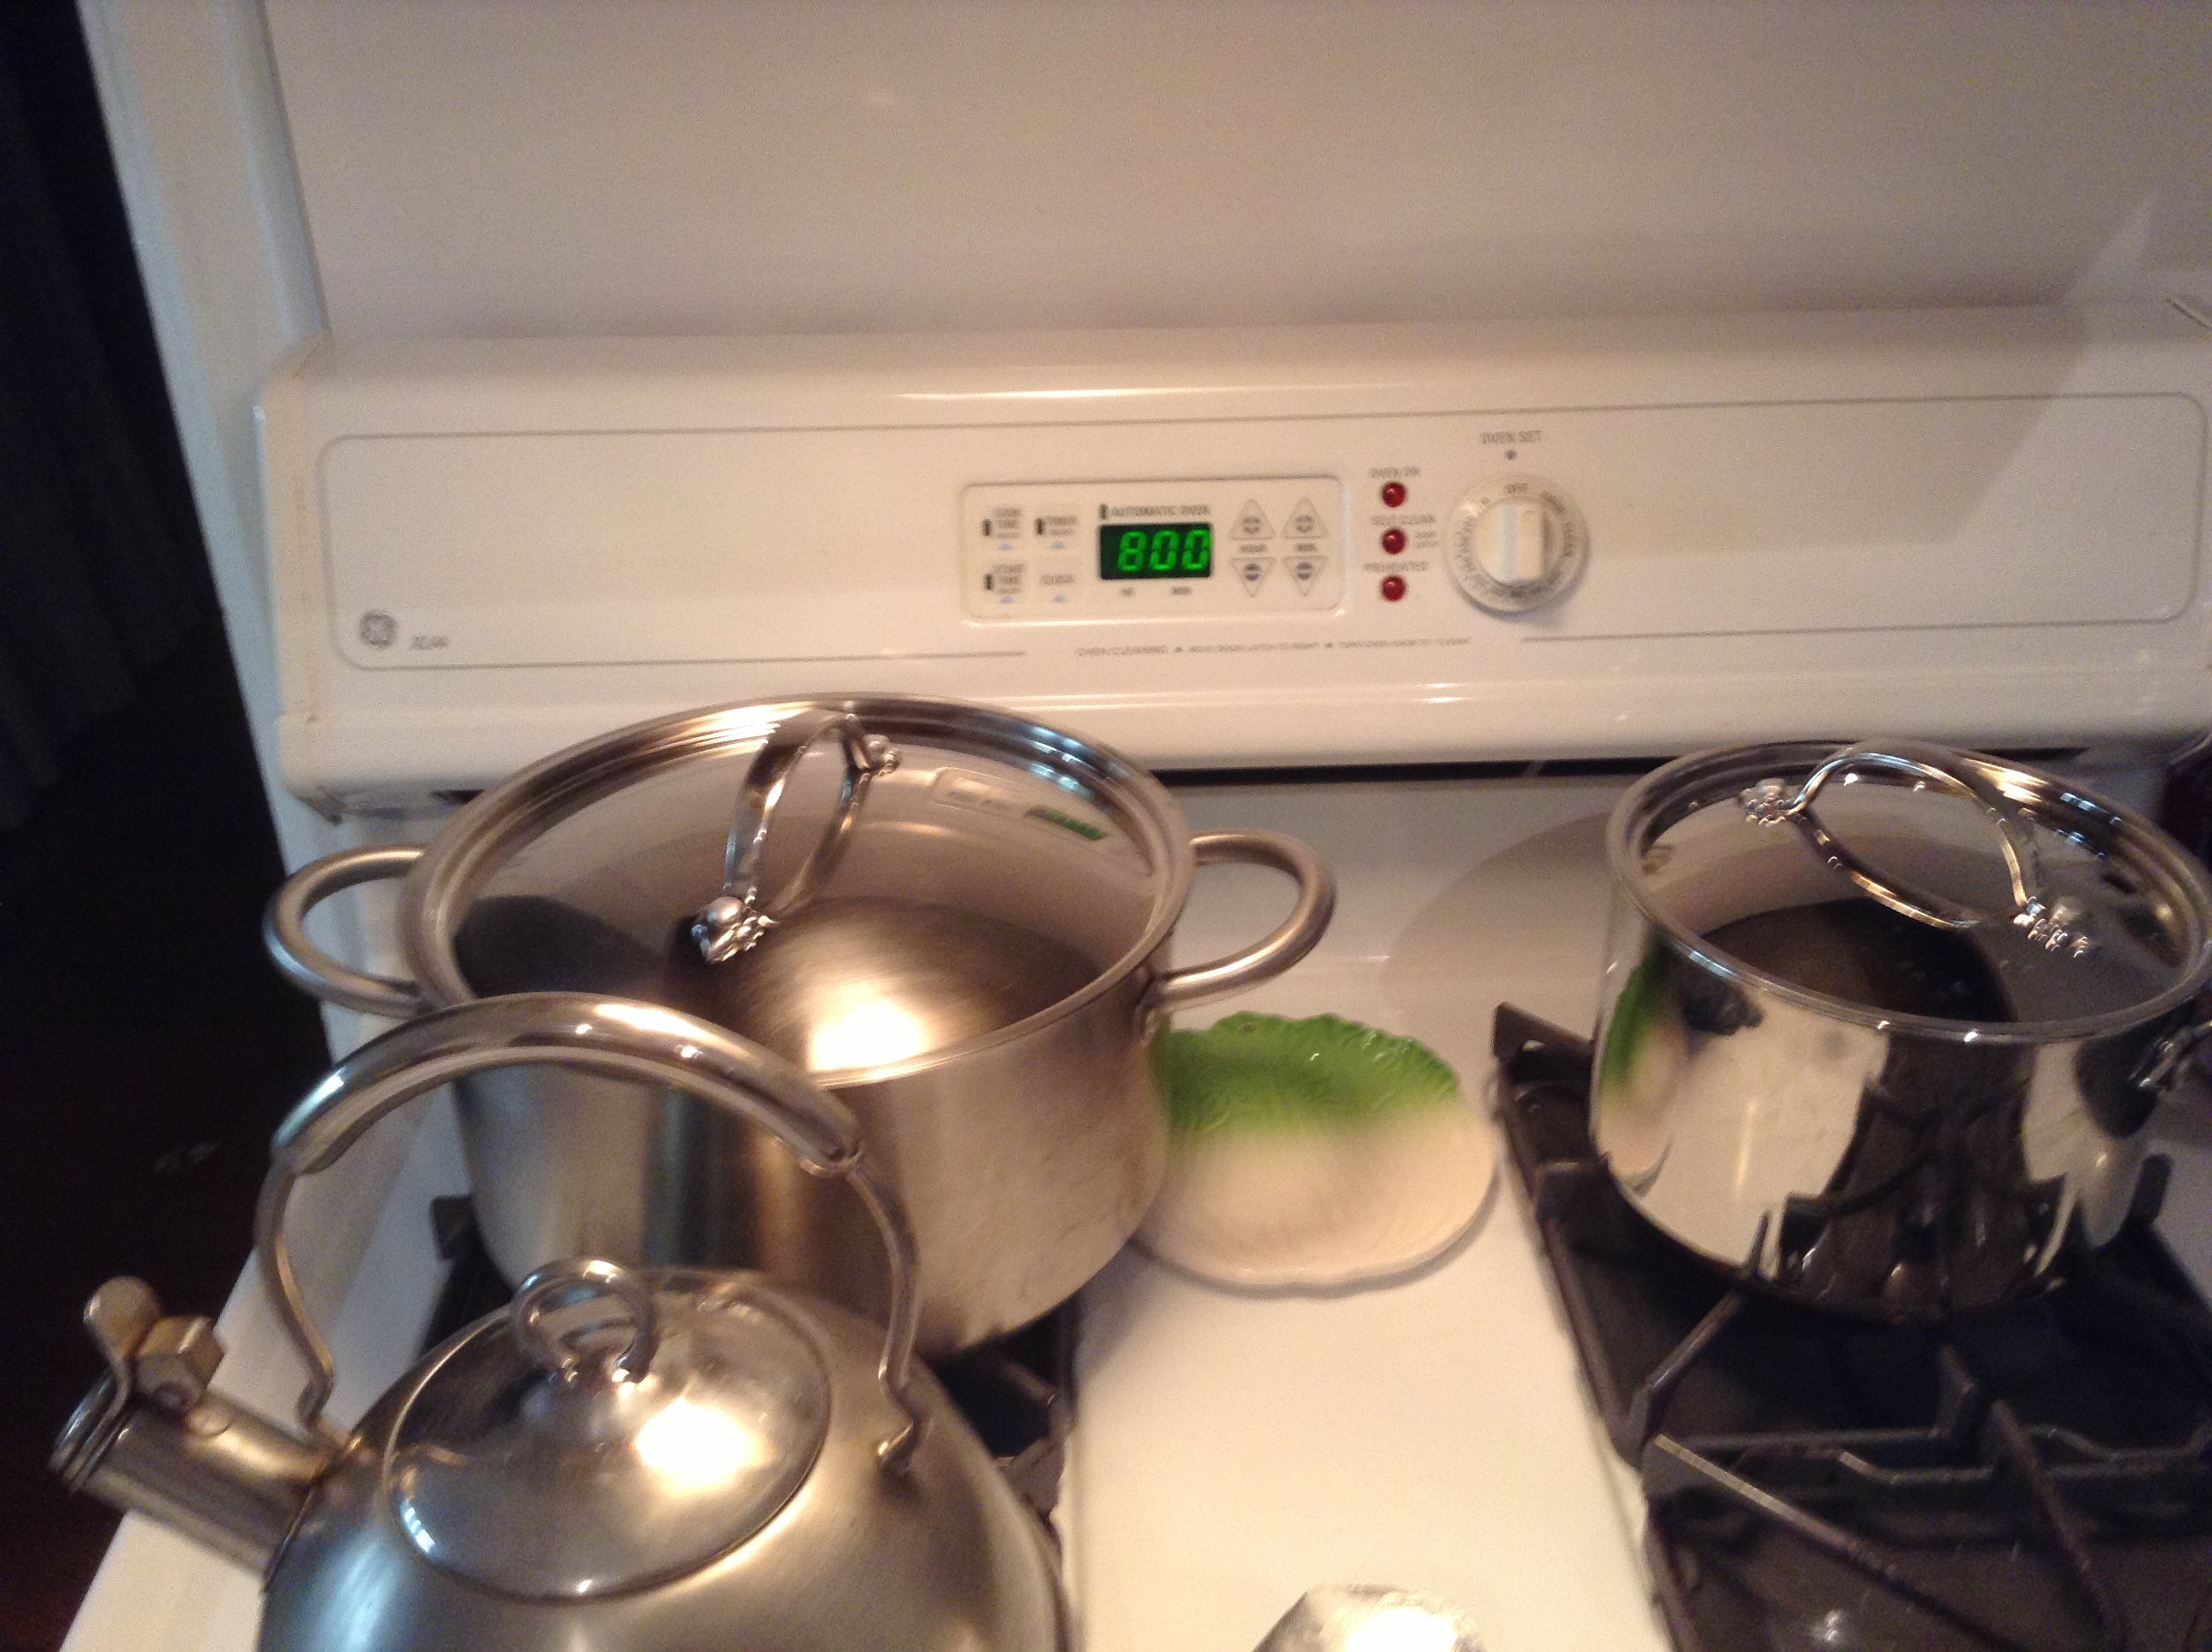
- a pot with lid that can fit at least half a gallon of milk
- A nice thermometer
- A towel (Yes, that is a bath towel in the photograph)
- A small, porous kitchen towel
- A spaghetti strainer
- A pot to catch all excess whey
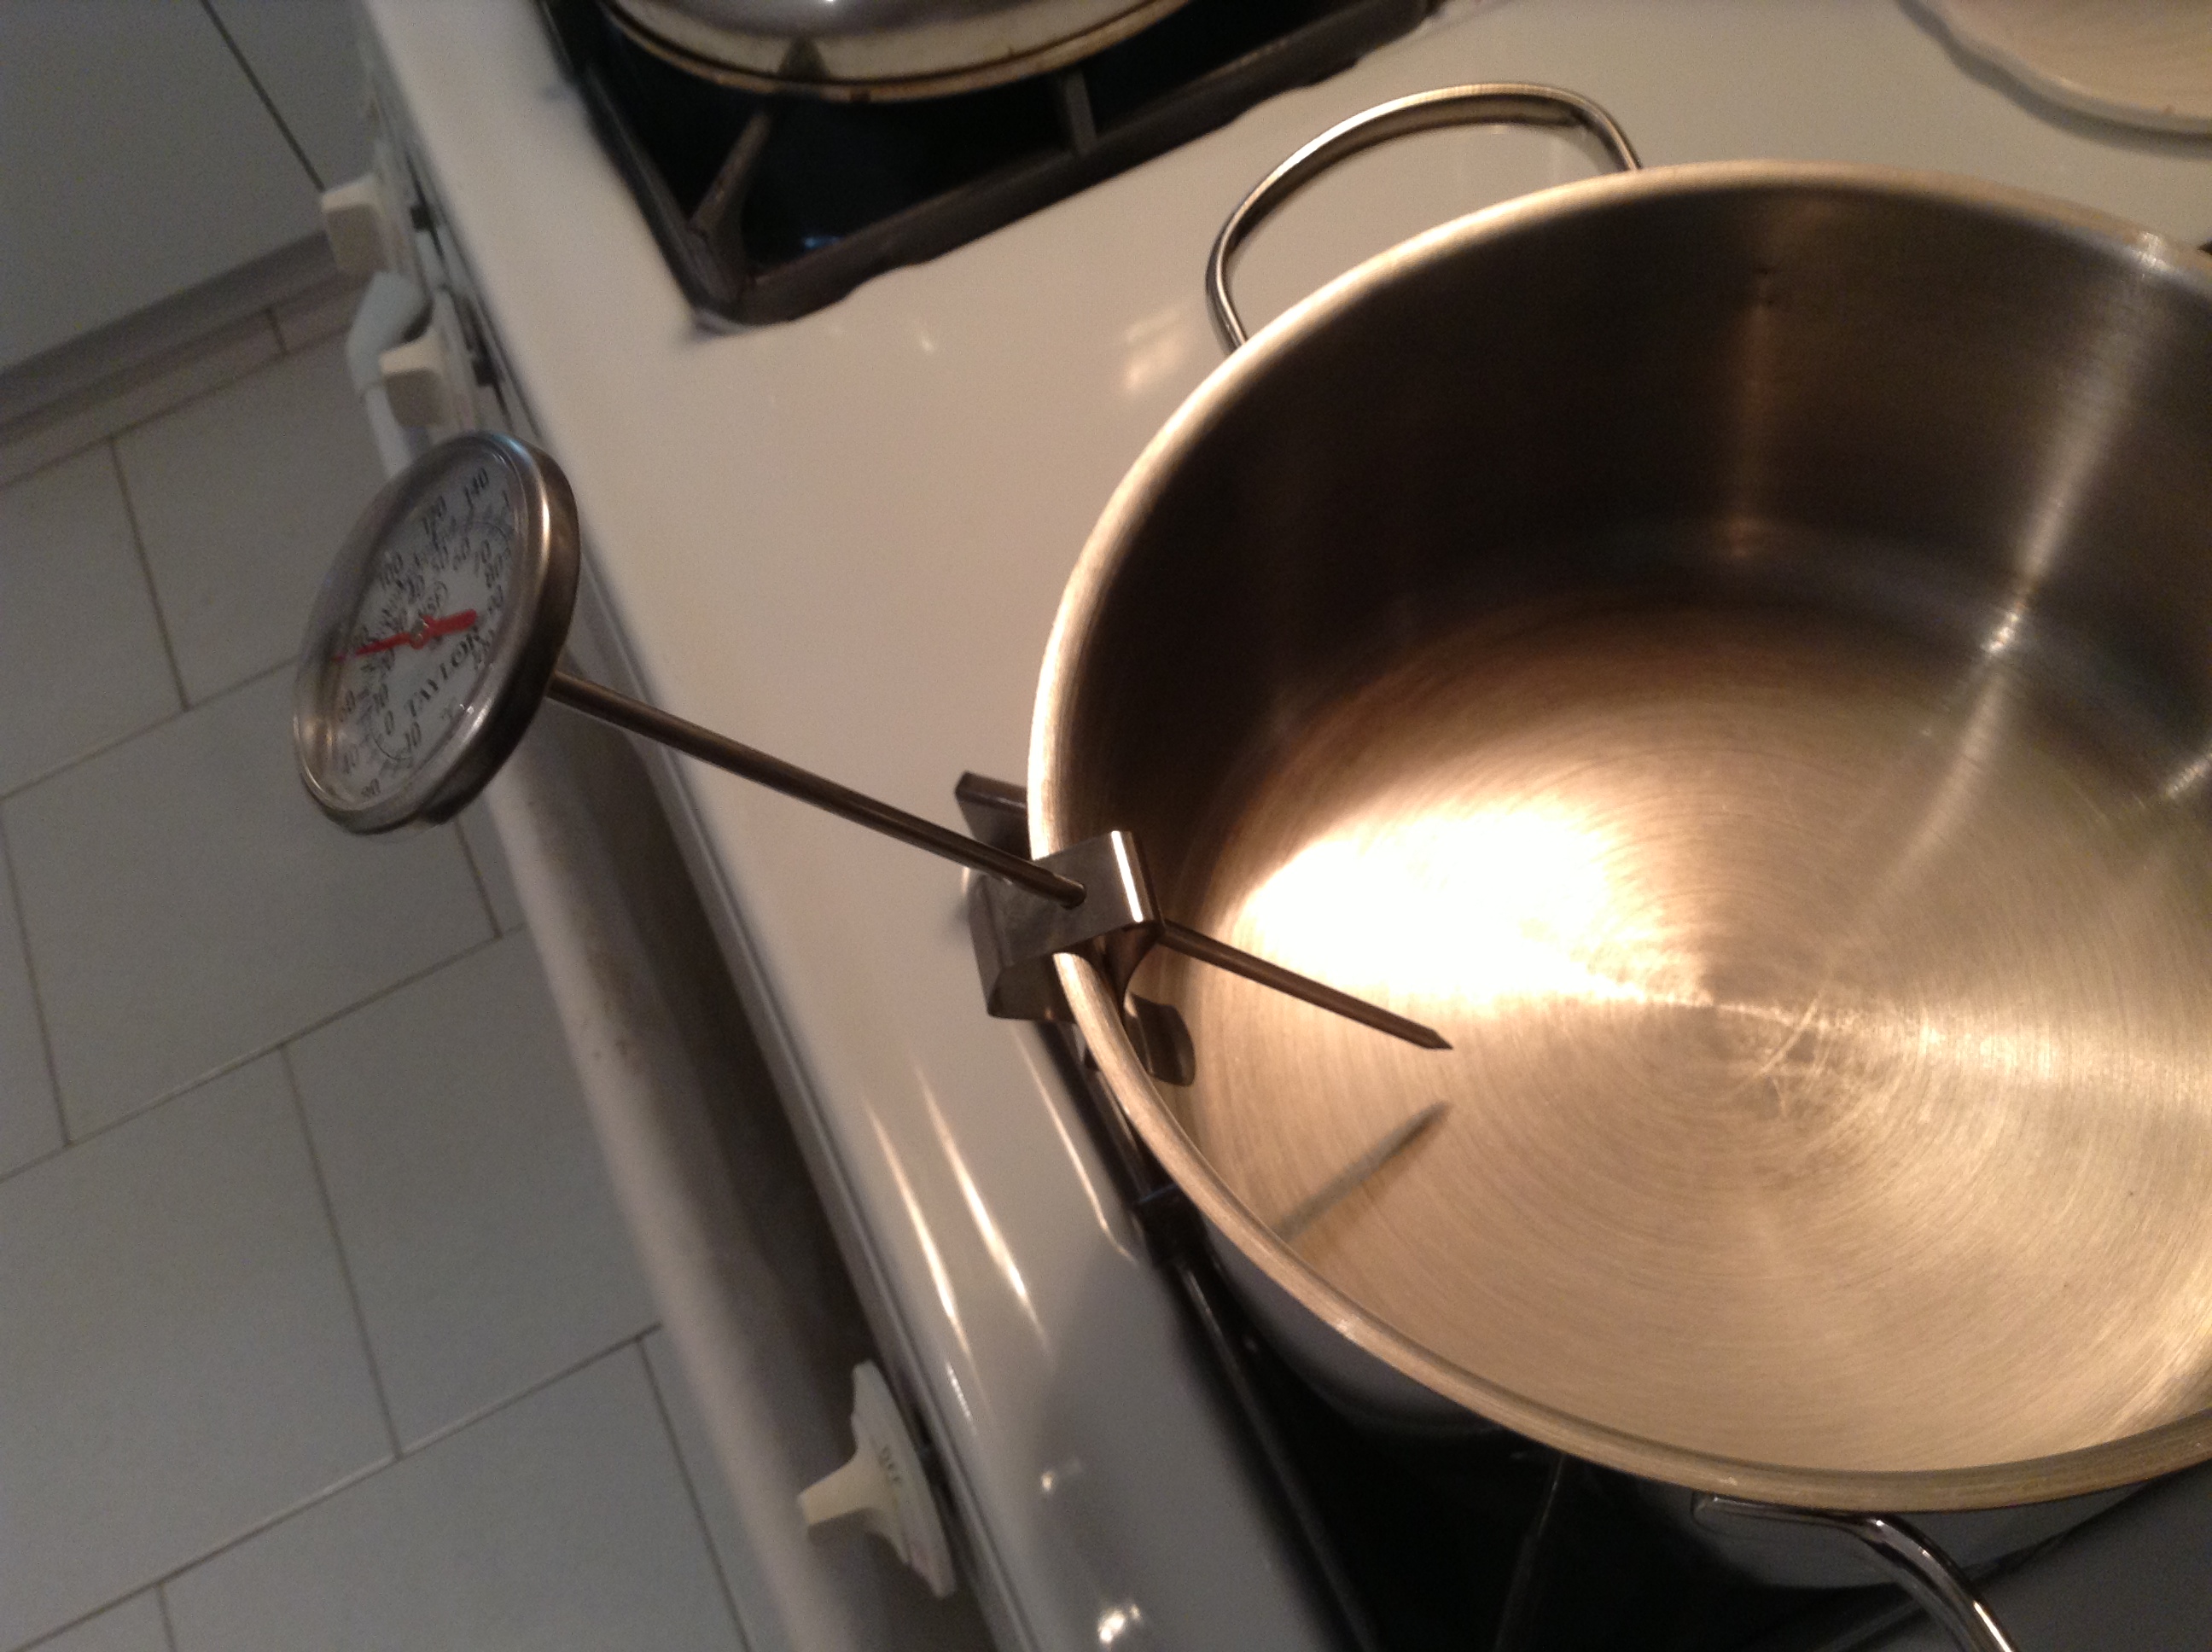
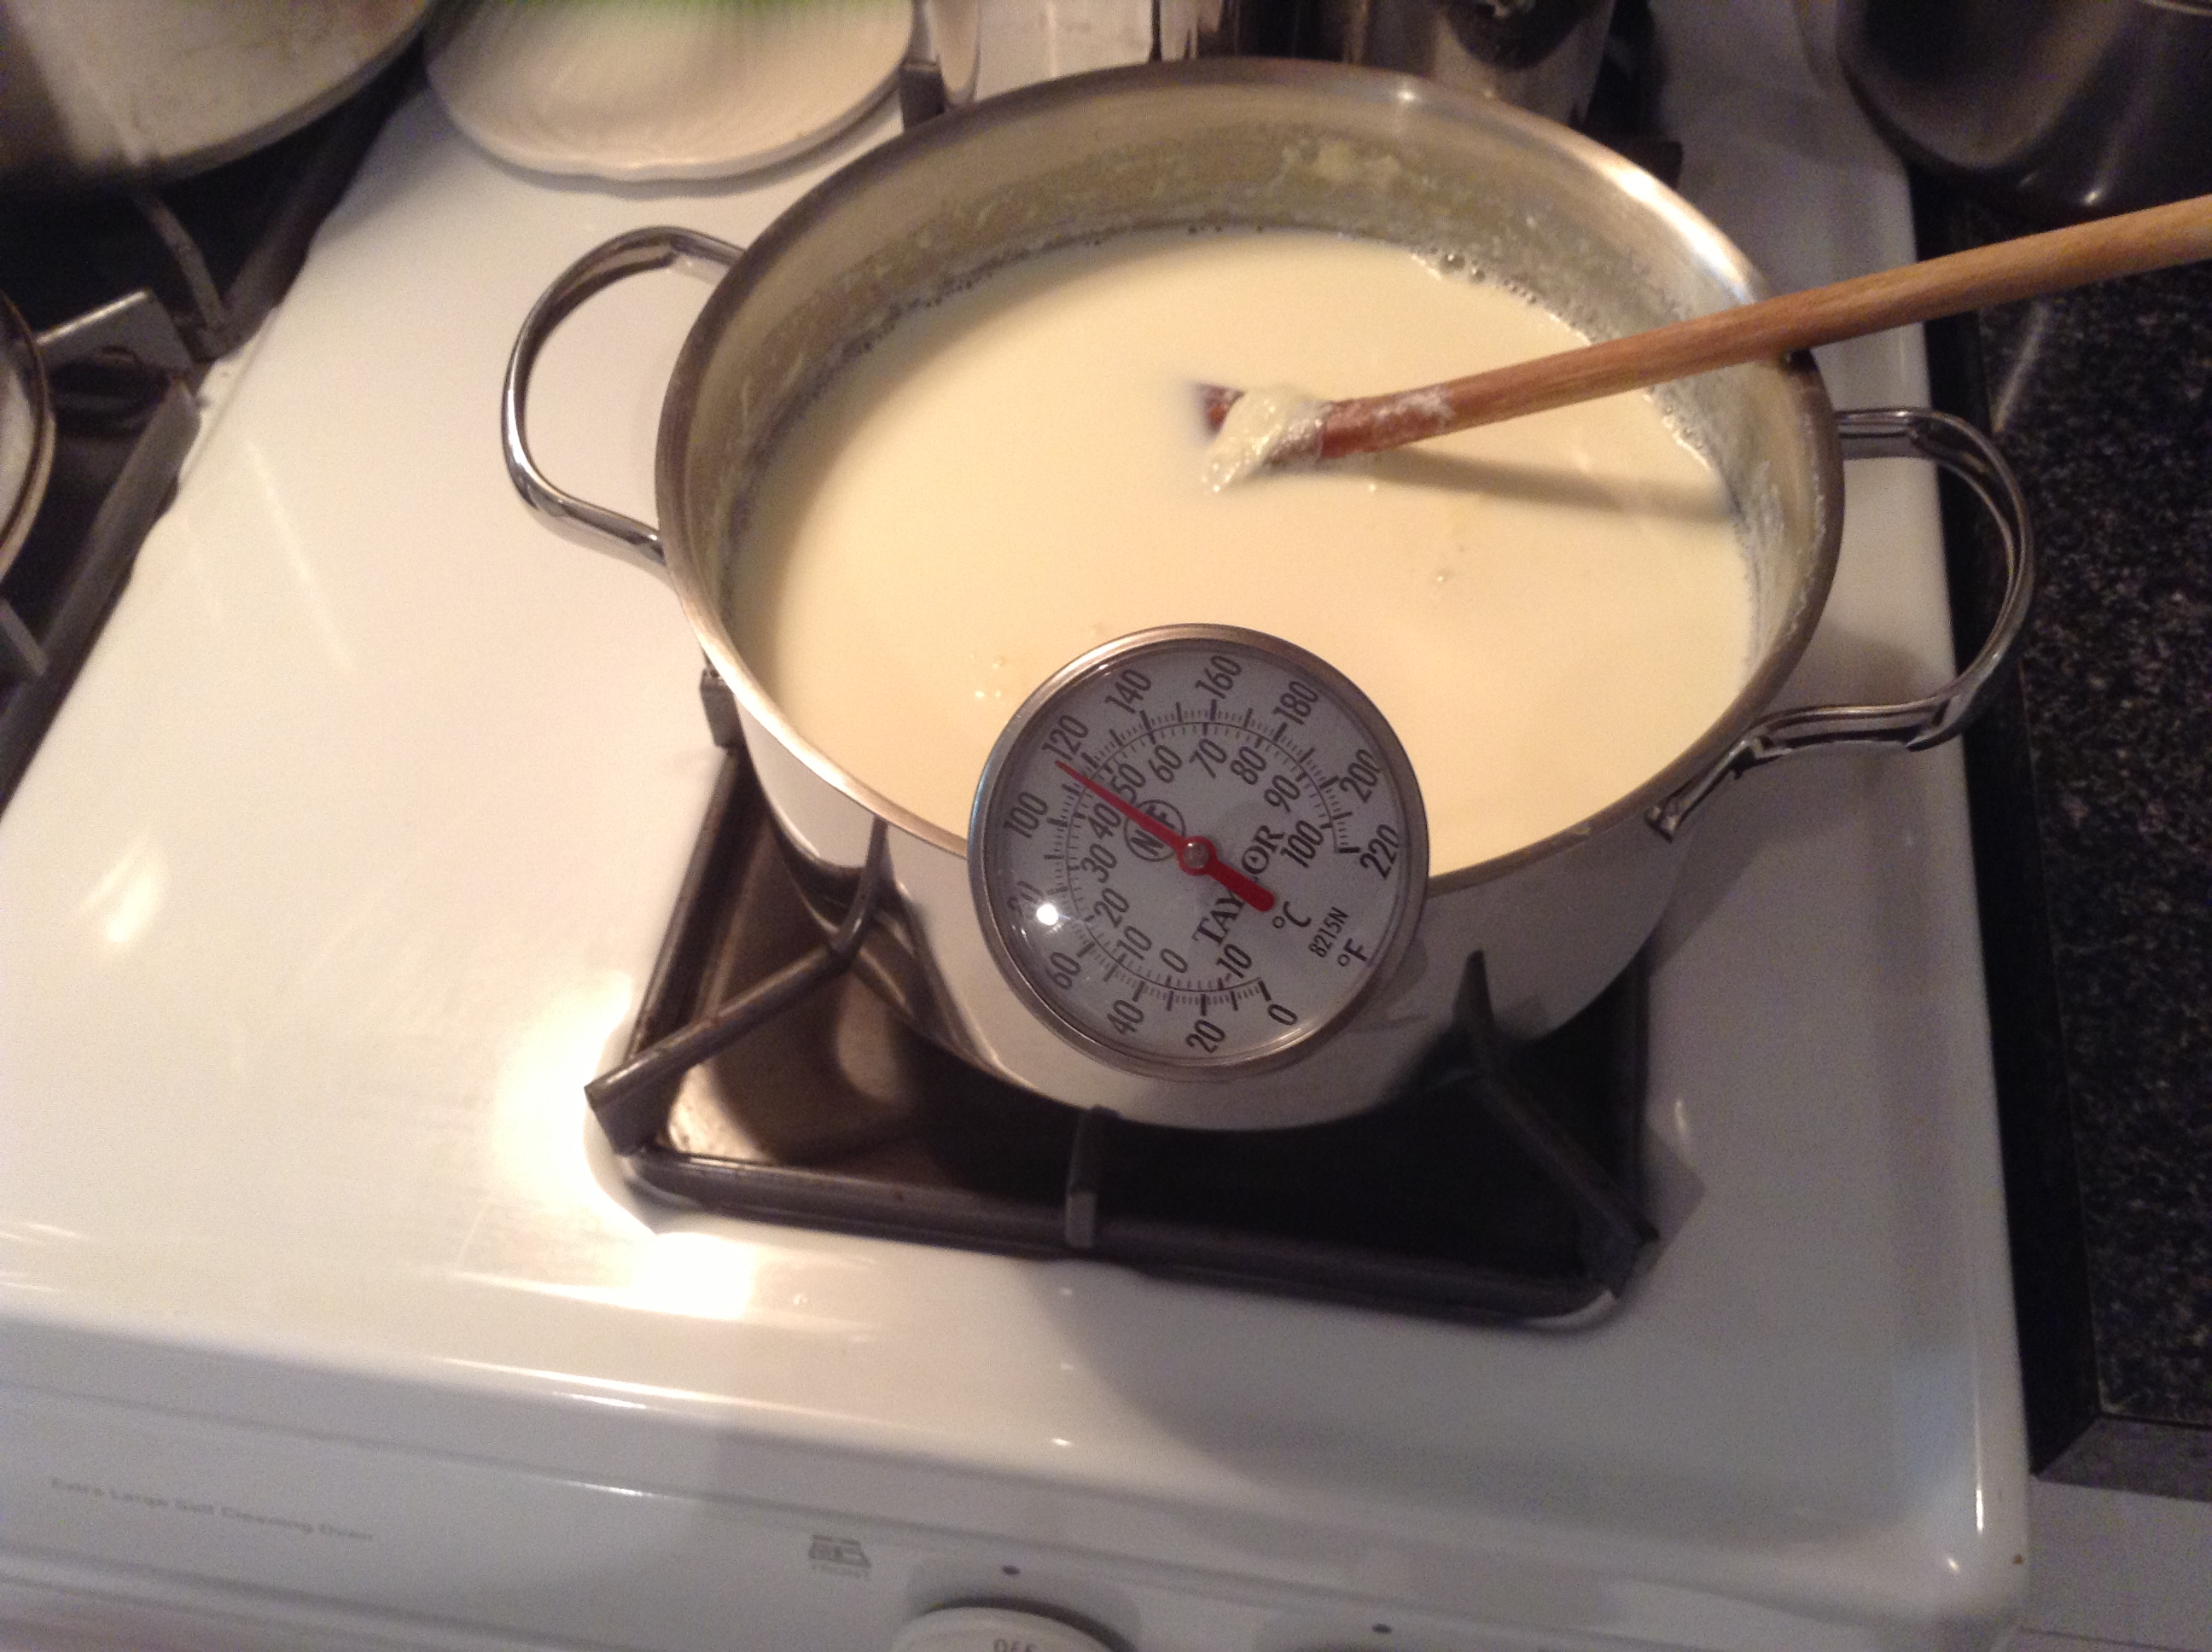
Step 1 – Pour the milk into the pot with the thermometer attached
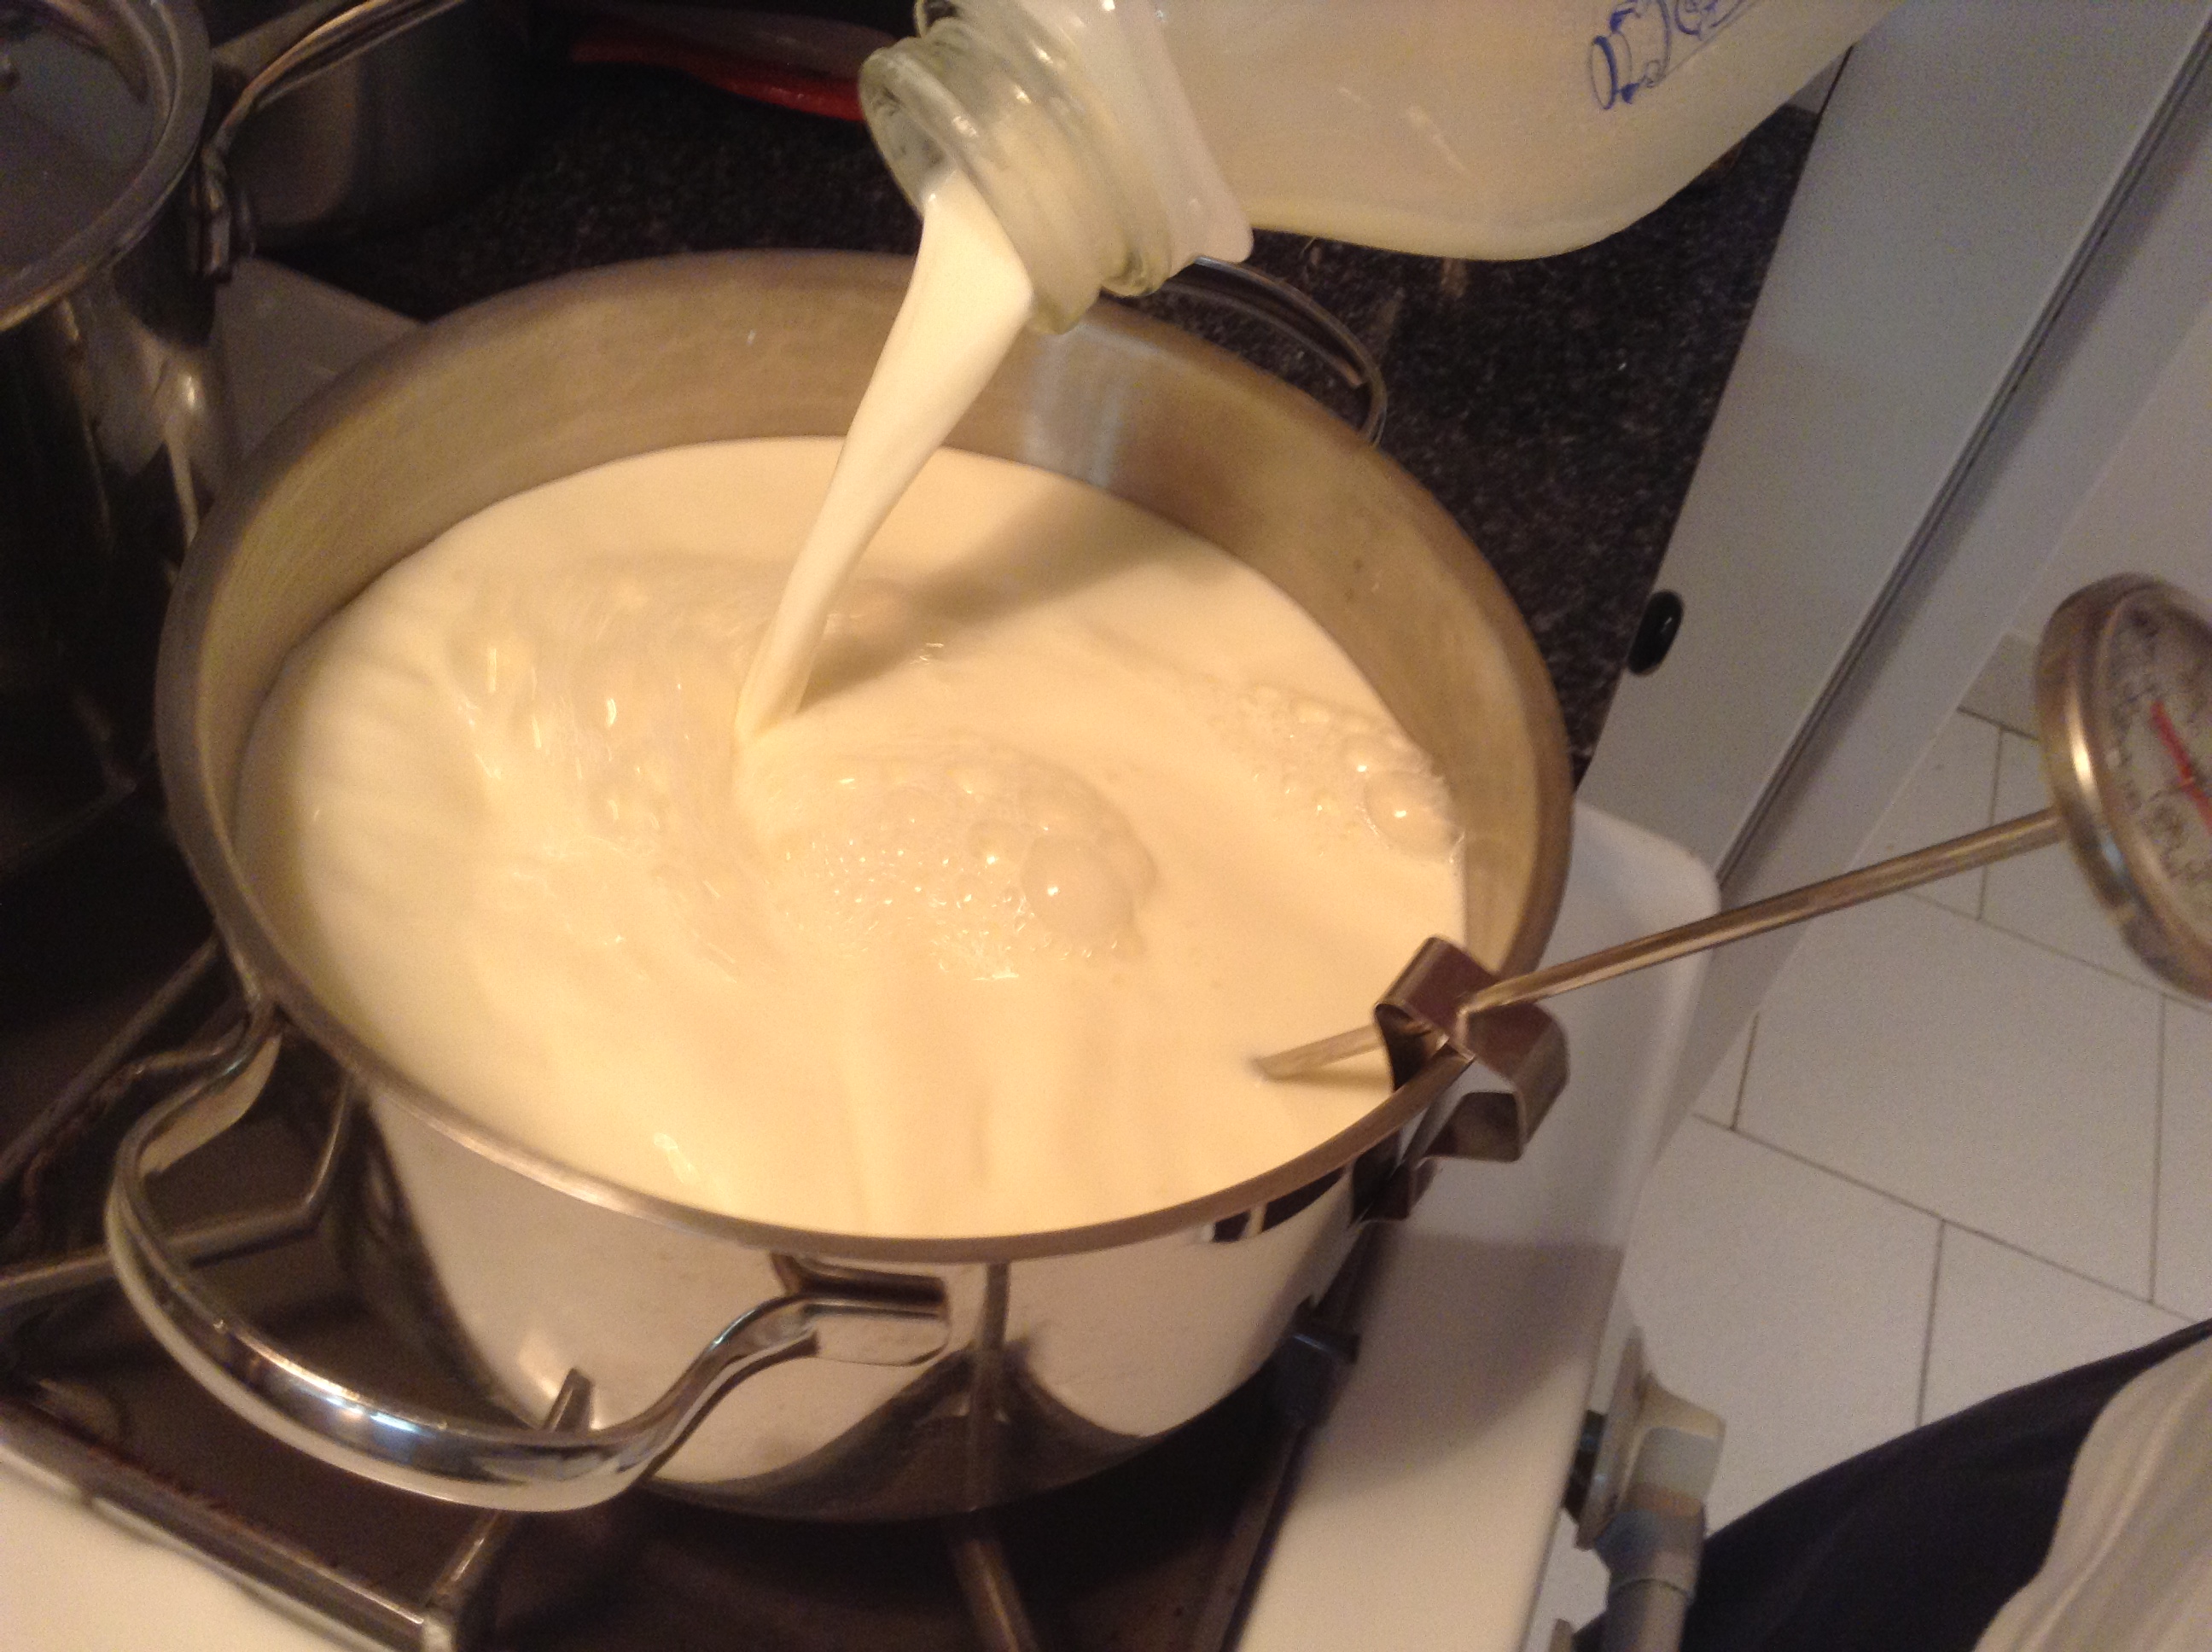
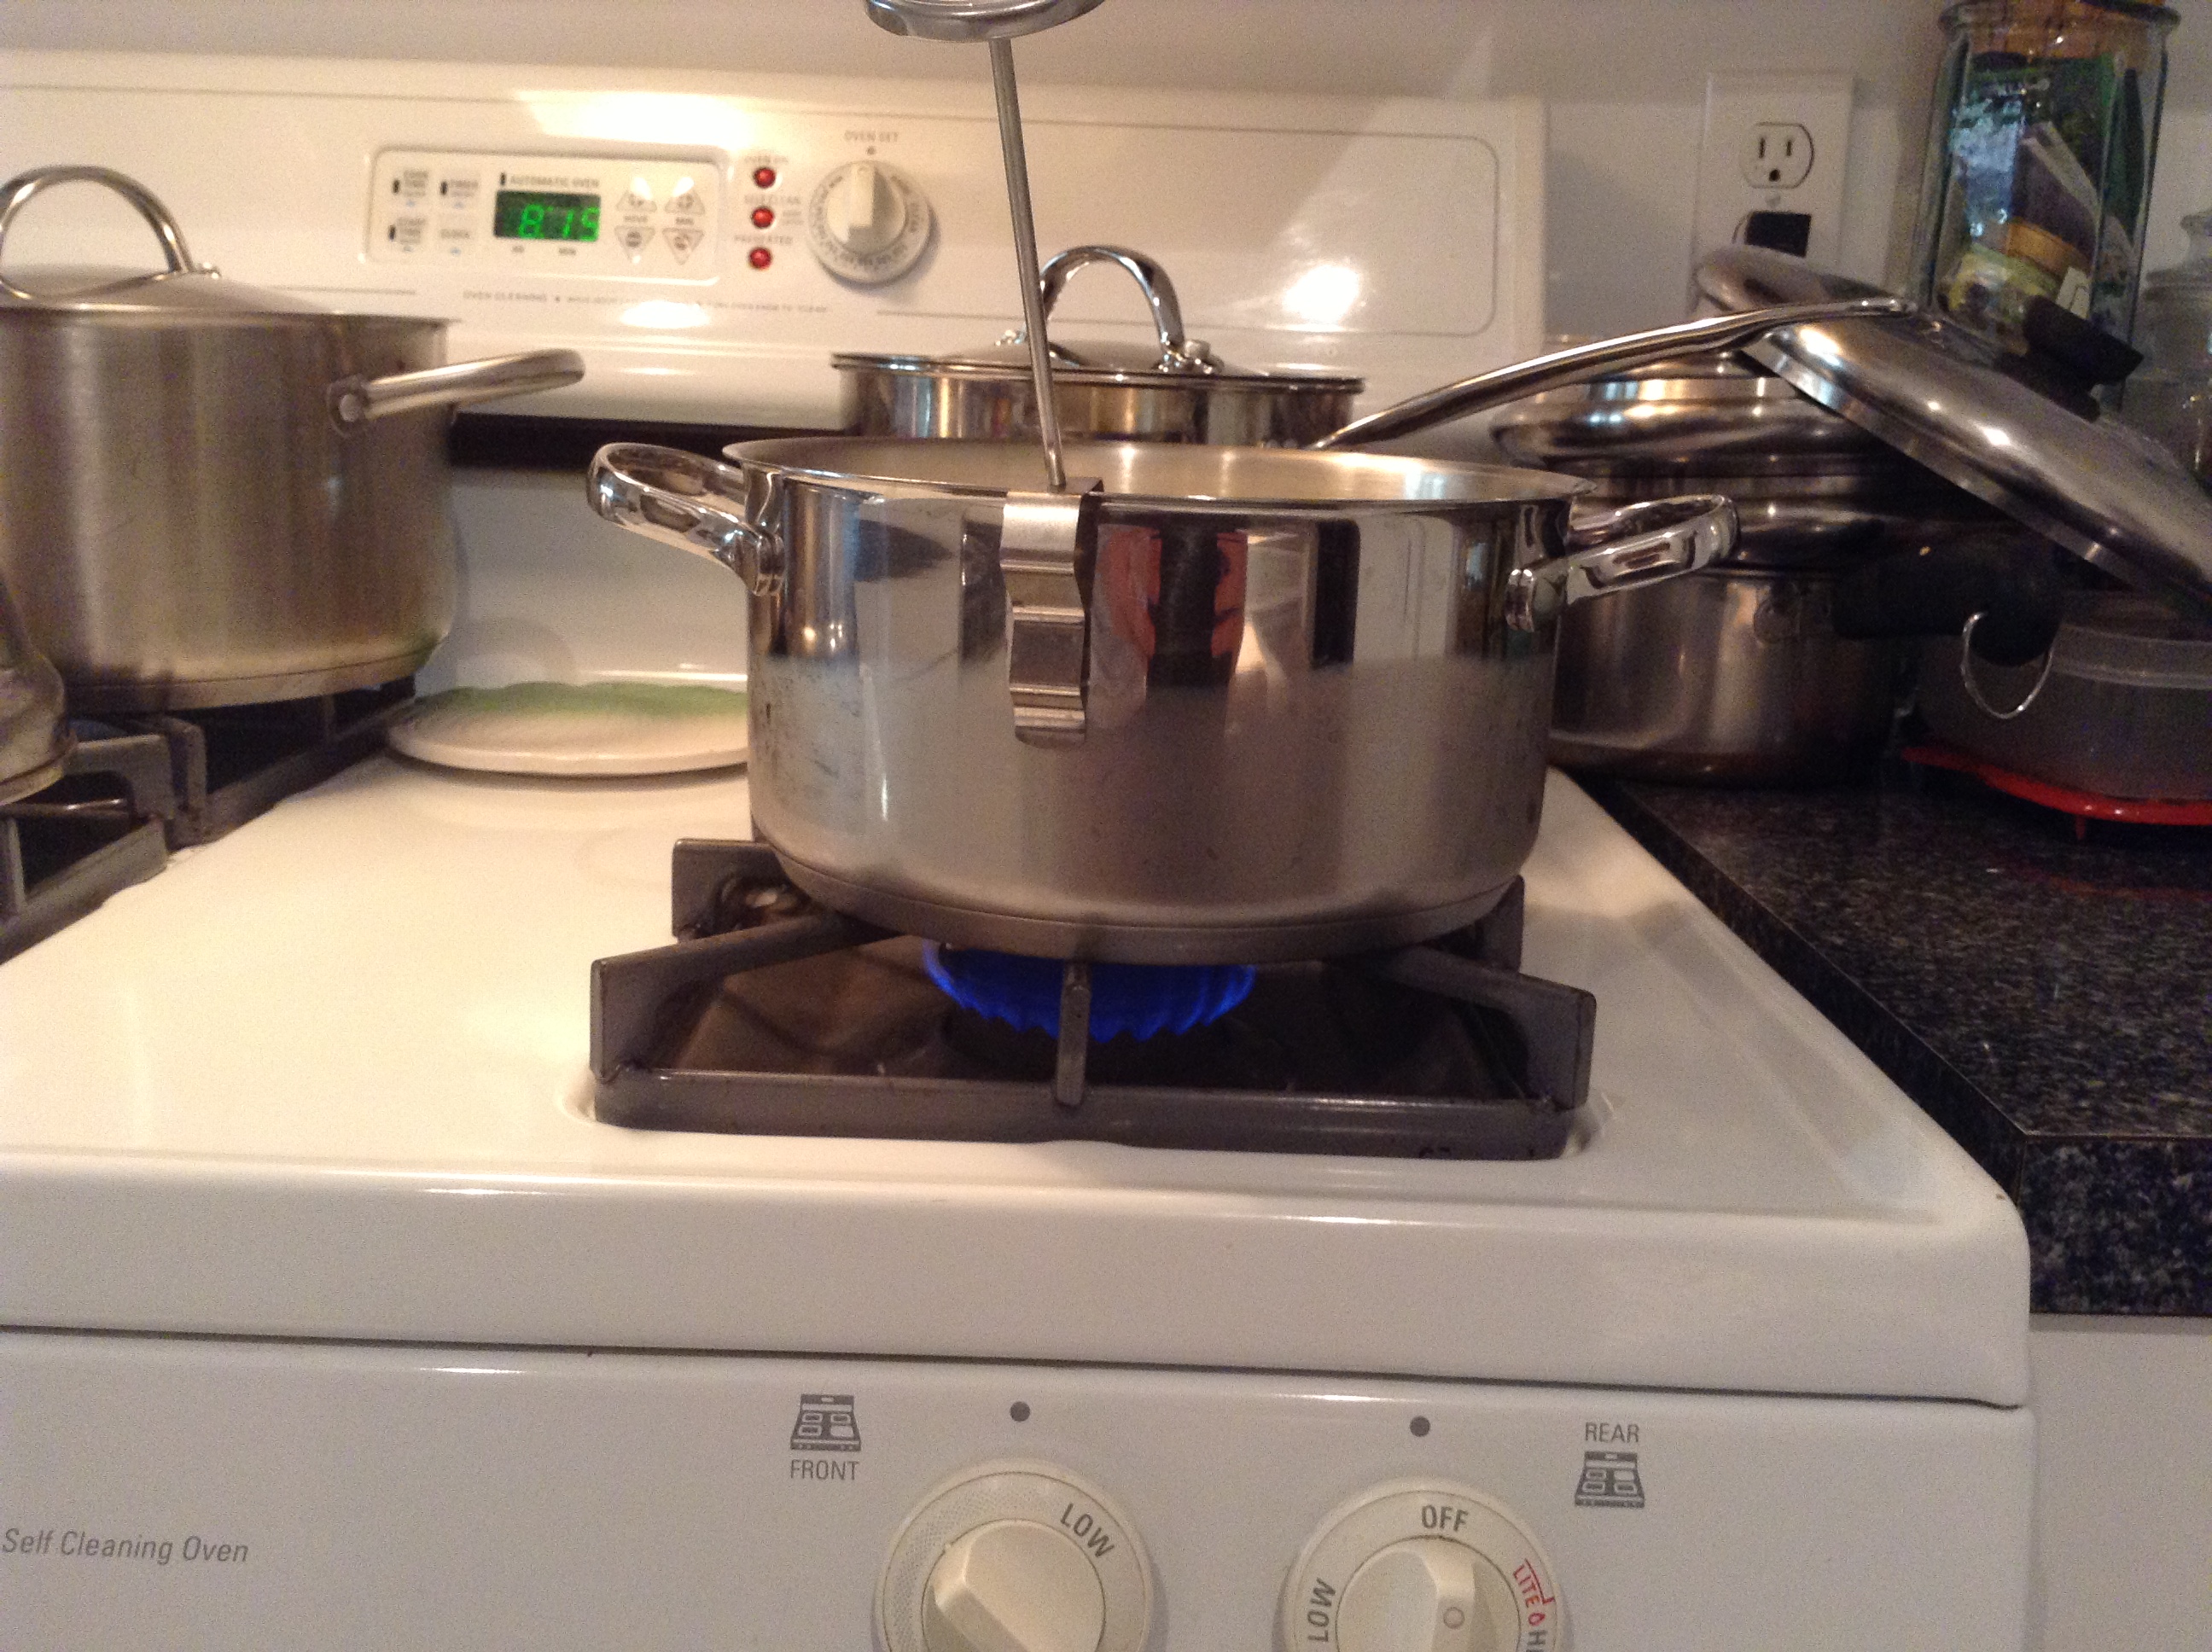
Step 2 – Turn on the heat – not too high, and not too low. You don’t want to burn the milk that is towards the bottom of the pot, so the higher the temperature, the more you have to stir the milk to keep it from burning. If you are in a rush, keep the heat high and constantly stir, if you are not in a rush, keep it low and stir it occasionally.
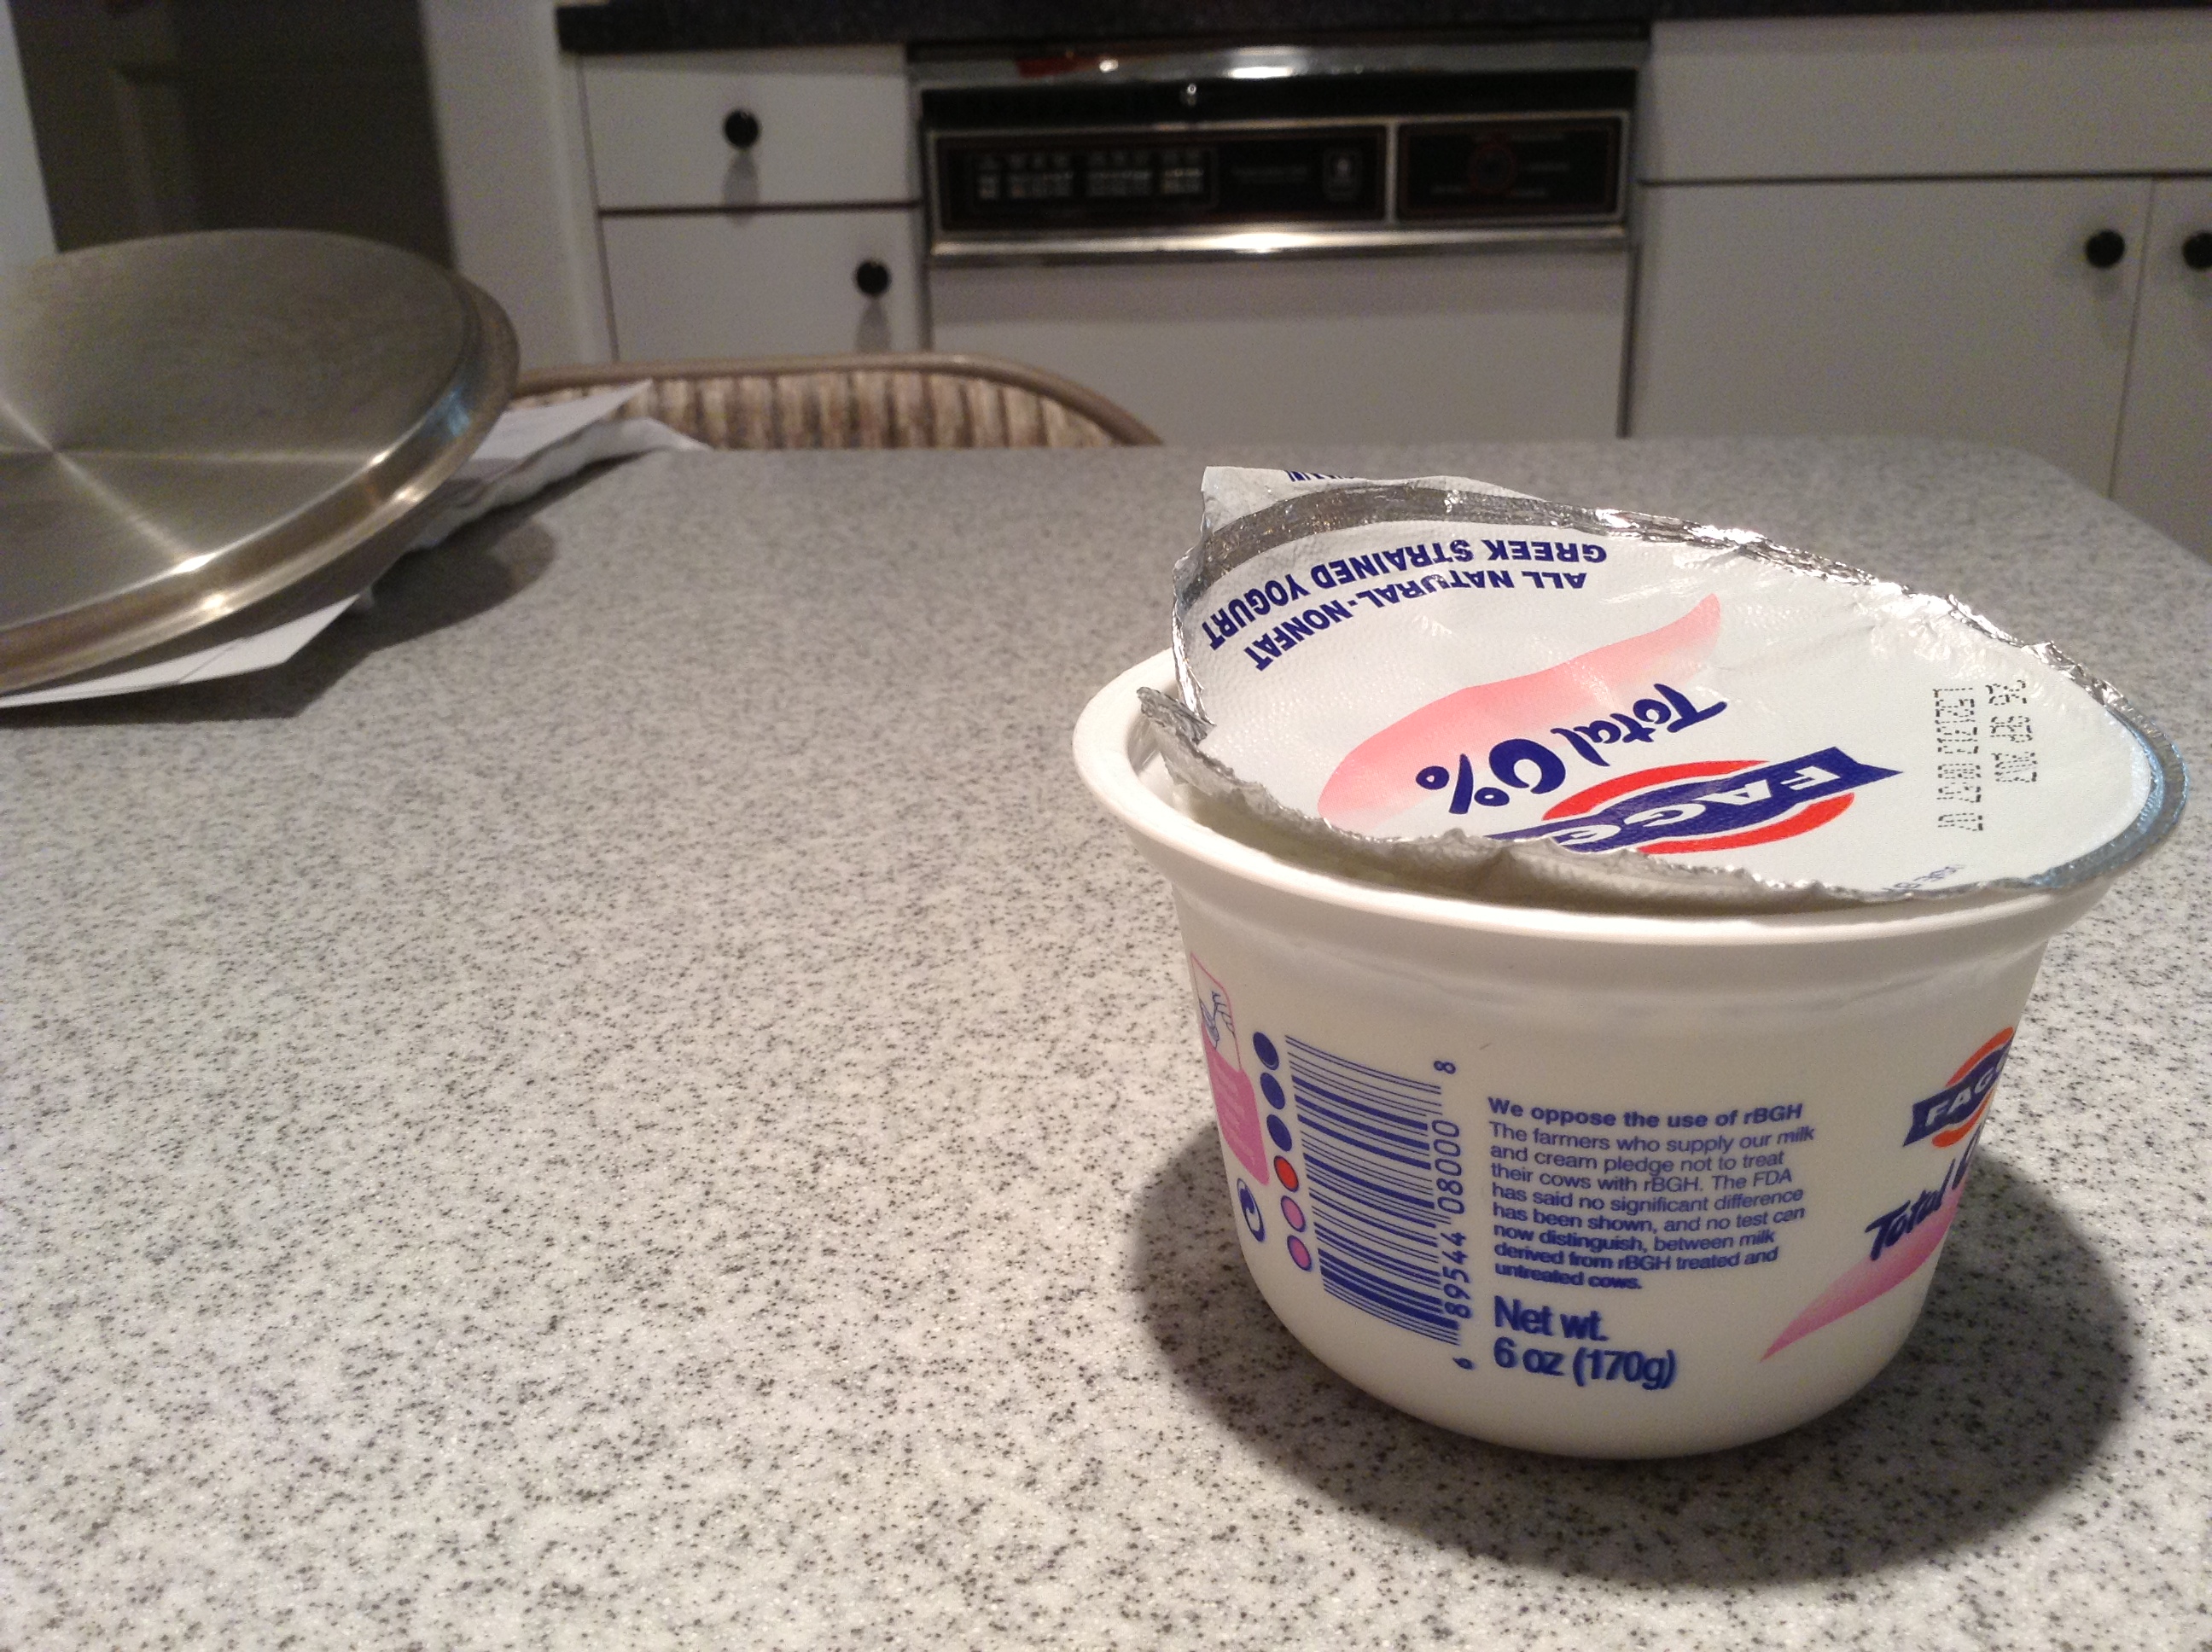
Step 3 – Take a small cup of Plain Fage yogurt and open the lid and leave it on your counter. We are doing this to allow the temperature of the yogurt to go to room temperature.
Step 4 – Monitor the temperature of the milk, keep heating it until it reaches 180-185 degrees Fahrenheit.

Stir the milk inside the pot occasionally for equal heat distribution and to avoid burning any milk towards the bottom of the pot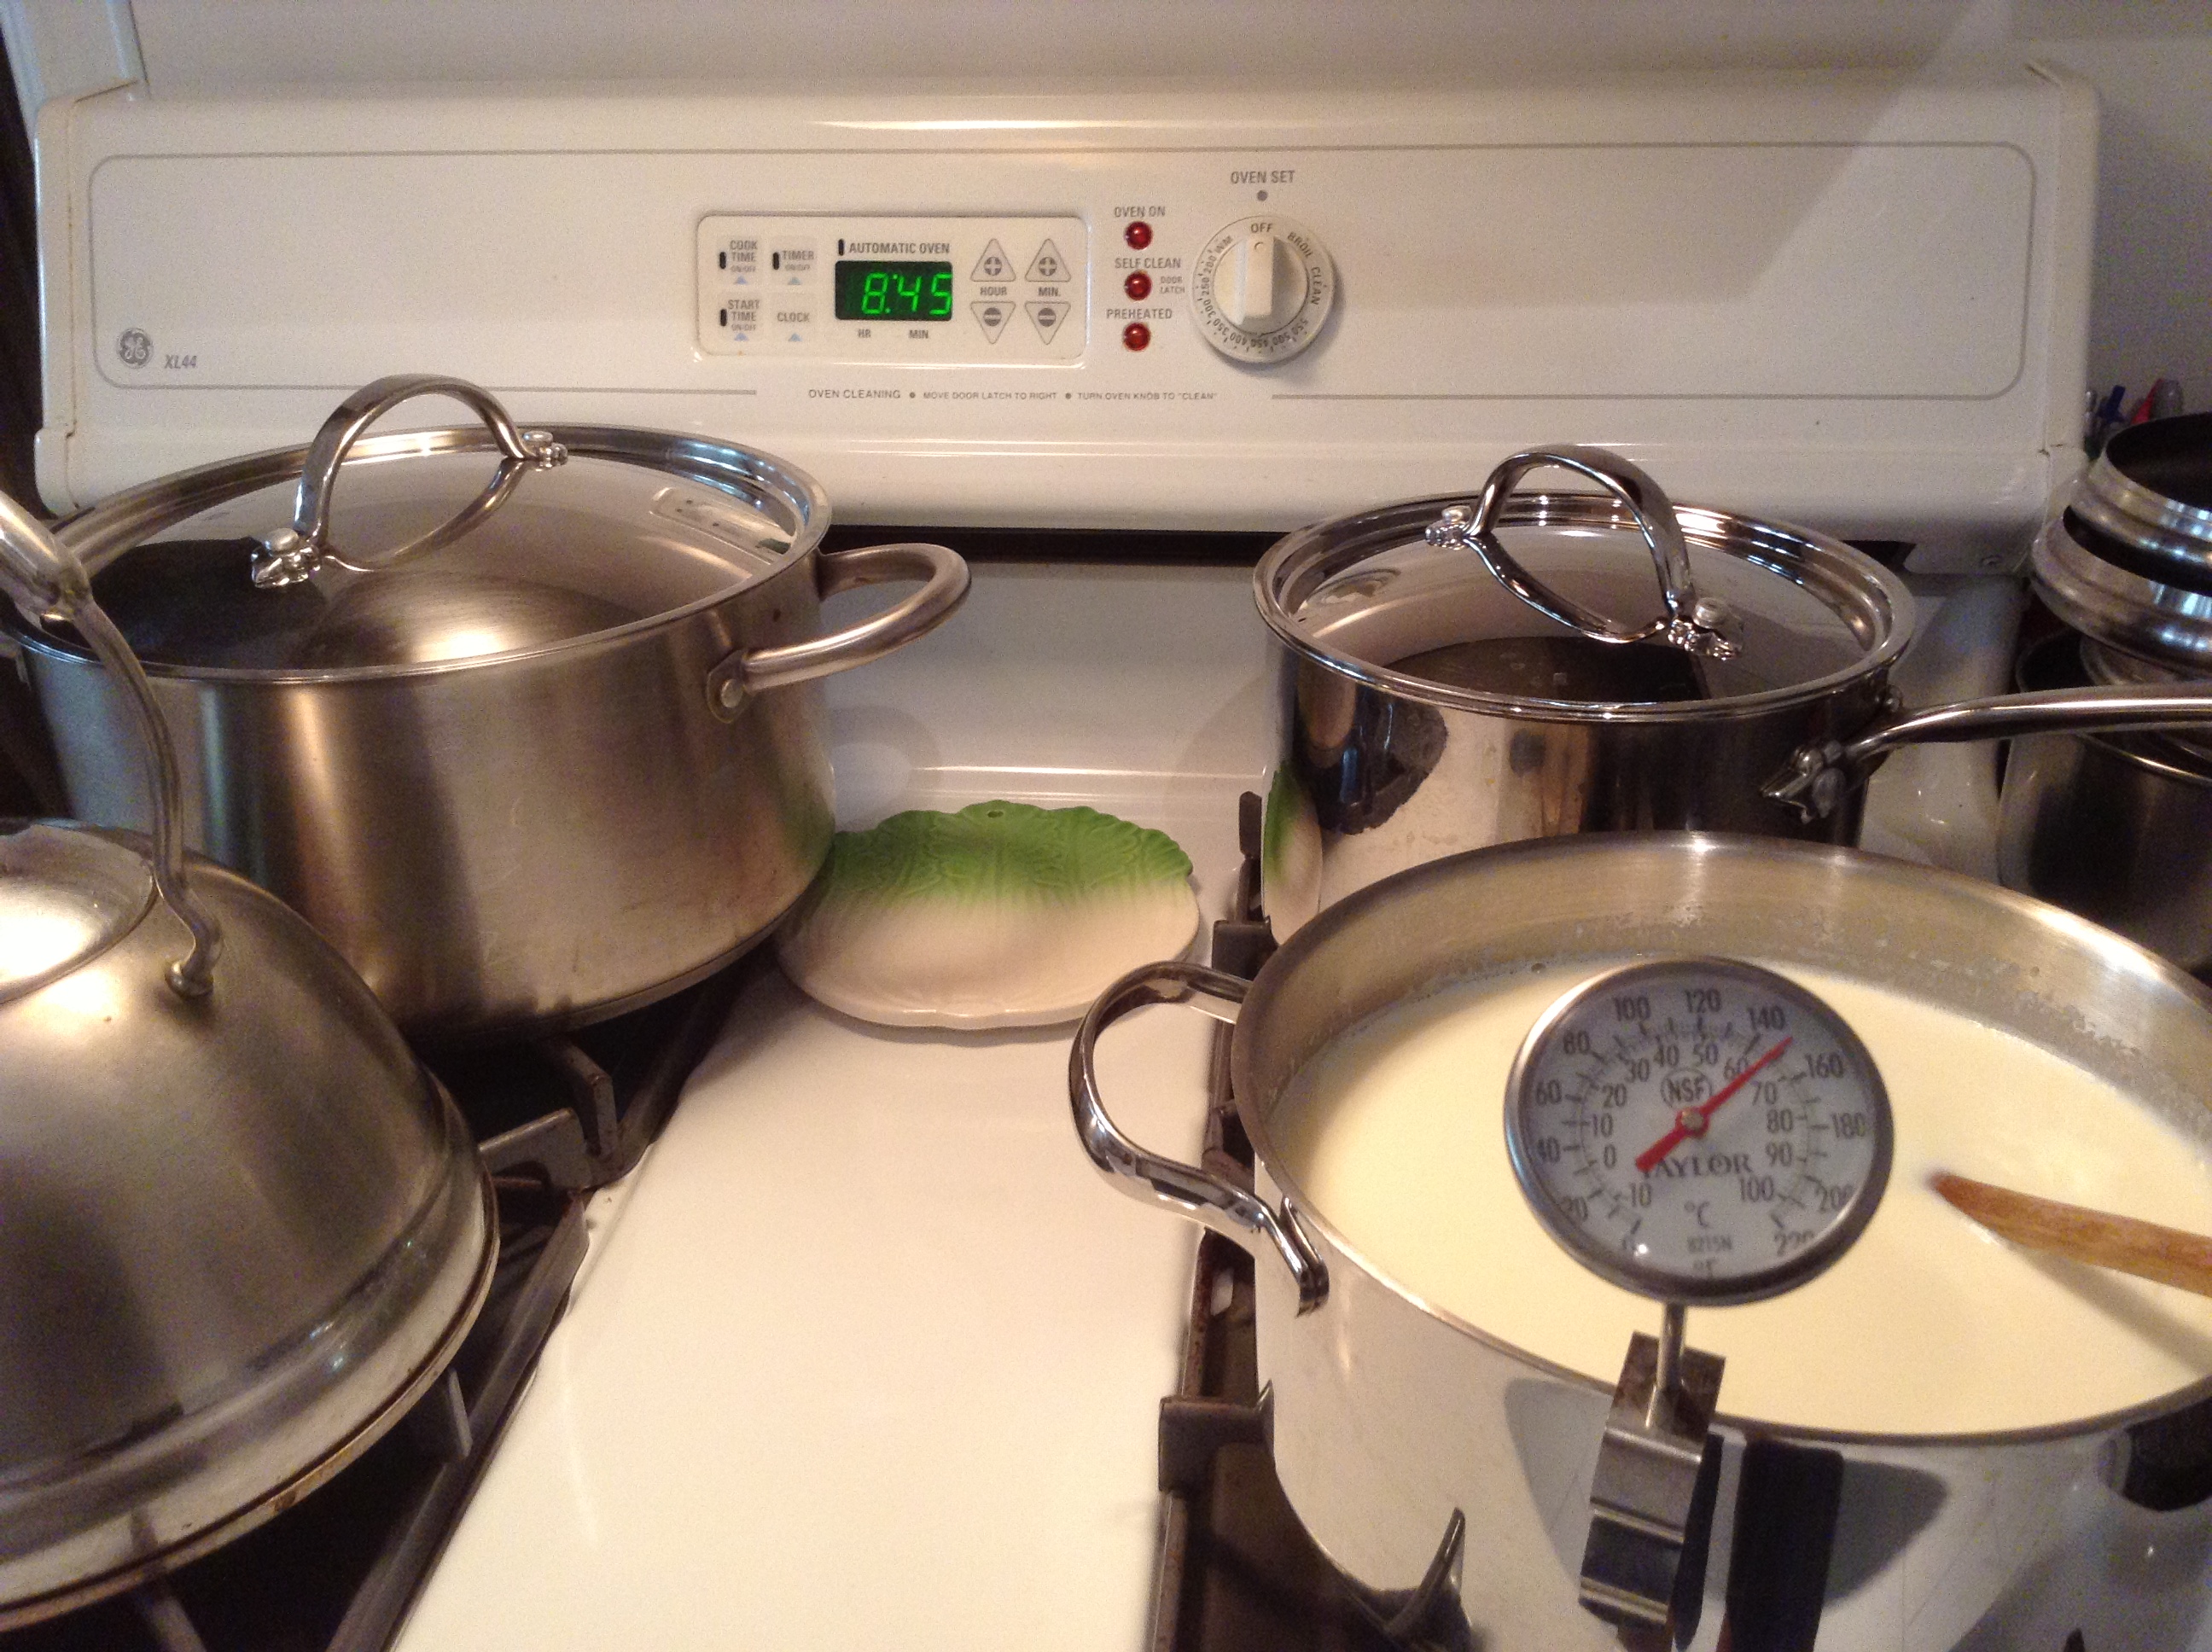
- After about 1 hour, the temperature of the milk has reached 180 degrees Fahrenheit.
Step 5 – Turn off the heat once the milk reached 180 degrees Fahrenheit, and preheat your oven to the lowest temperature – usually 200 degrees is good enough. Once your oven beeps letting you know that it has been “preheated” aka has reached 200 degrees Fahrenheit, turn your oven off. This is not necessarily a required step, I simply do this to make sure that when I incubate the yogurt in the oven it is inside a warm environment that will ensure that the milk doesn’t cool down too much at any point during the incubation process)
Start preheating the oven to the lowest possible temperature – 200 degrees Fahrenheit should be fine.
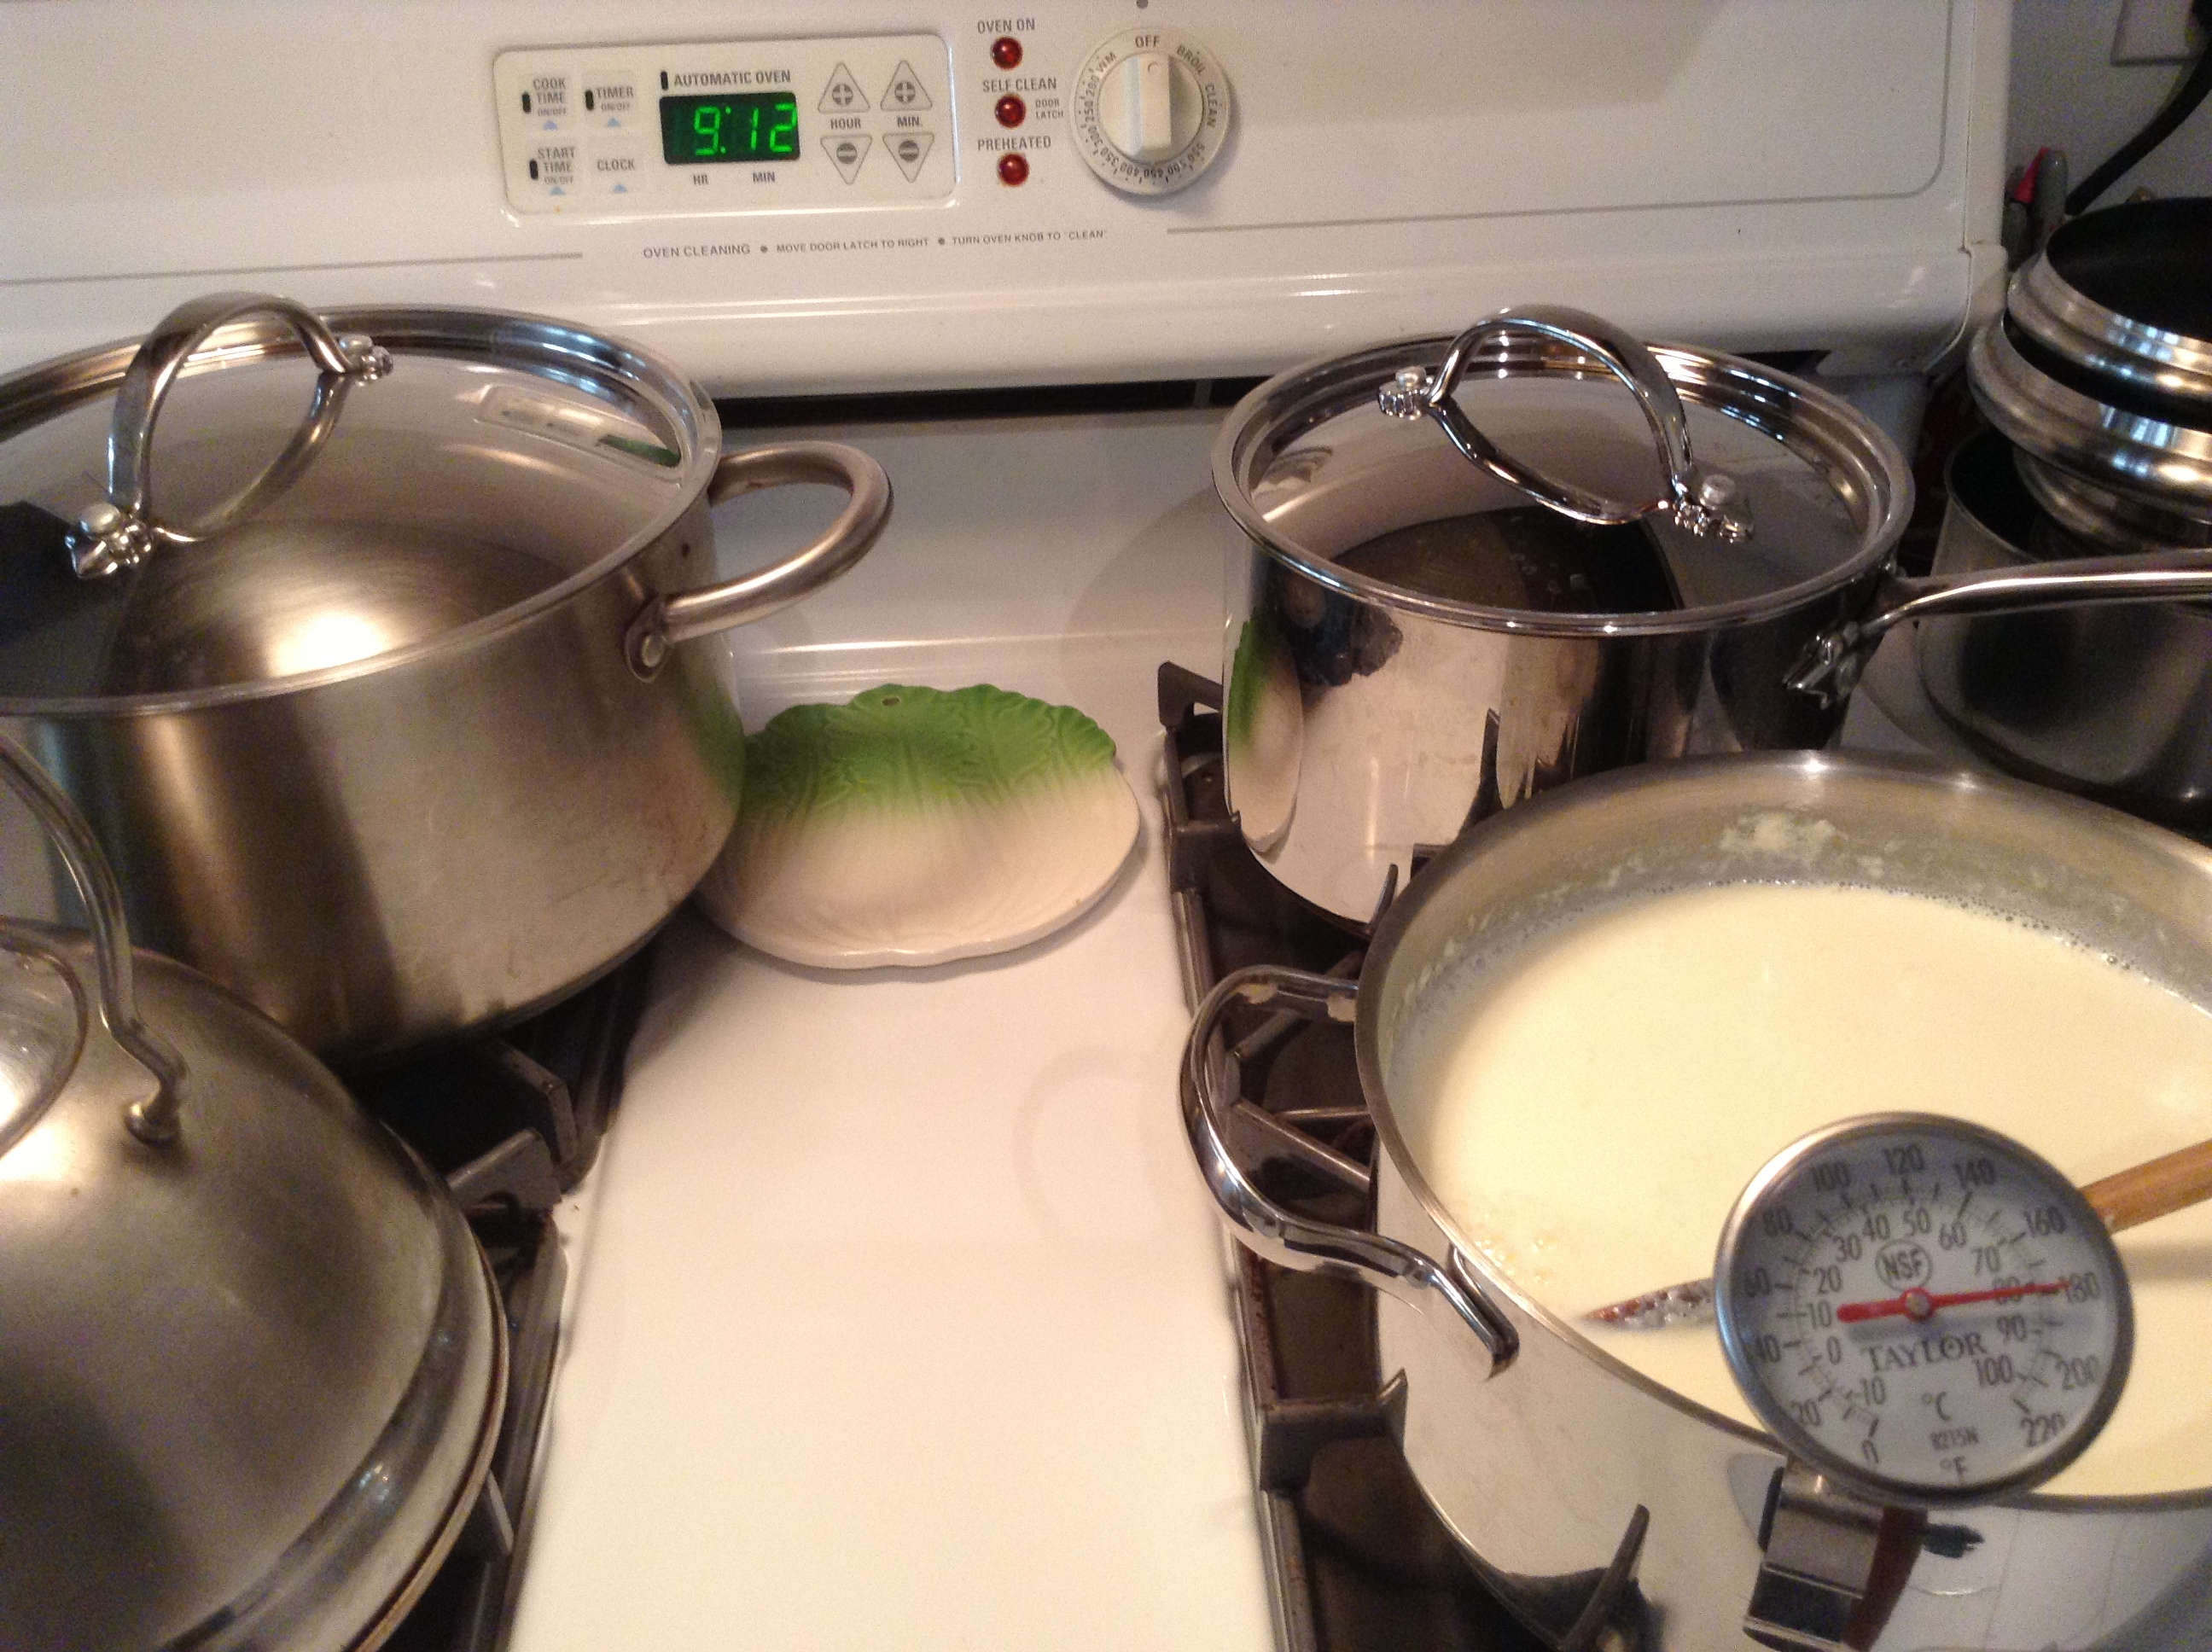
Step 6 – Wait for the milk to reach a temperature that is just above 115 degrees Fahrenheit. This usually takes about half an hour to 45 minutes. (Depending of course how cold your kitchen is…etc)
Wait for the milk to cool to just over 115 degrees Fahrenheit
Step 7 – Once the milk has reached 115 degrees Fahrenheit, take the yogurt from the Fage cup and mix it in to the milk in the pot.
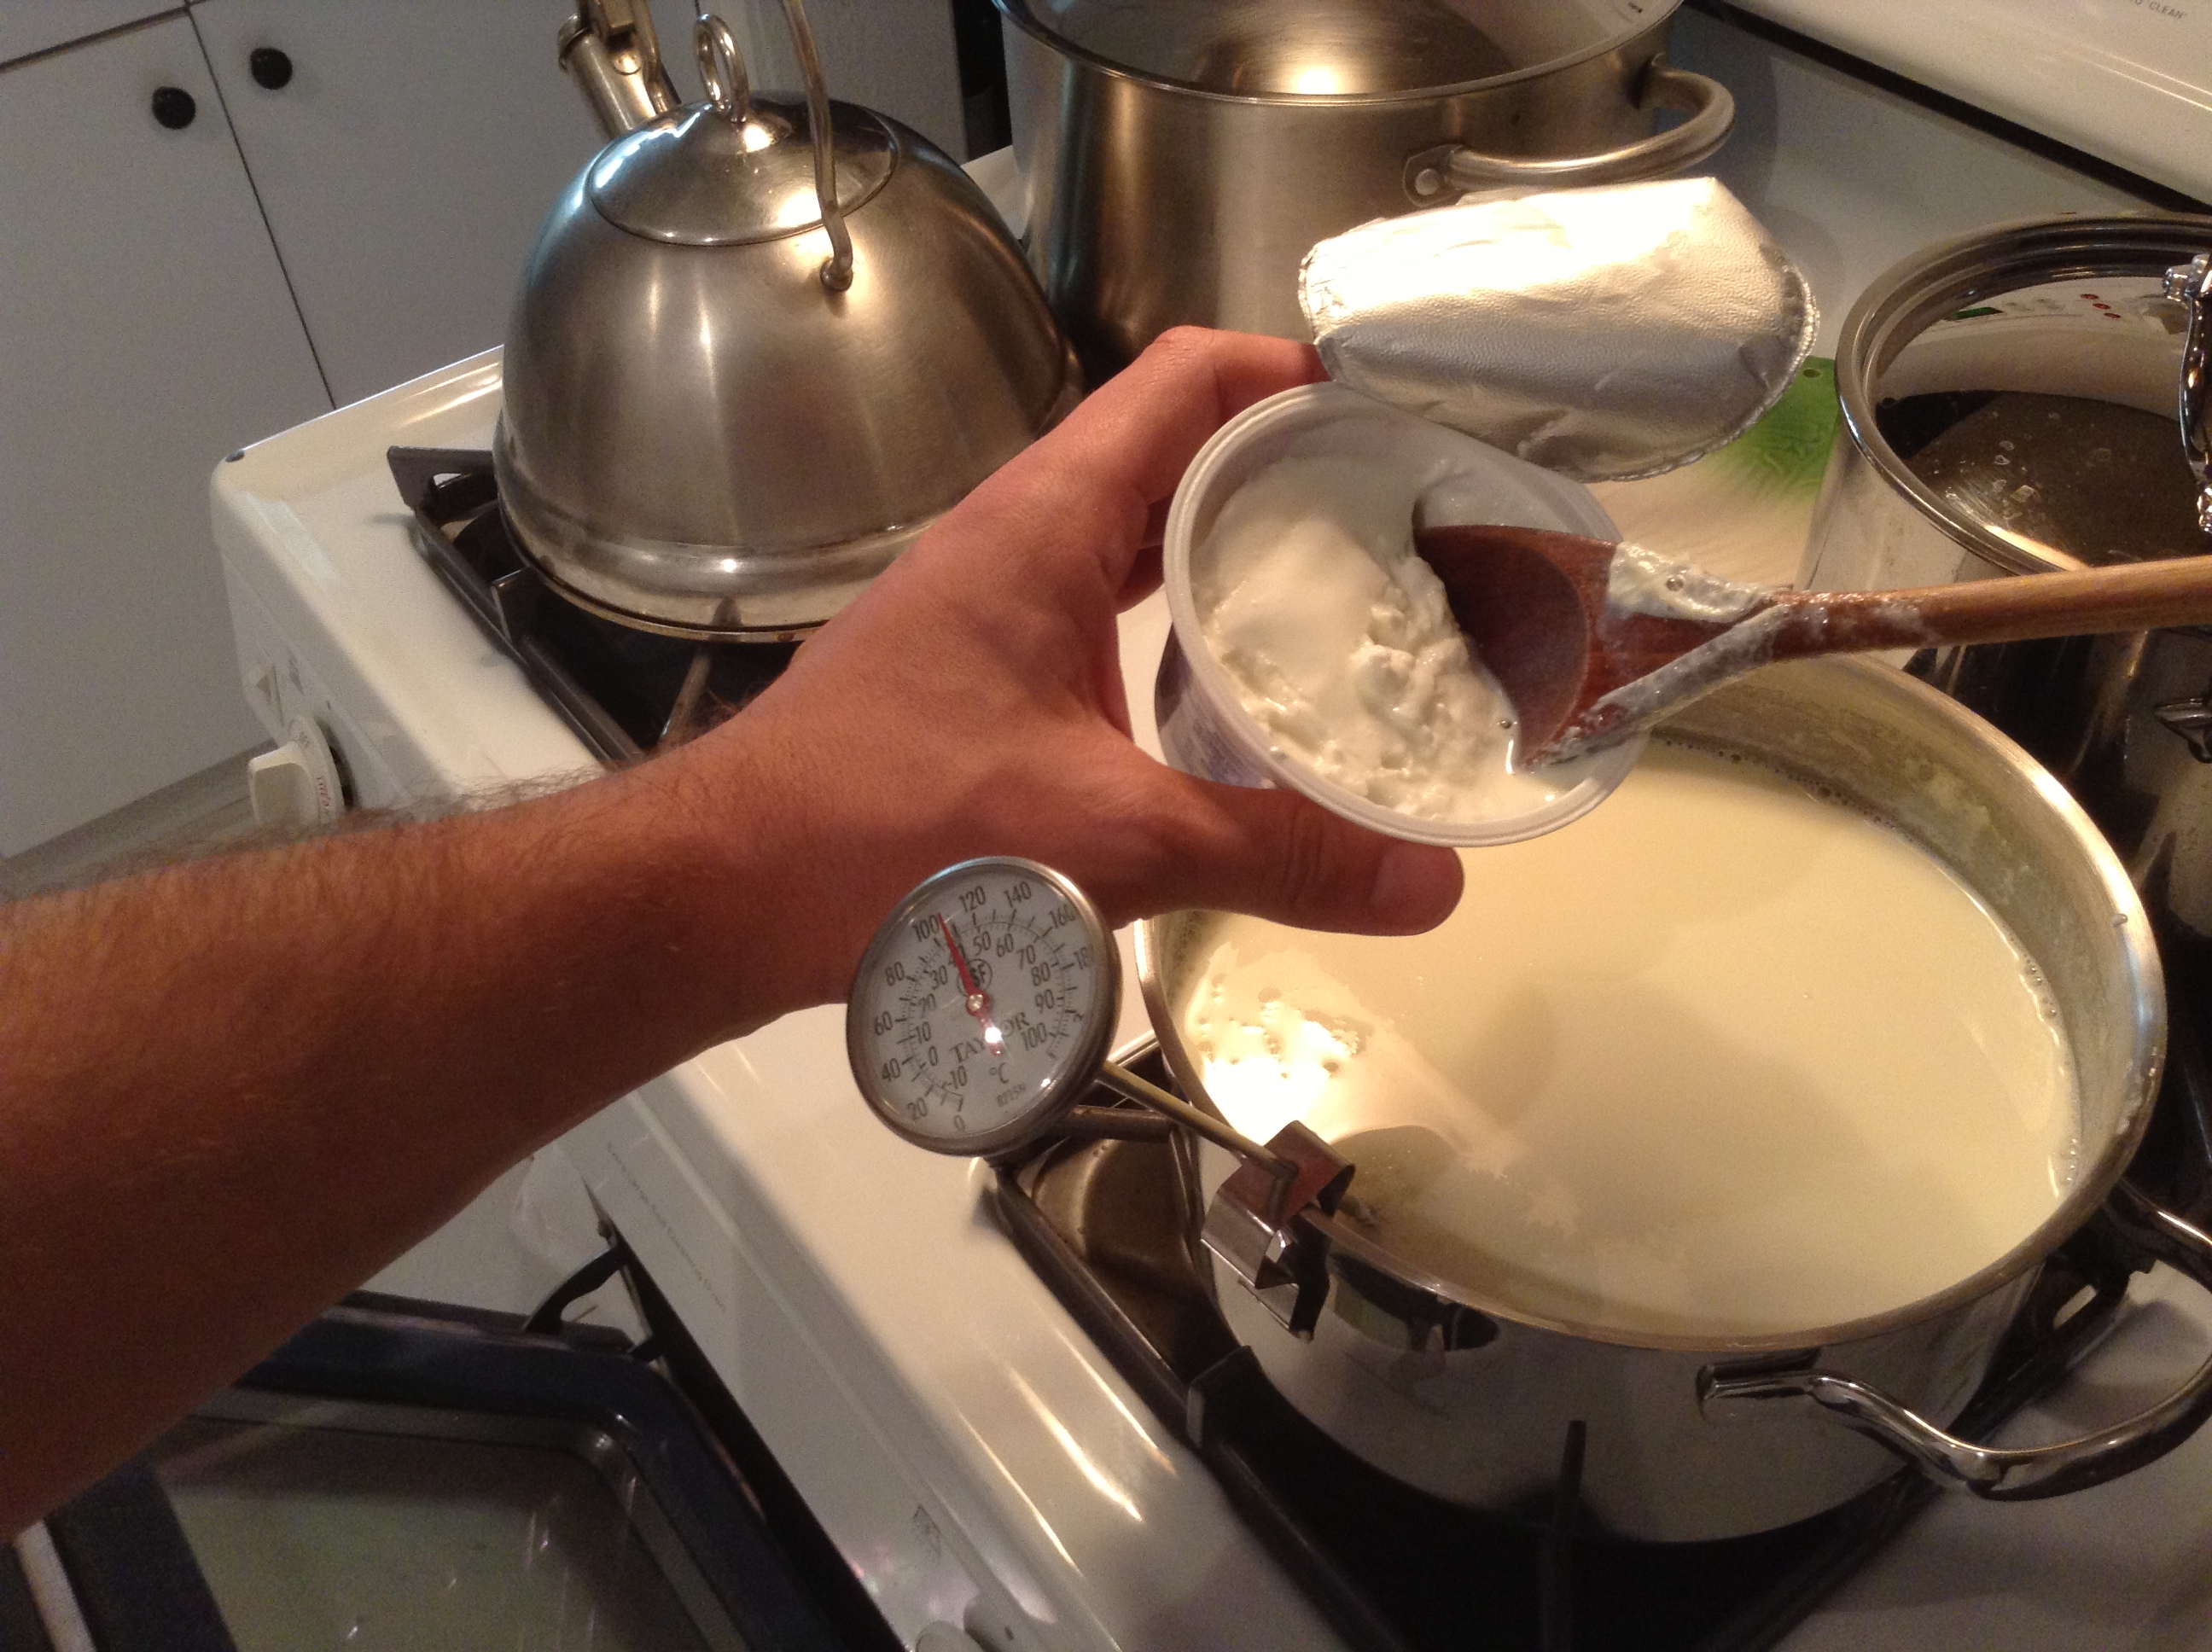
Add yogurt starter to milk and stir it so that the yogurt spreads out and does not clump up into one small area.
Step 8 – Take the thermometer out of the pot, put the lid back on and wrap the pot in the towel. Remember, the goal here is for the pot to maintain as much of a constant temperature as possible. Don’t worry about air not being able to get into the pot or anything like that.
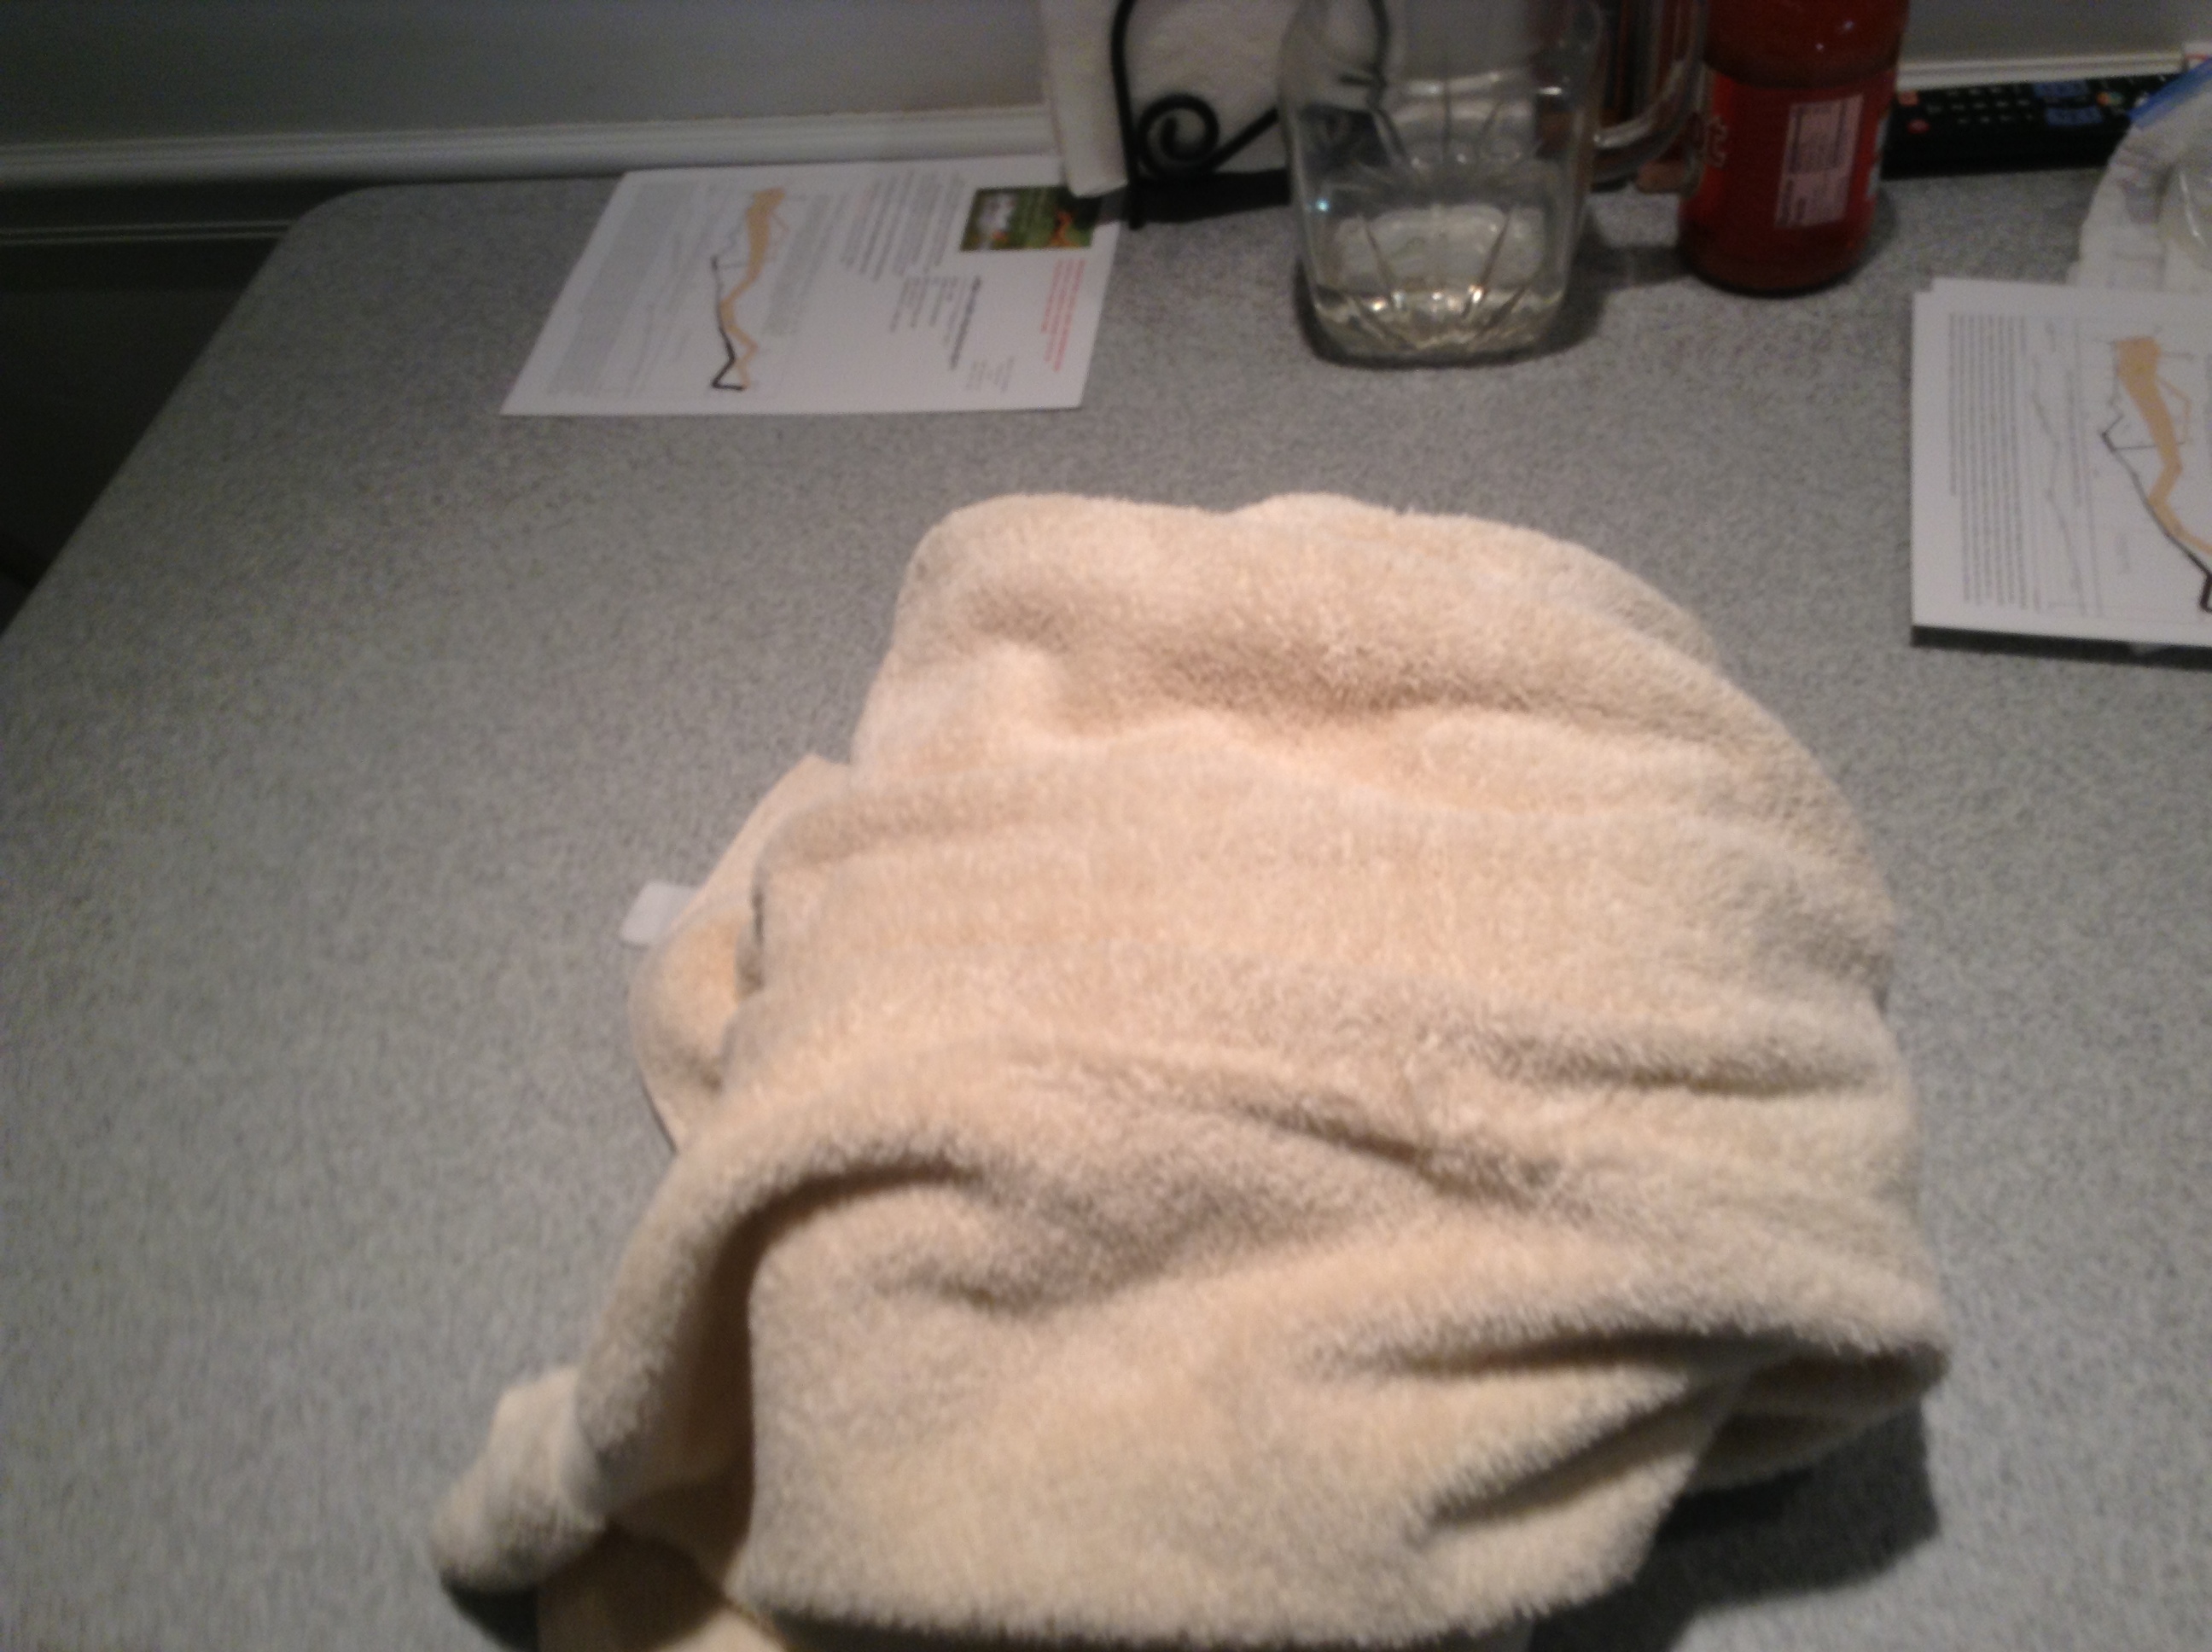
Wrap the pot which contains milk which is roughly 115 degrees Fahrenheit and contains the starter yogurt.
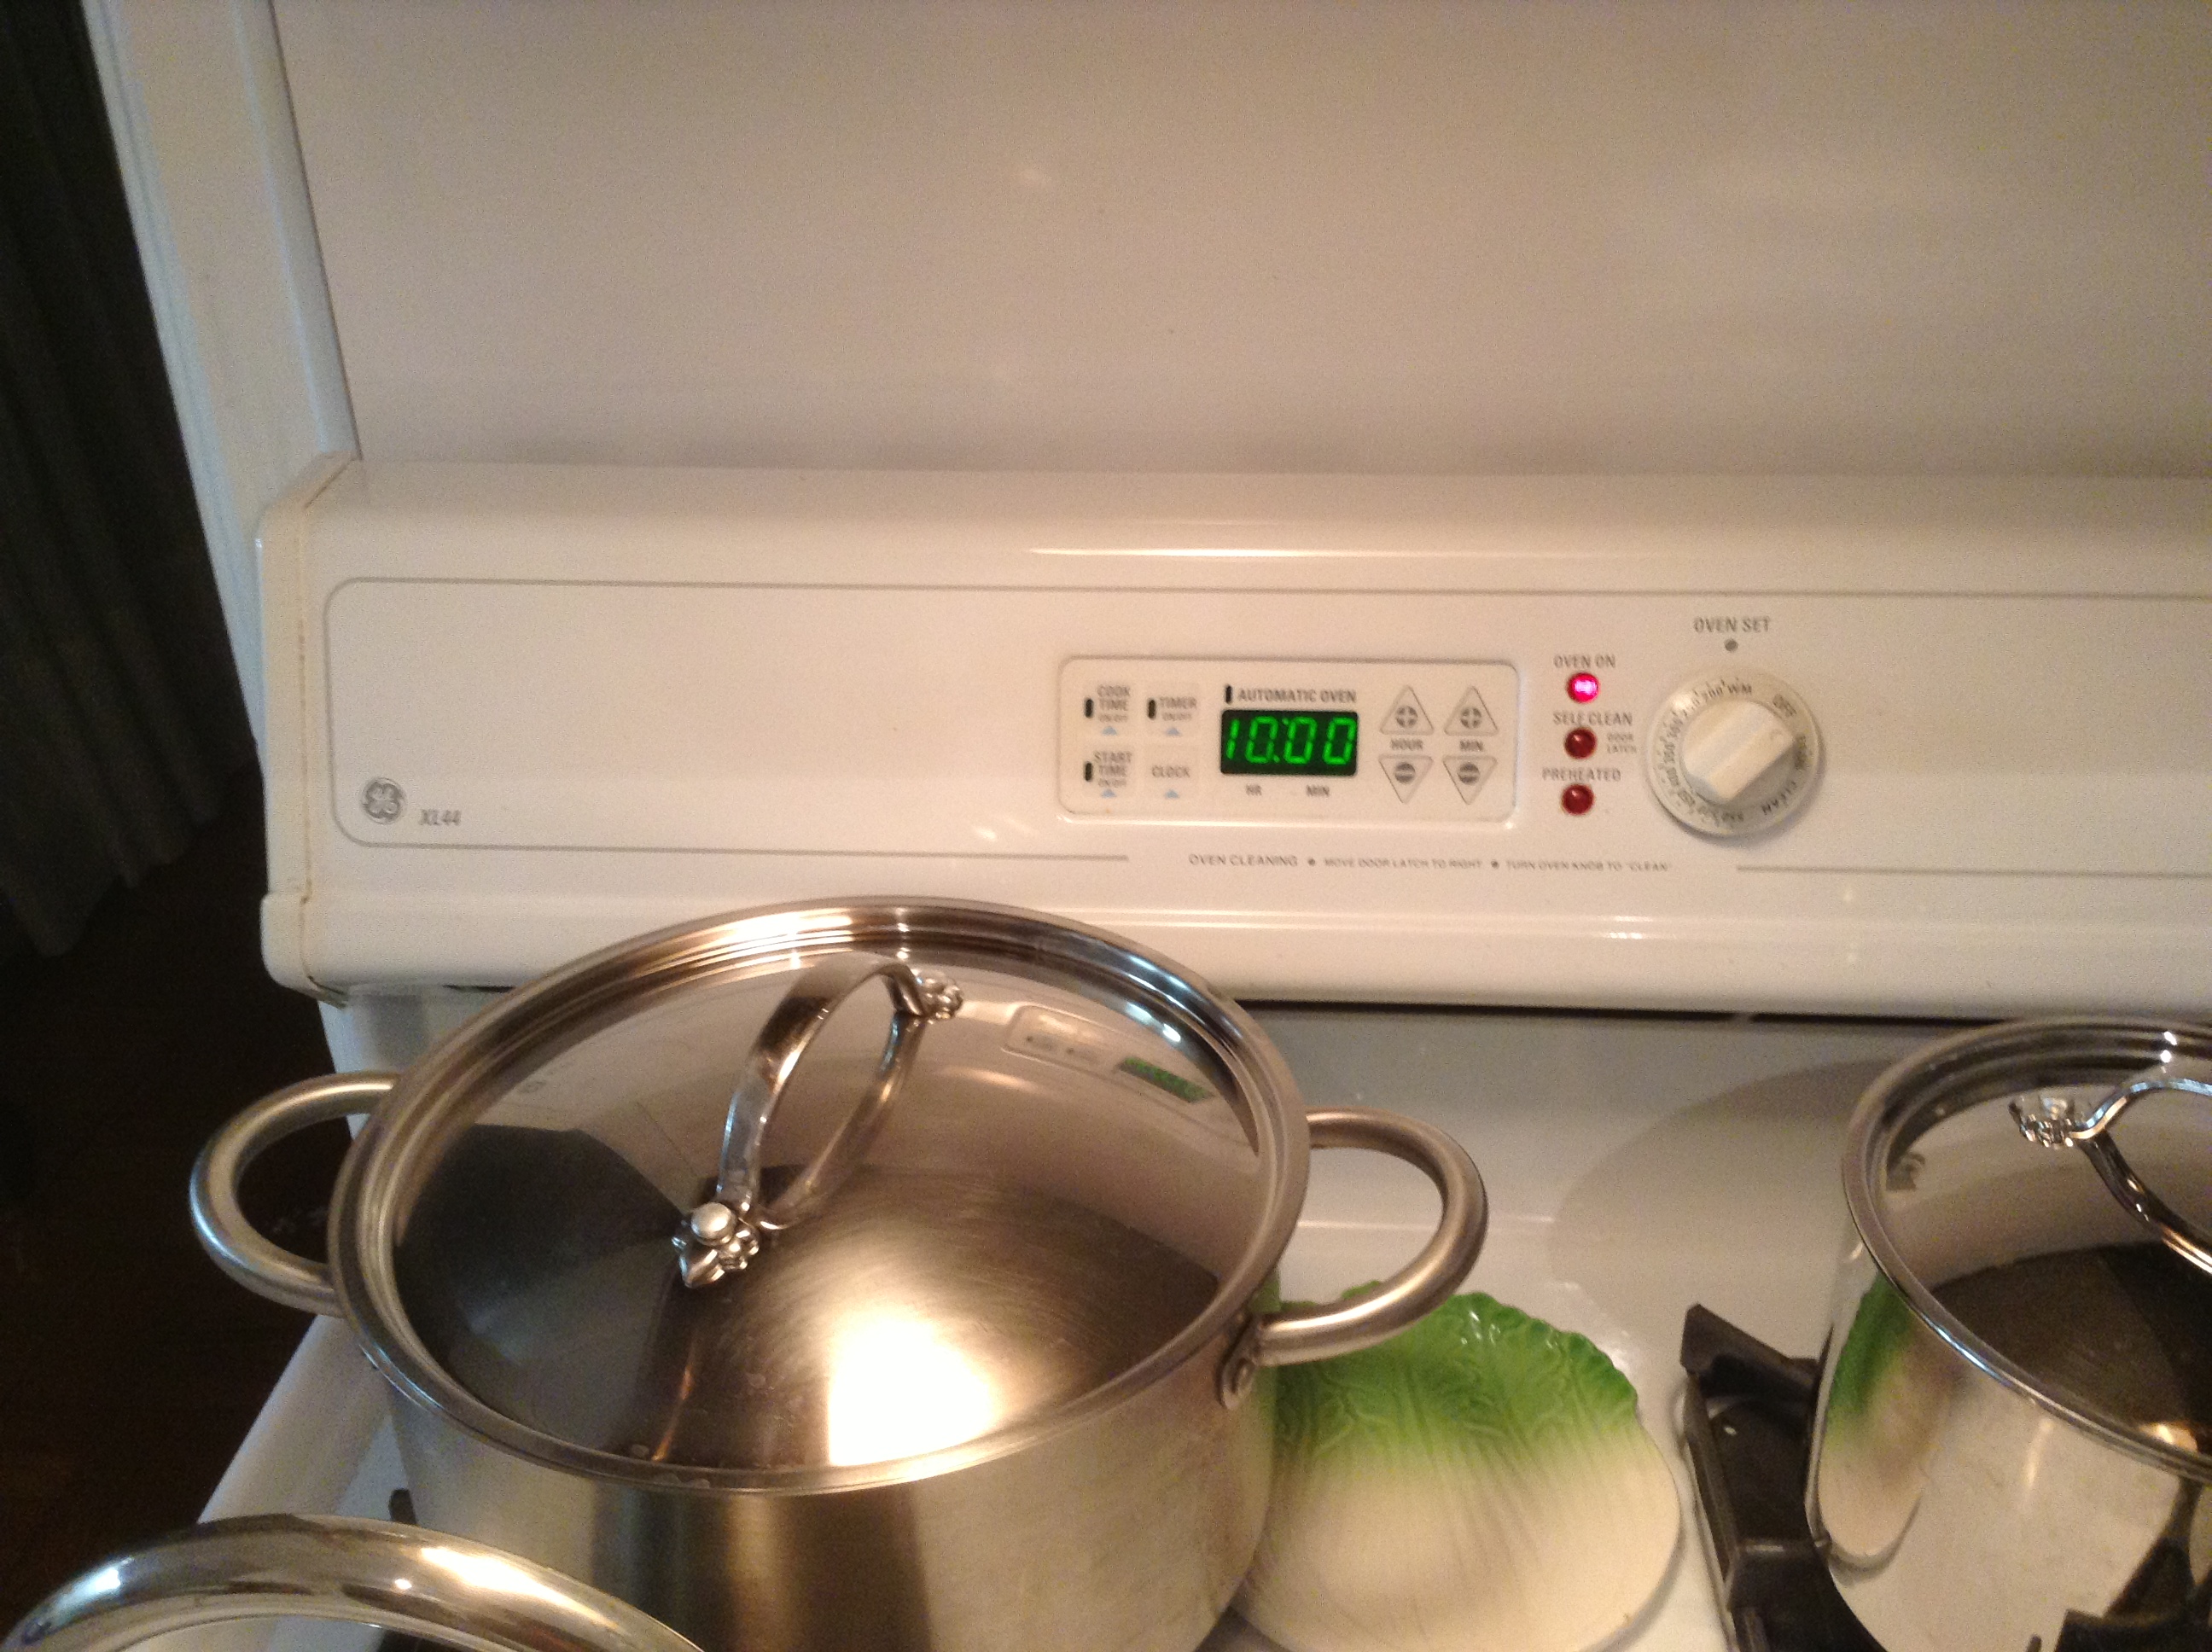
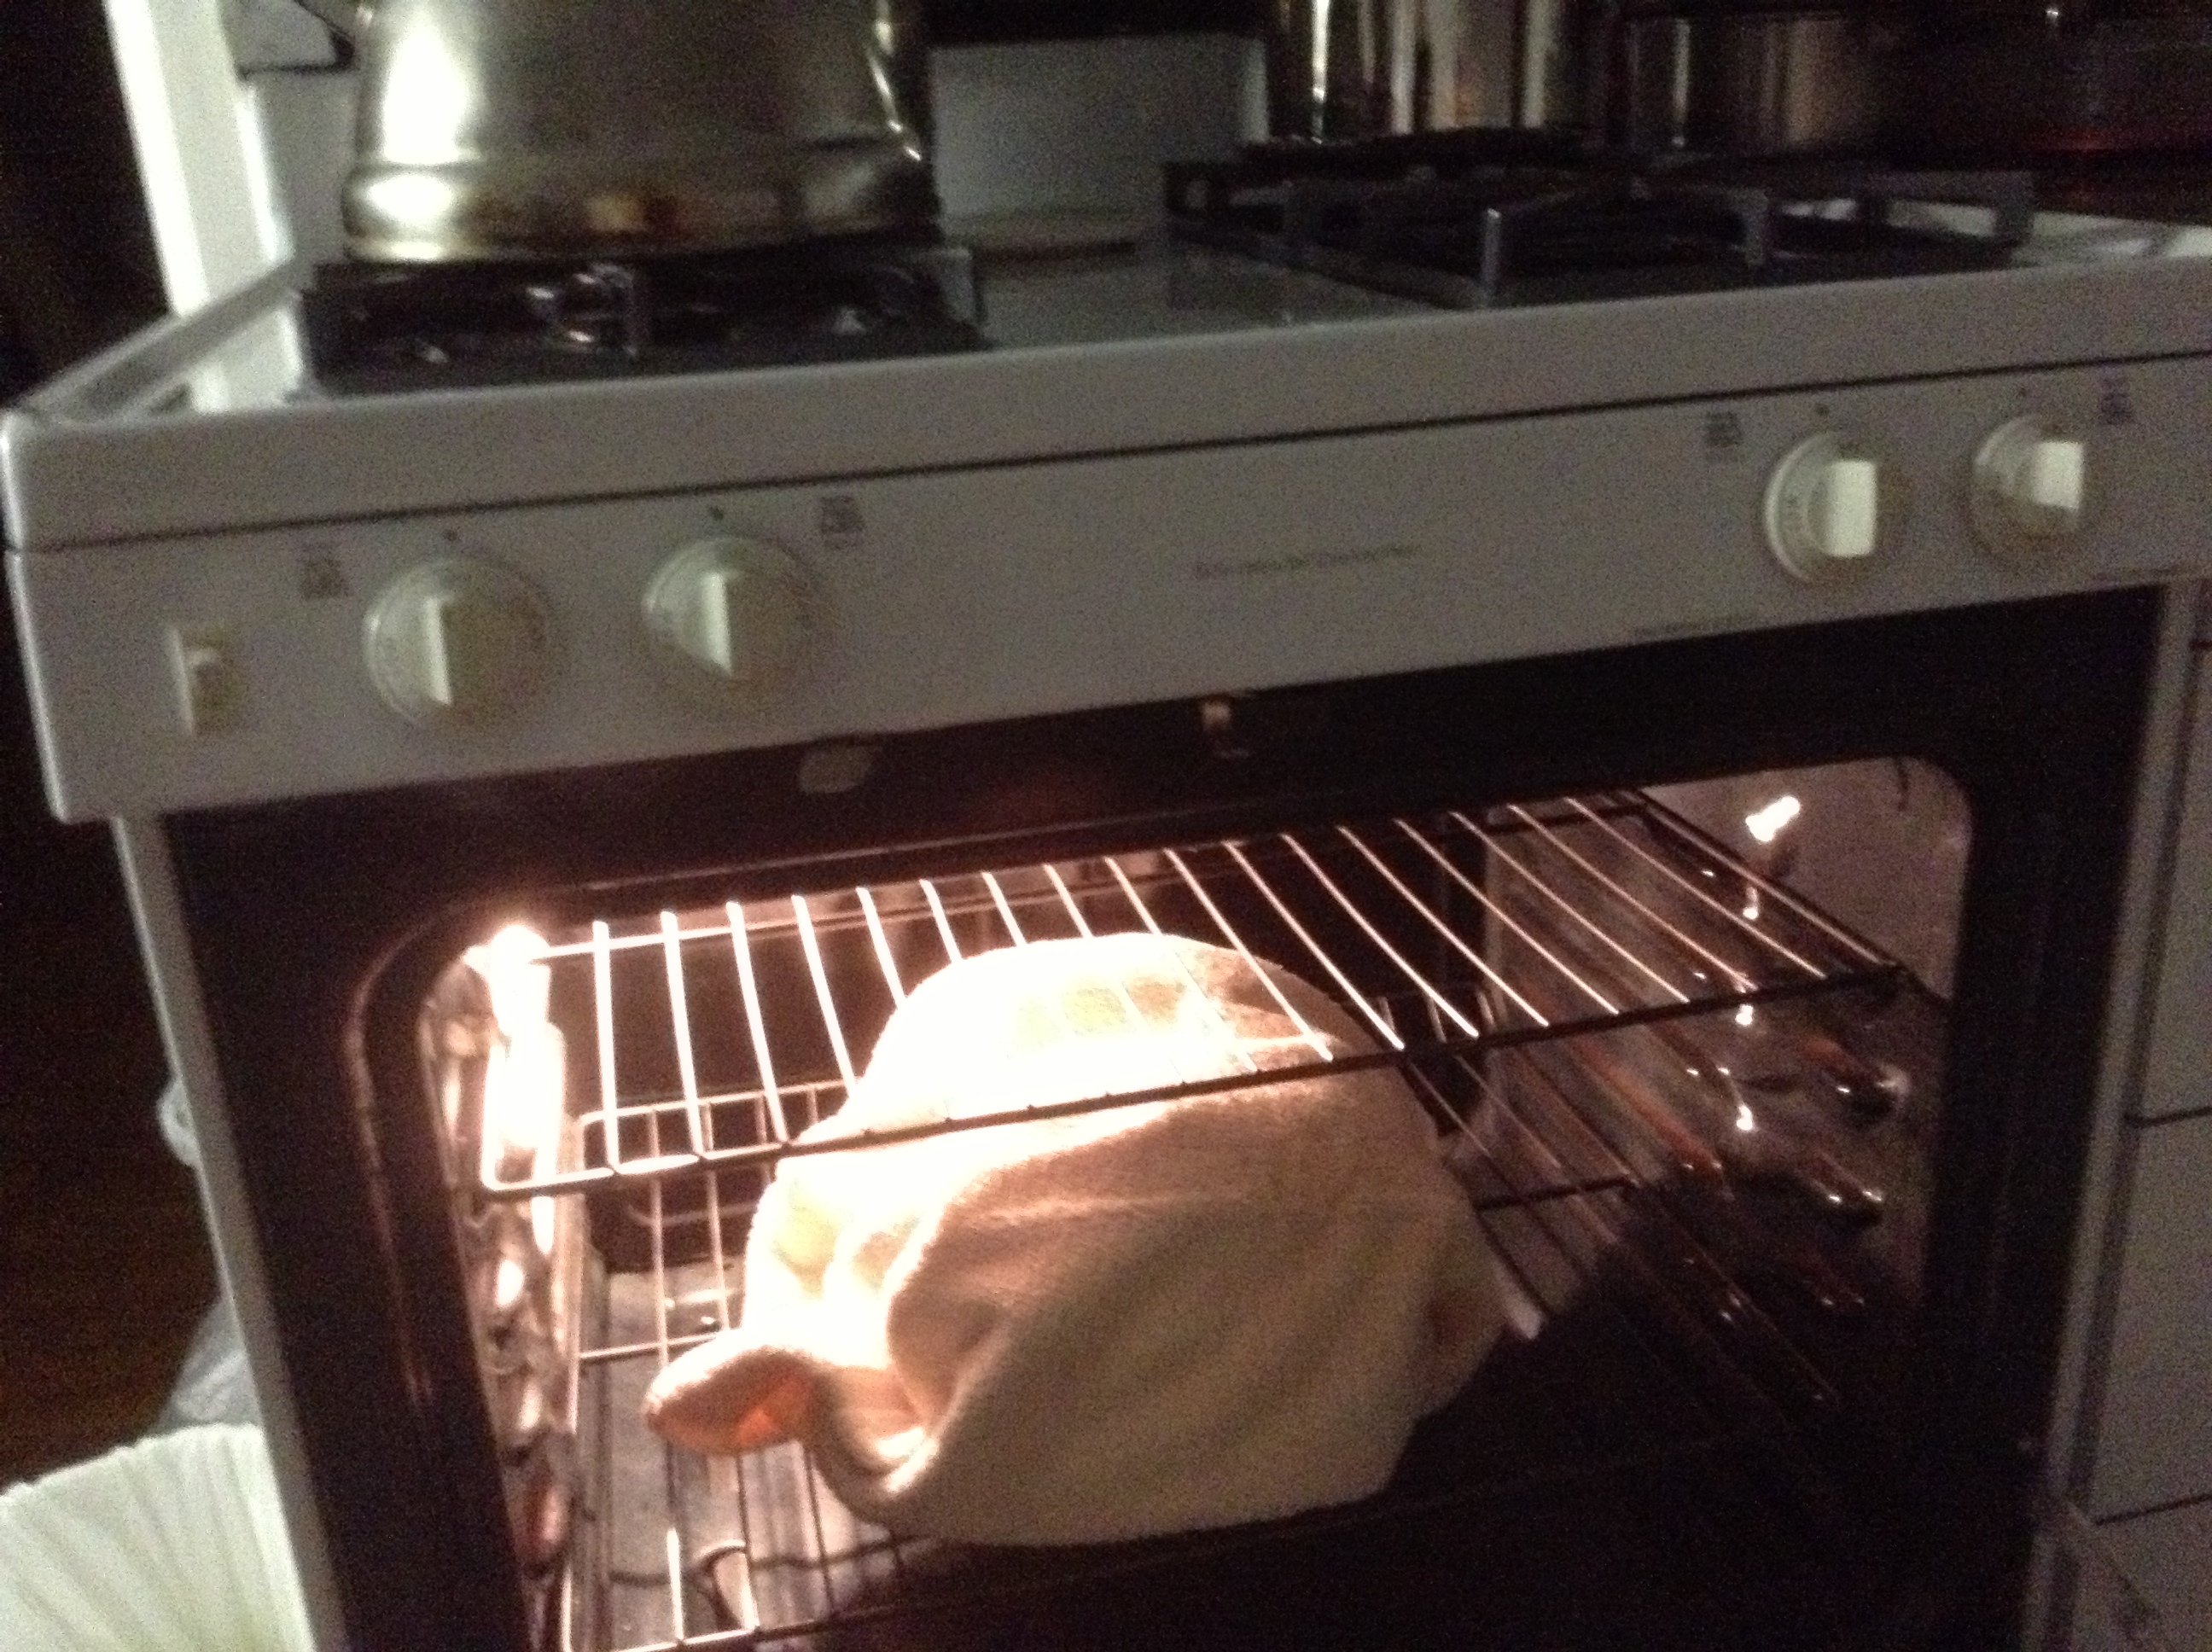
Step 9 – Place the pot wrapped in the towel into the oven and set the oven timer to 8 hours. Note: Make sure the oven is off! (Yes, if you forgot your oven on, a fire may break out, or you will start smelling a burning towel before realizing you forgot it on…)
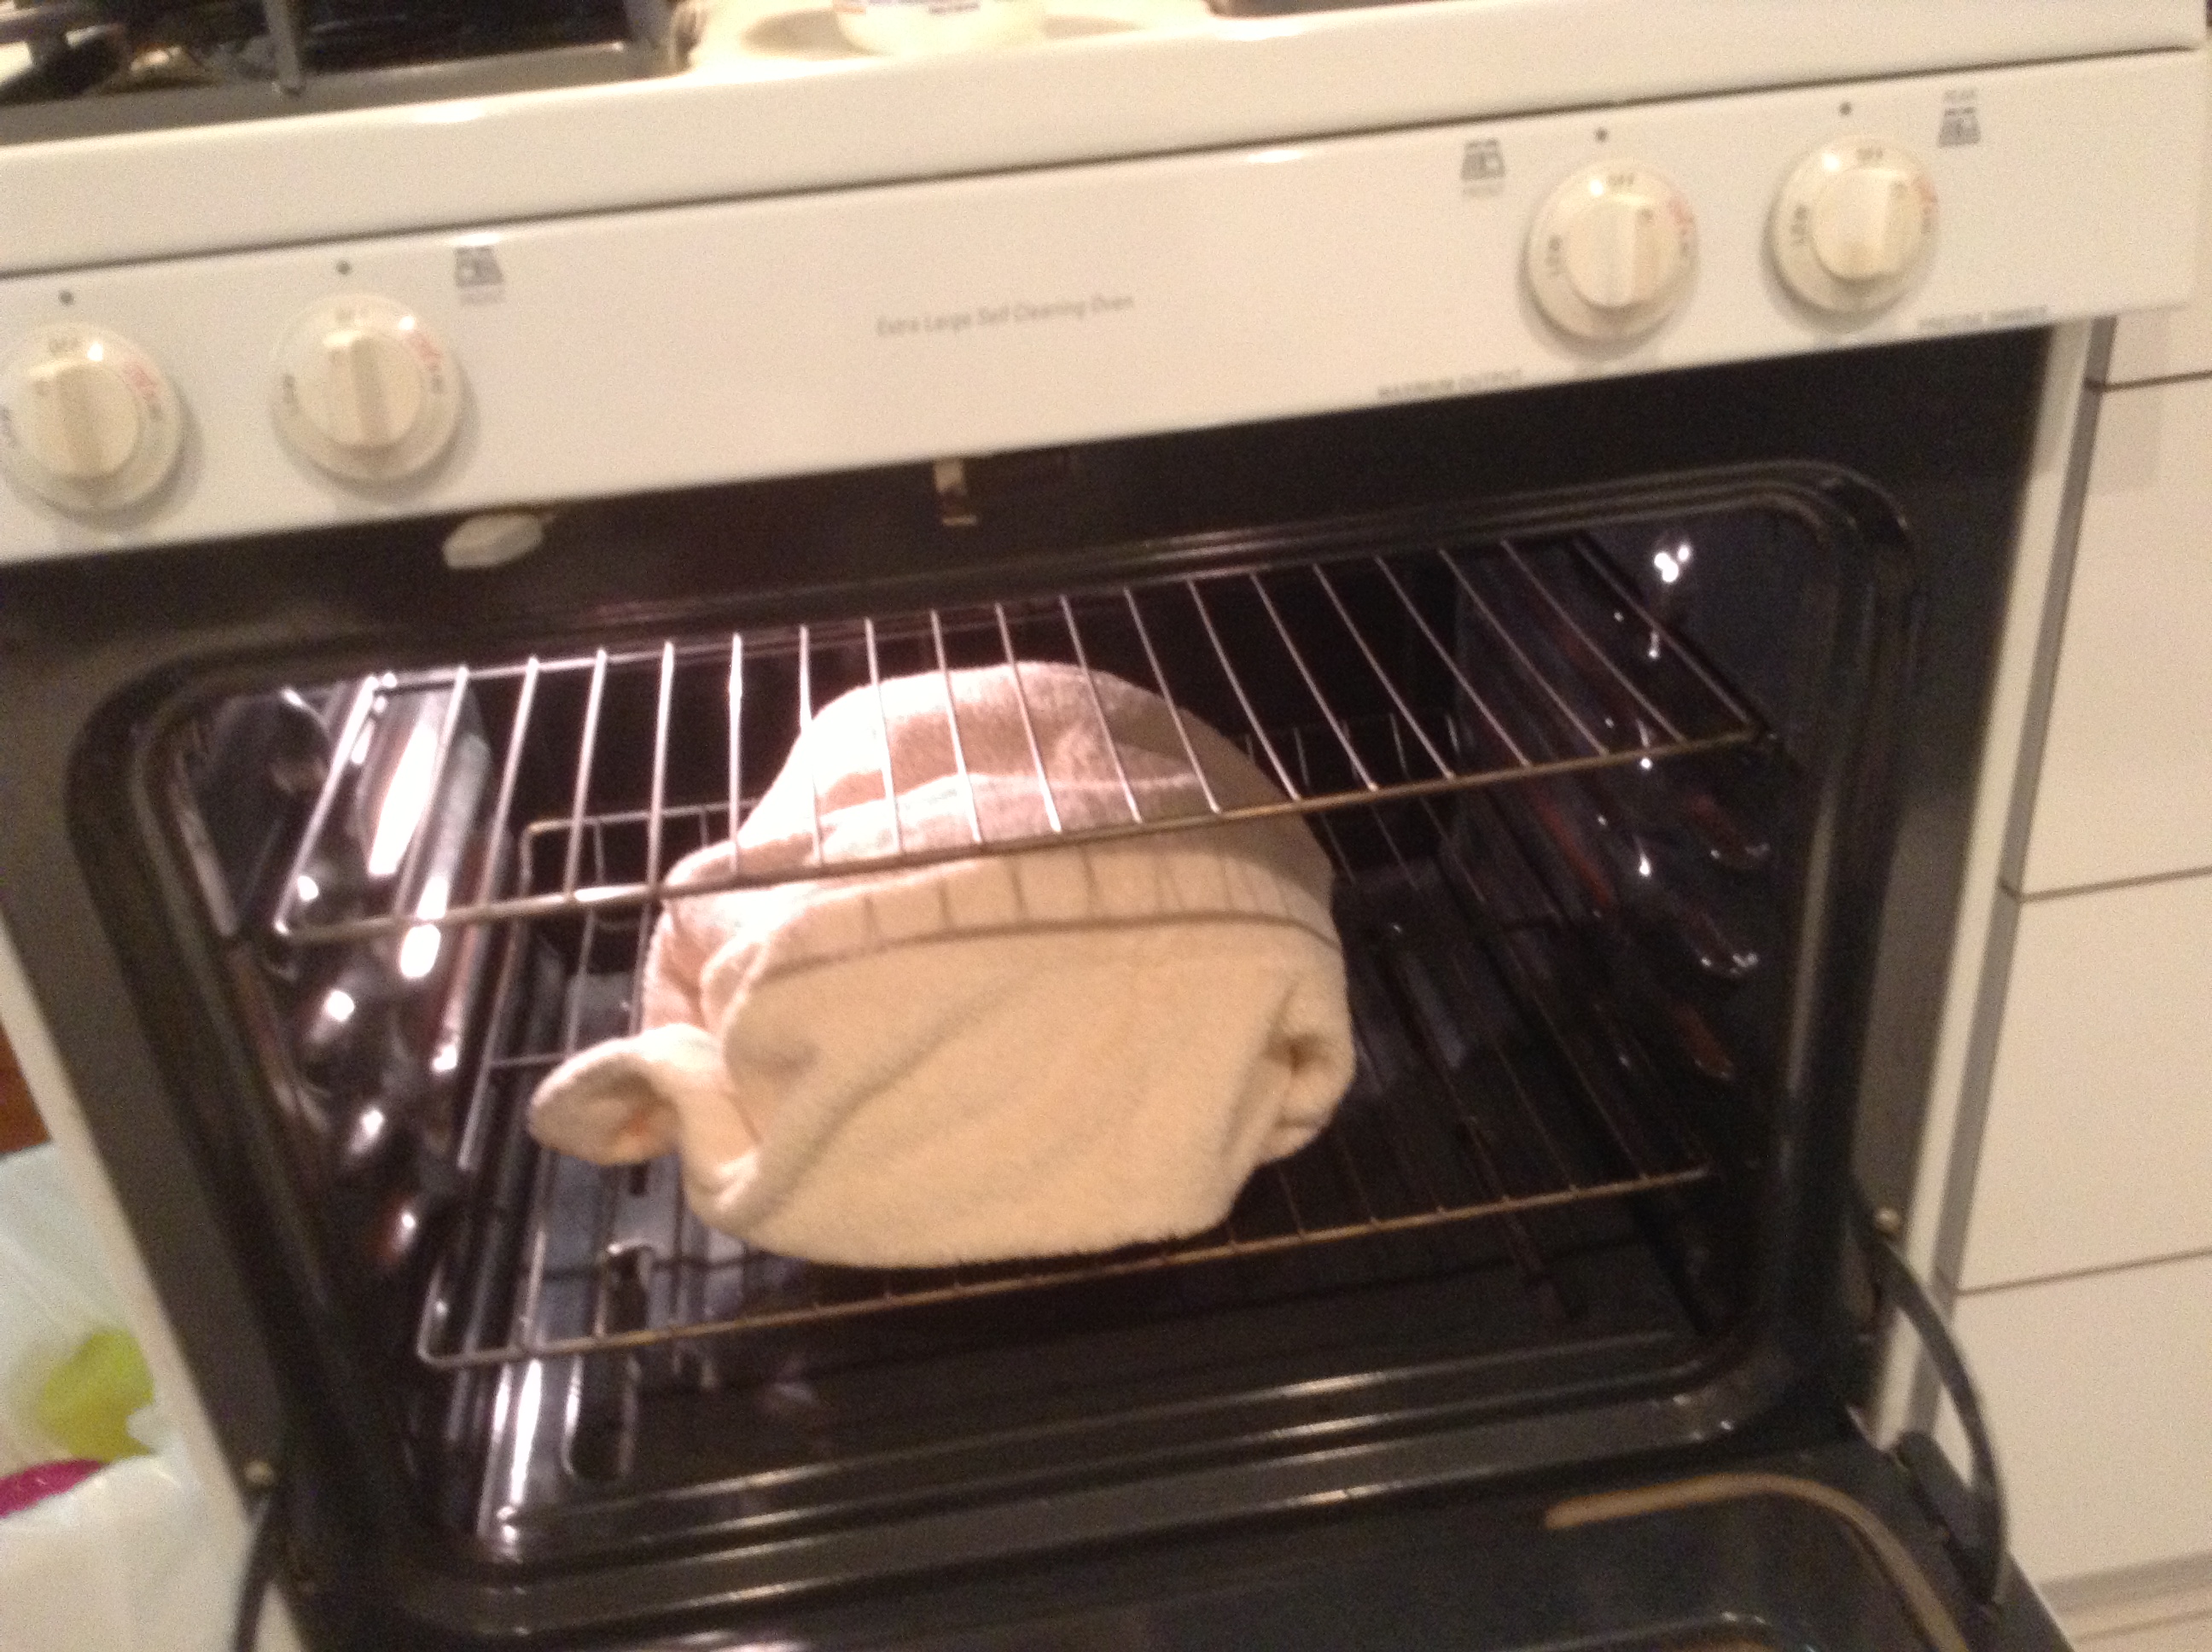
Place pot wrapped in towel into the oven and set the oven timer to 8 hours.
Setting the oven timer…
Step 10 – Take some raw honey (yes, unpasteurized honey that you can get from your local farmers market) and place some into the yogurt that you were unable to scoop out of the fage cup and eat it! This is a treat and the last time you will likely buy yogurt from the supermarket other than to use for making yogurt)
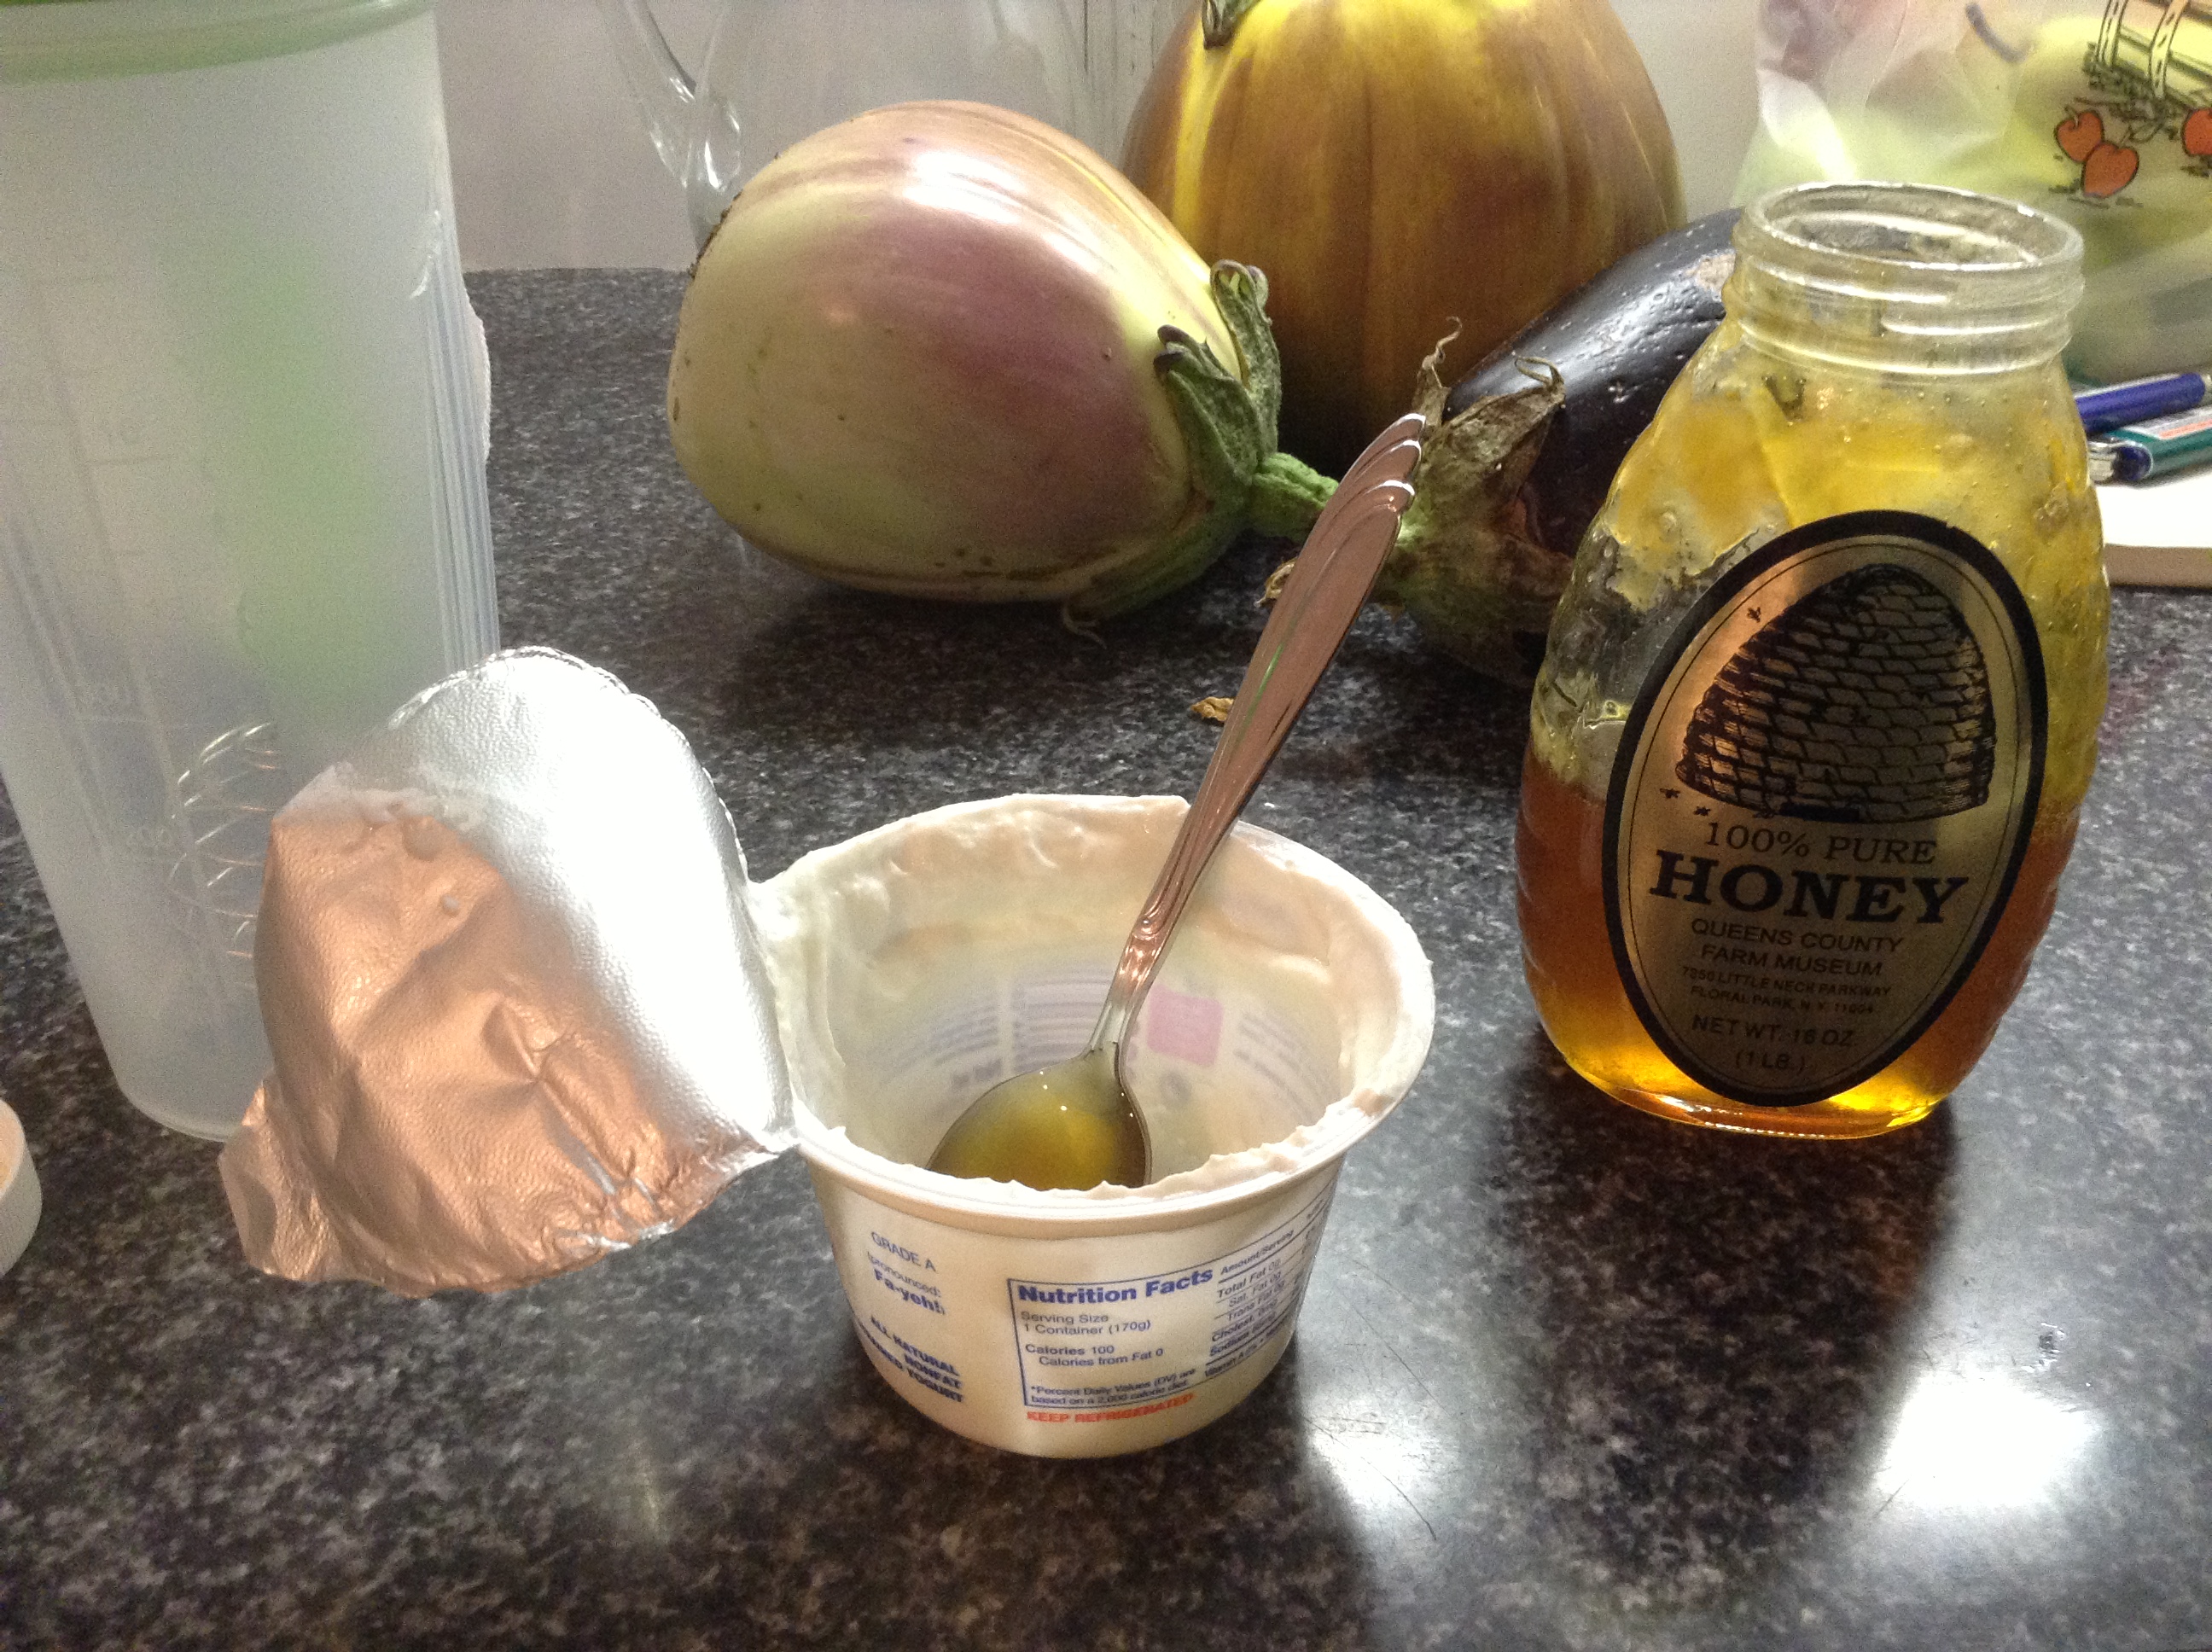
Treat time – add some honey to your the remaining starter yogurt and eat it!
Step 11 – Return after 11 hours and remove the pot from the oven and enjoy your yogurt! Or, you can continue this guide to turn this regular yogurt into Greek yogurt…
After 8 hours of incubation…
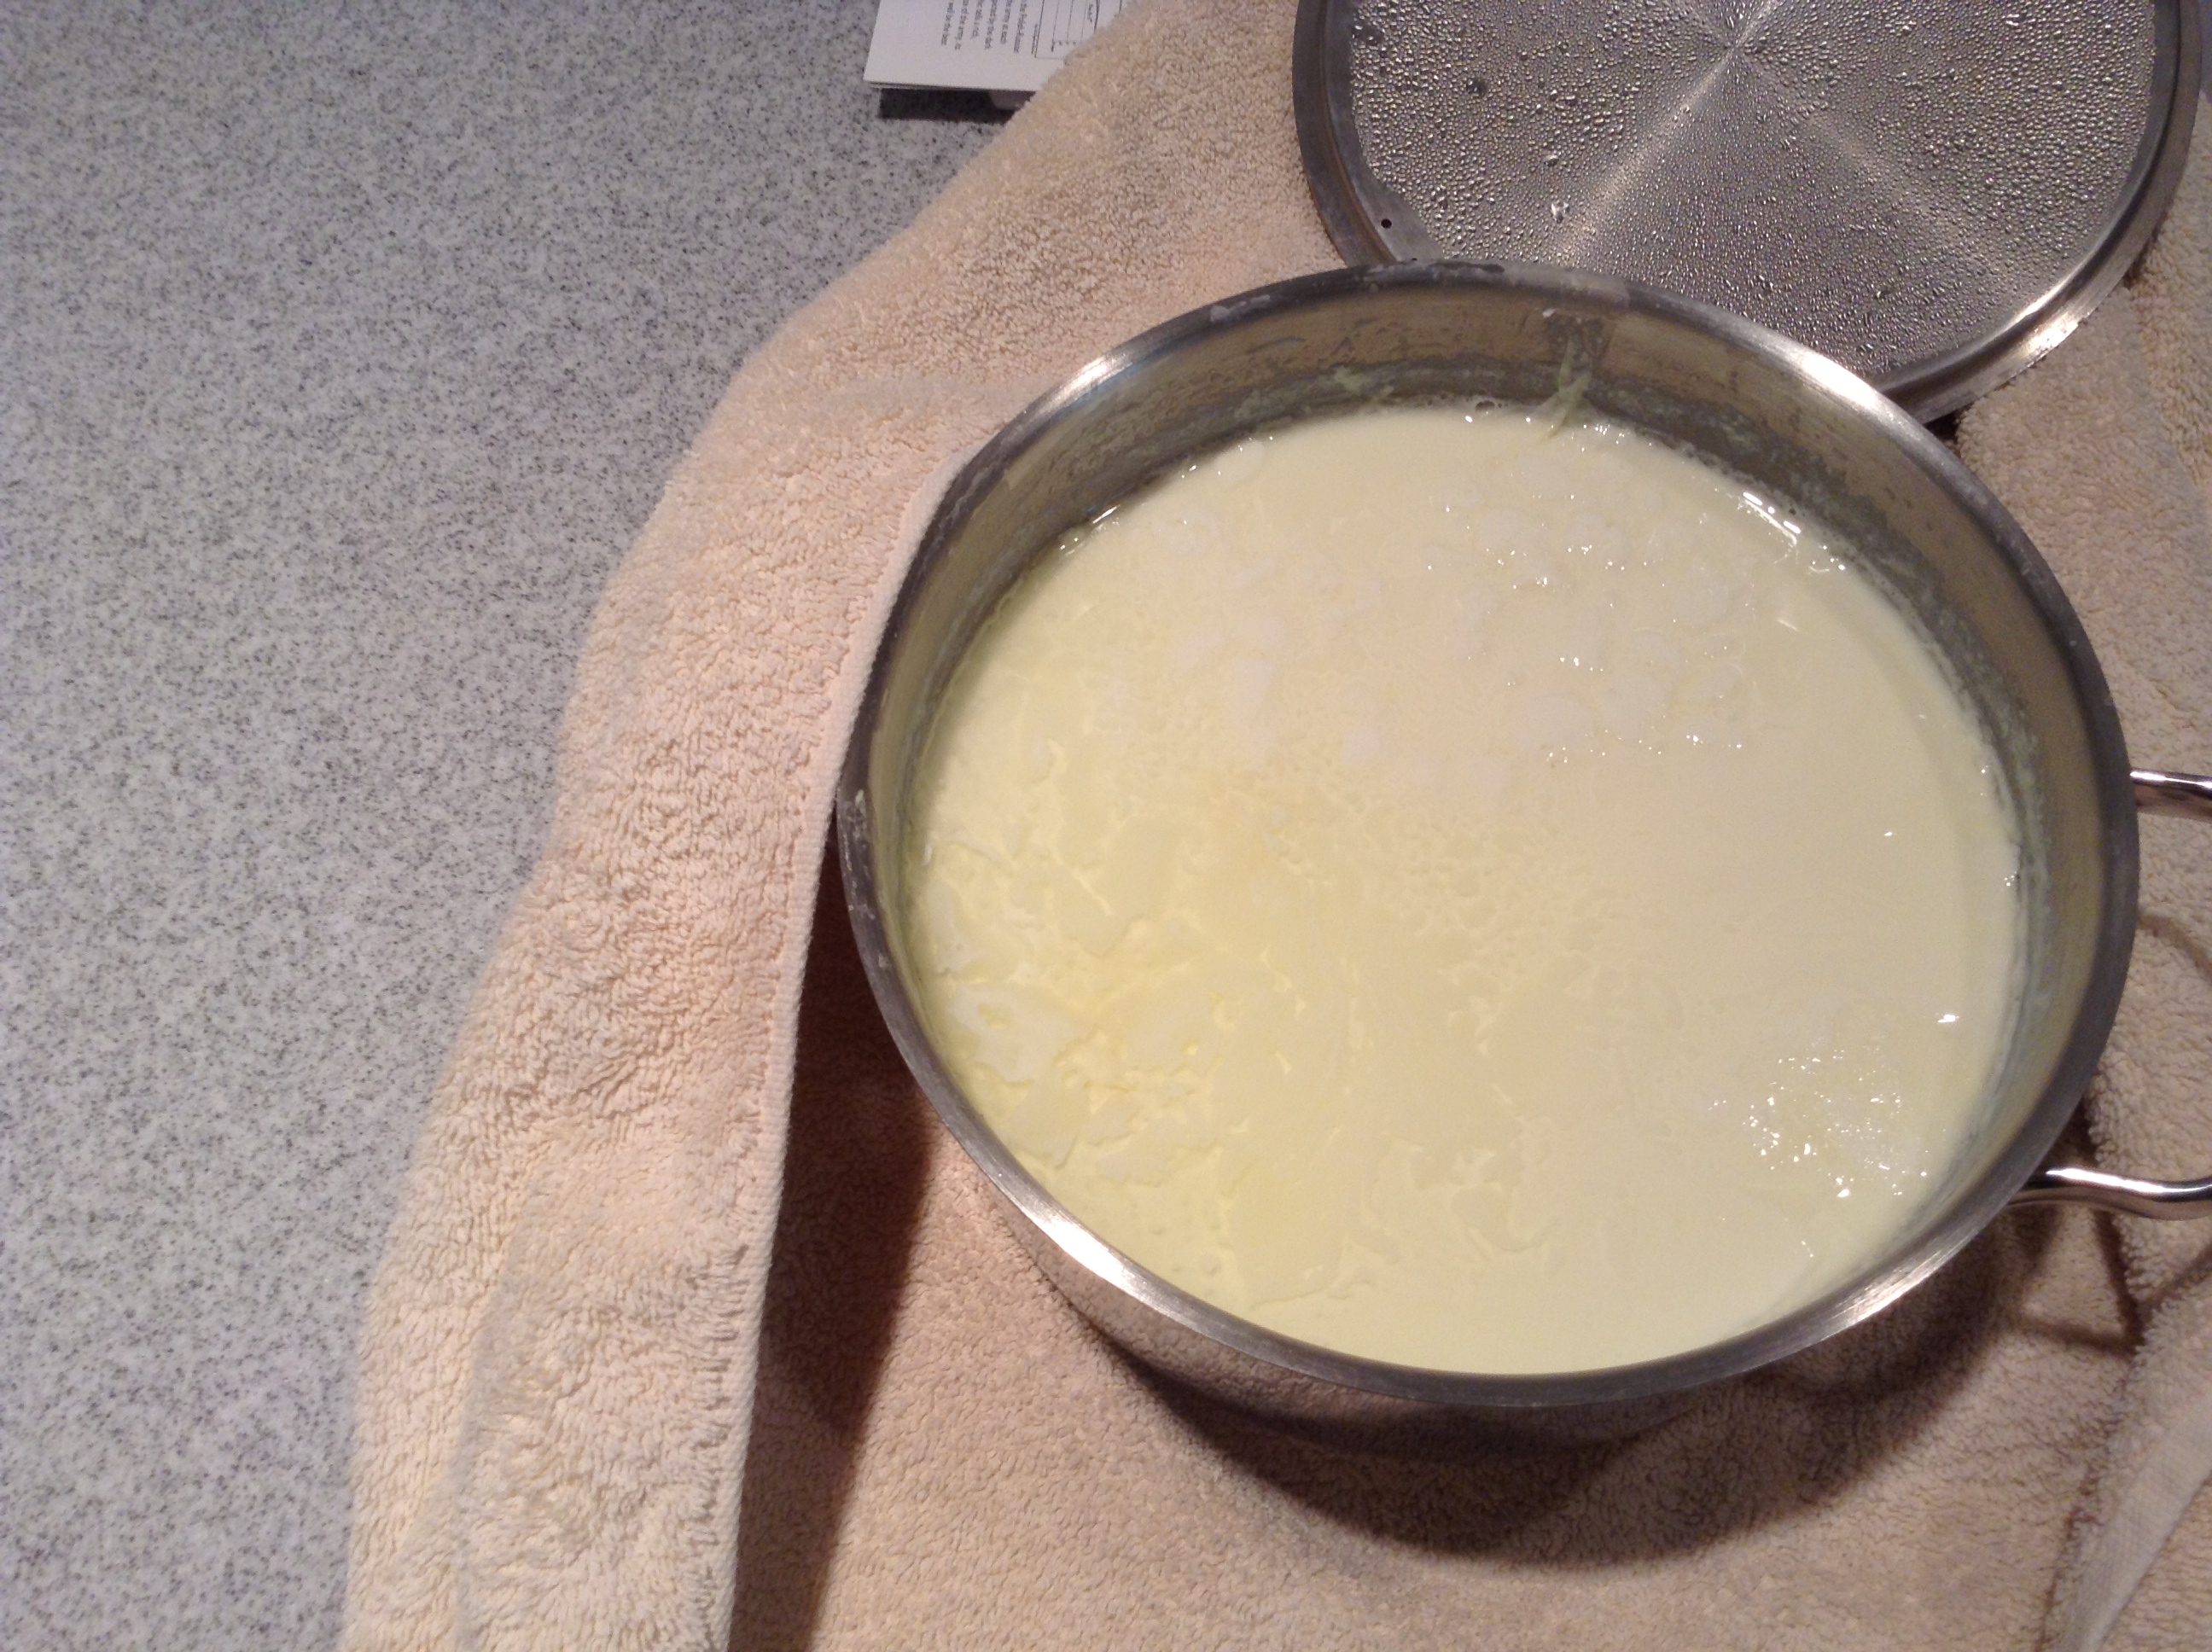
What the yogurt looks like. Notice the slimy, clear liquid on the top.
Step 12 – Gather the yogurt straining equipment. A pot or other similar container to catch the whey is required, a regular wire mesh strainer, and a thin towel.
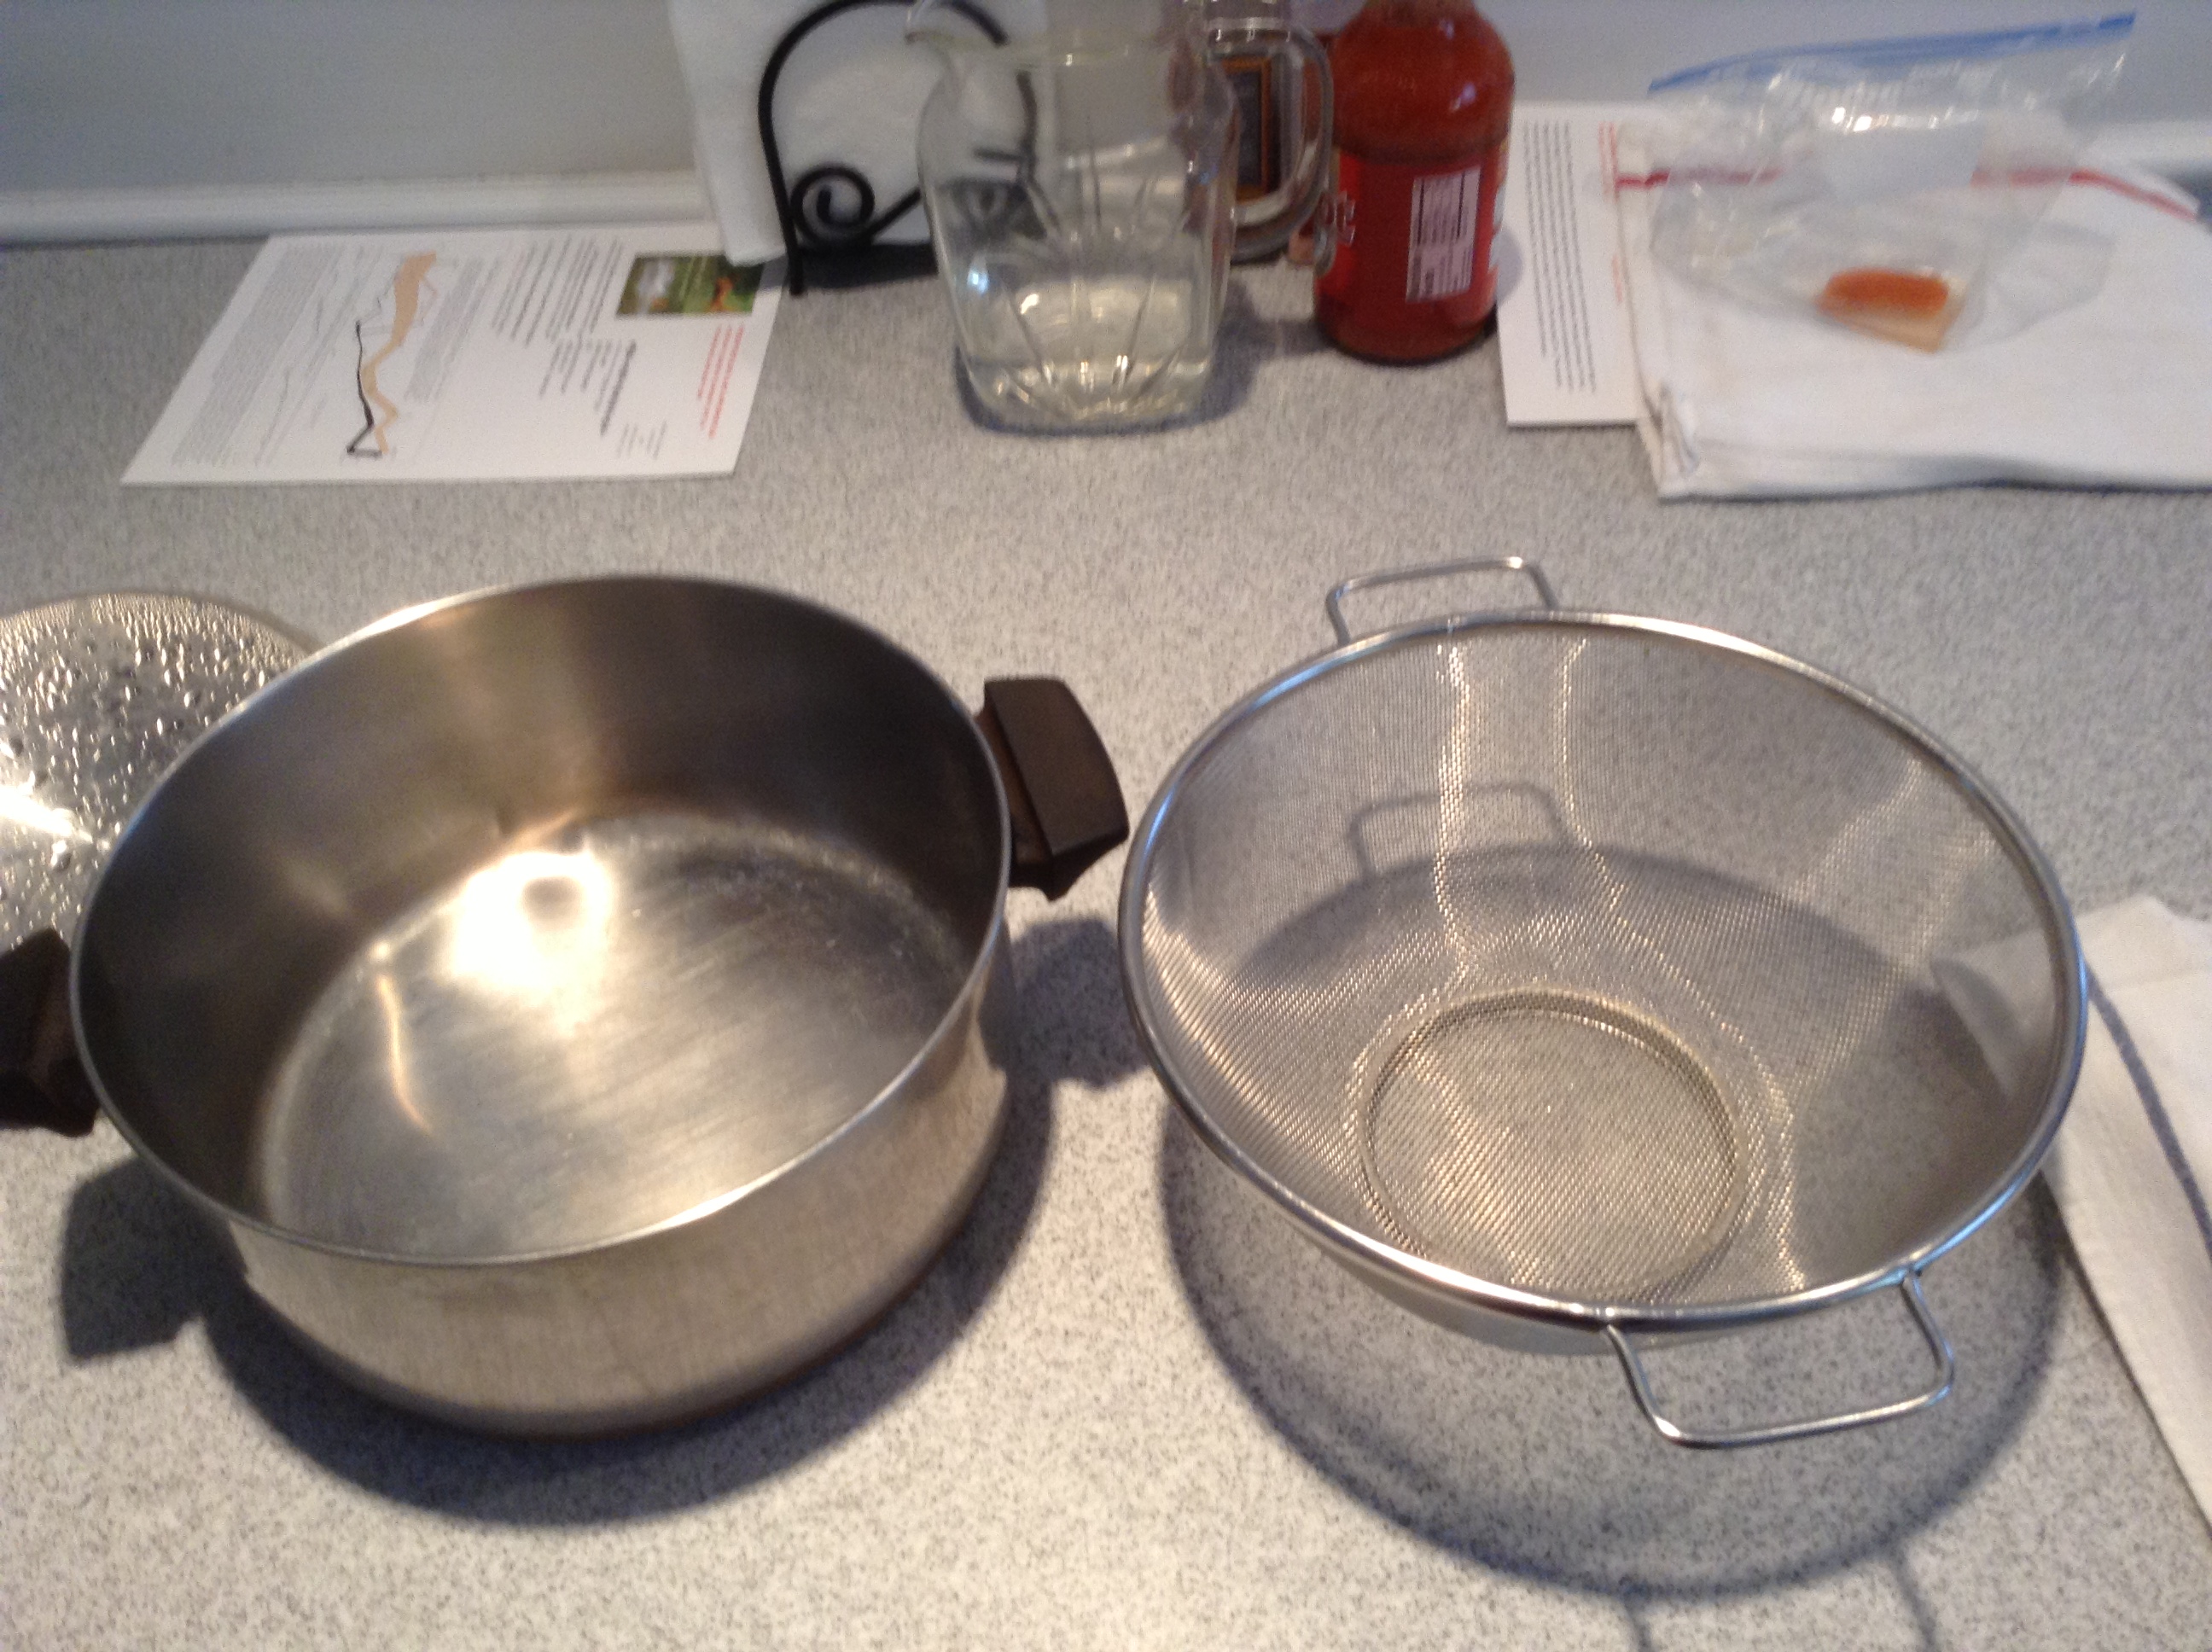
Straining Equipment 1 of 2
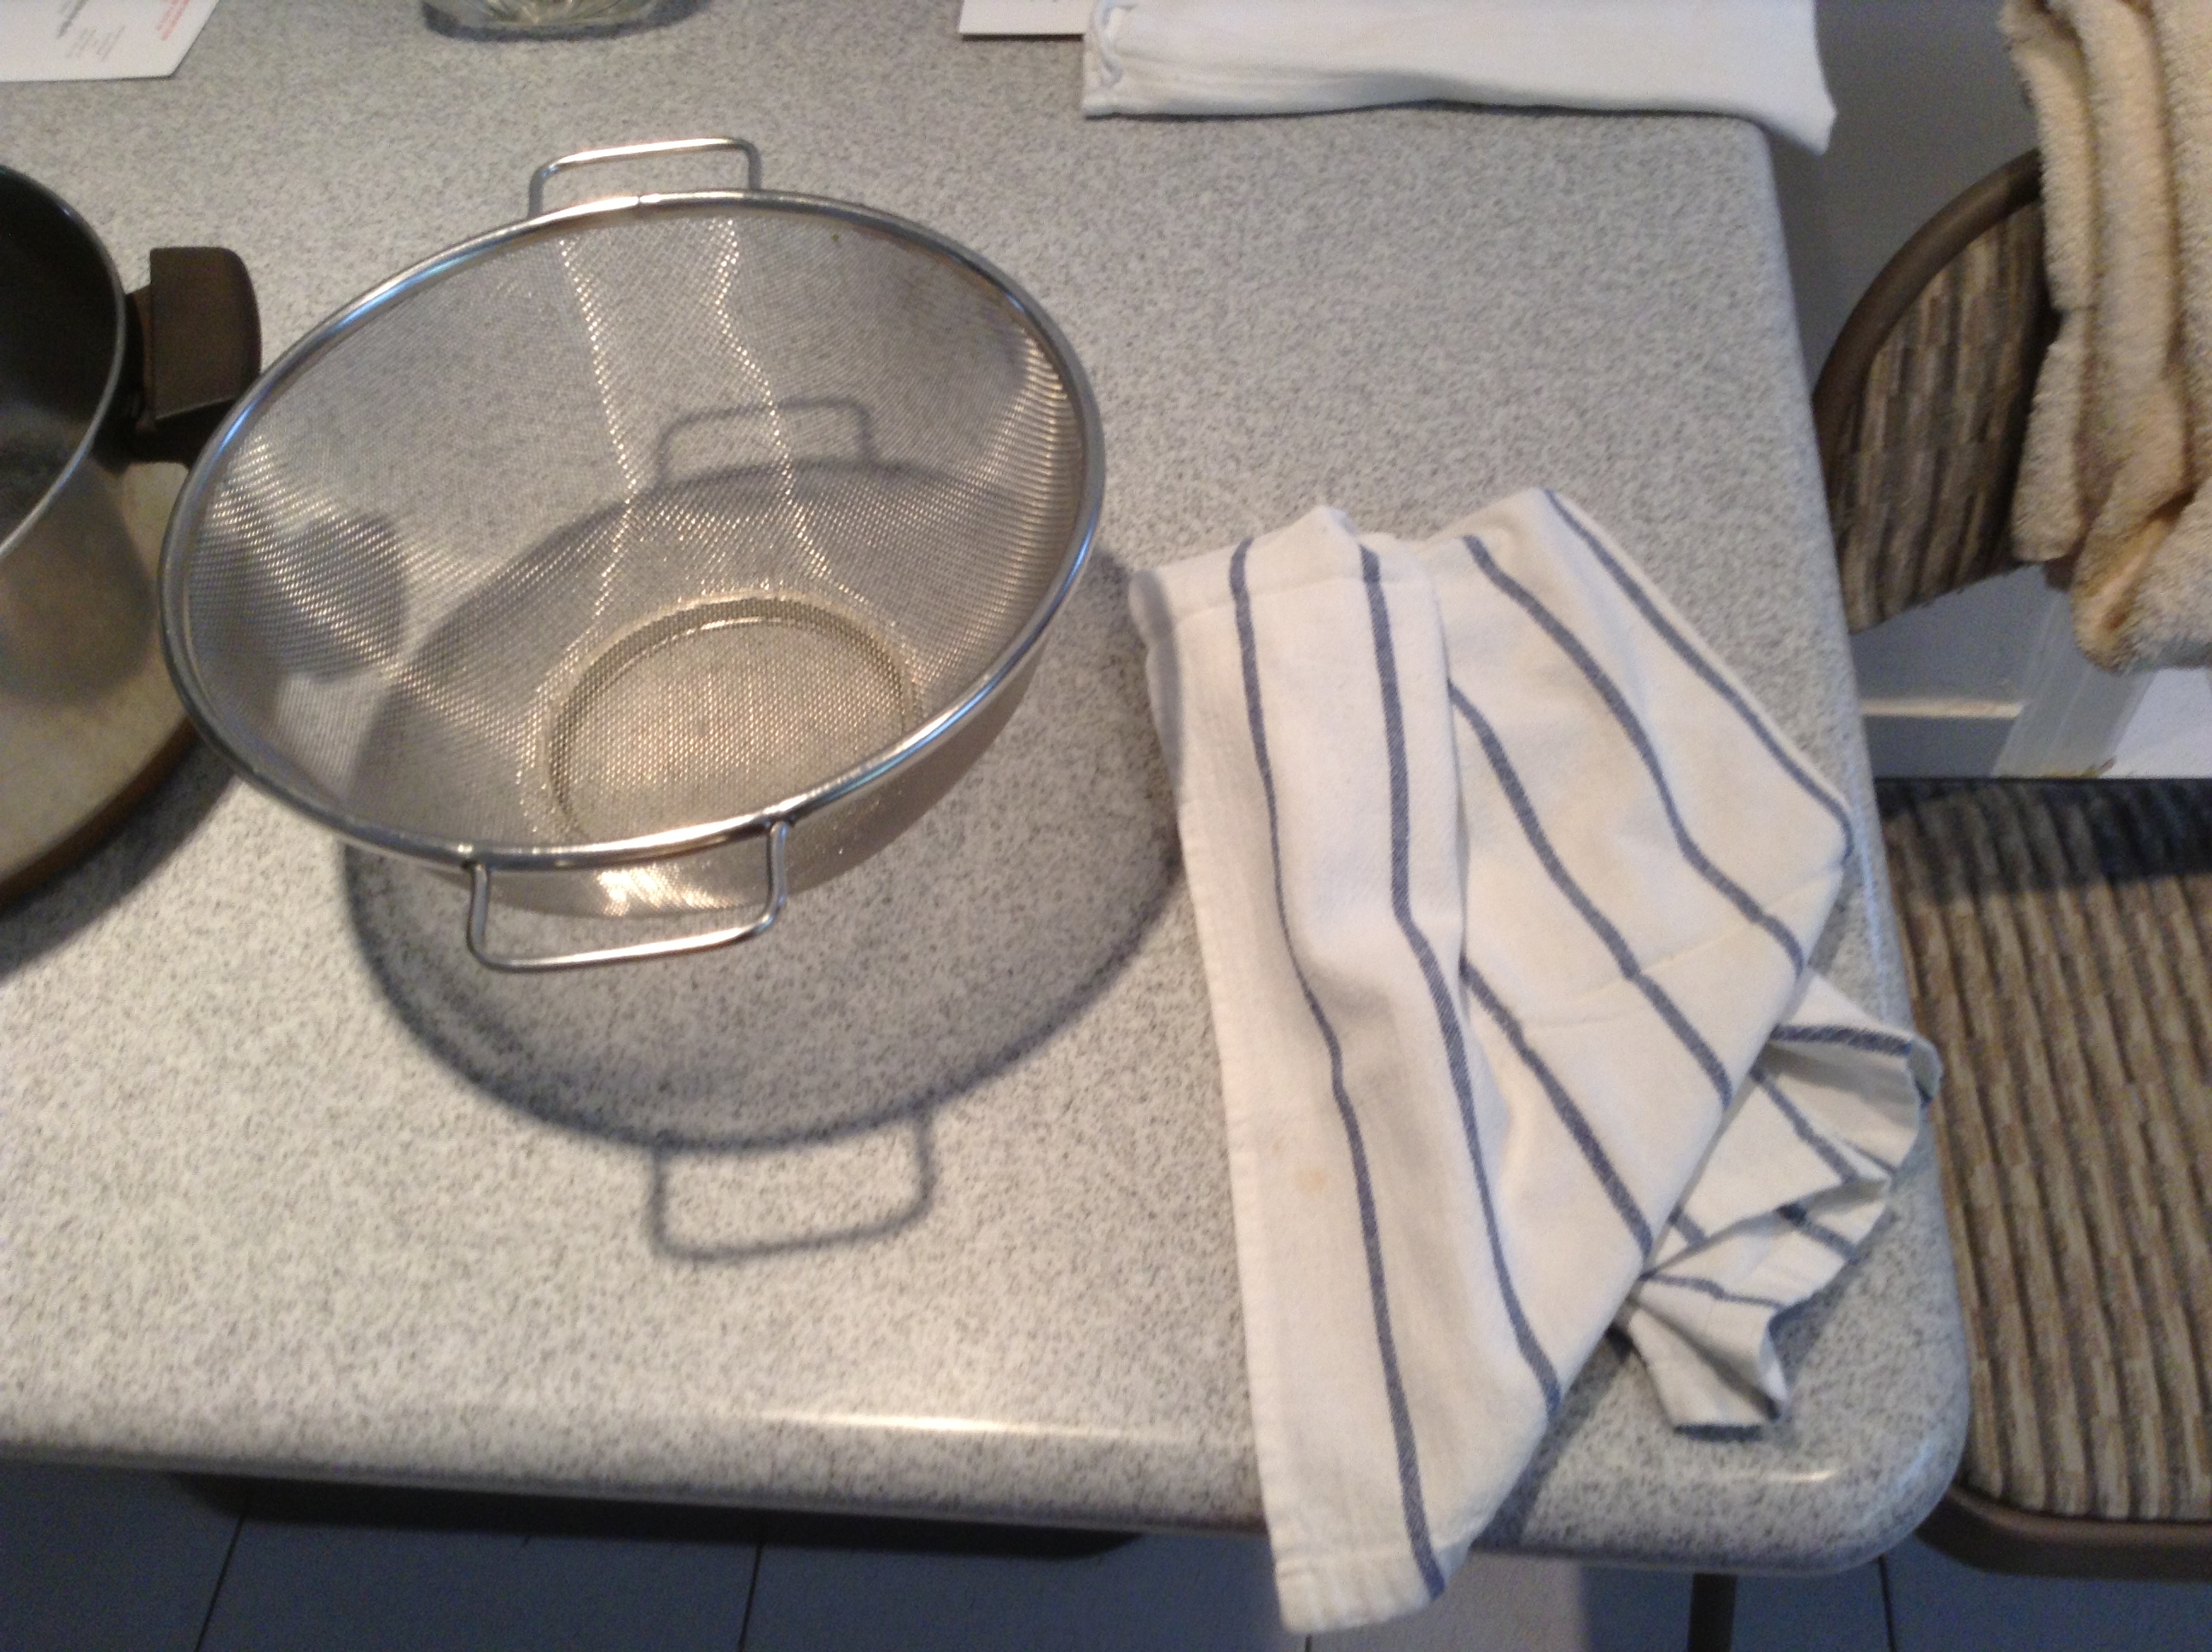
Straining Equipment 2 of 2
Step 13 – Pour the yogurt inside the towel, which is placed over the strainer, which is placed over the pot.
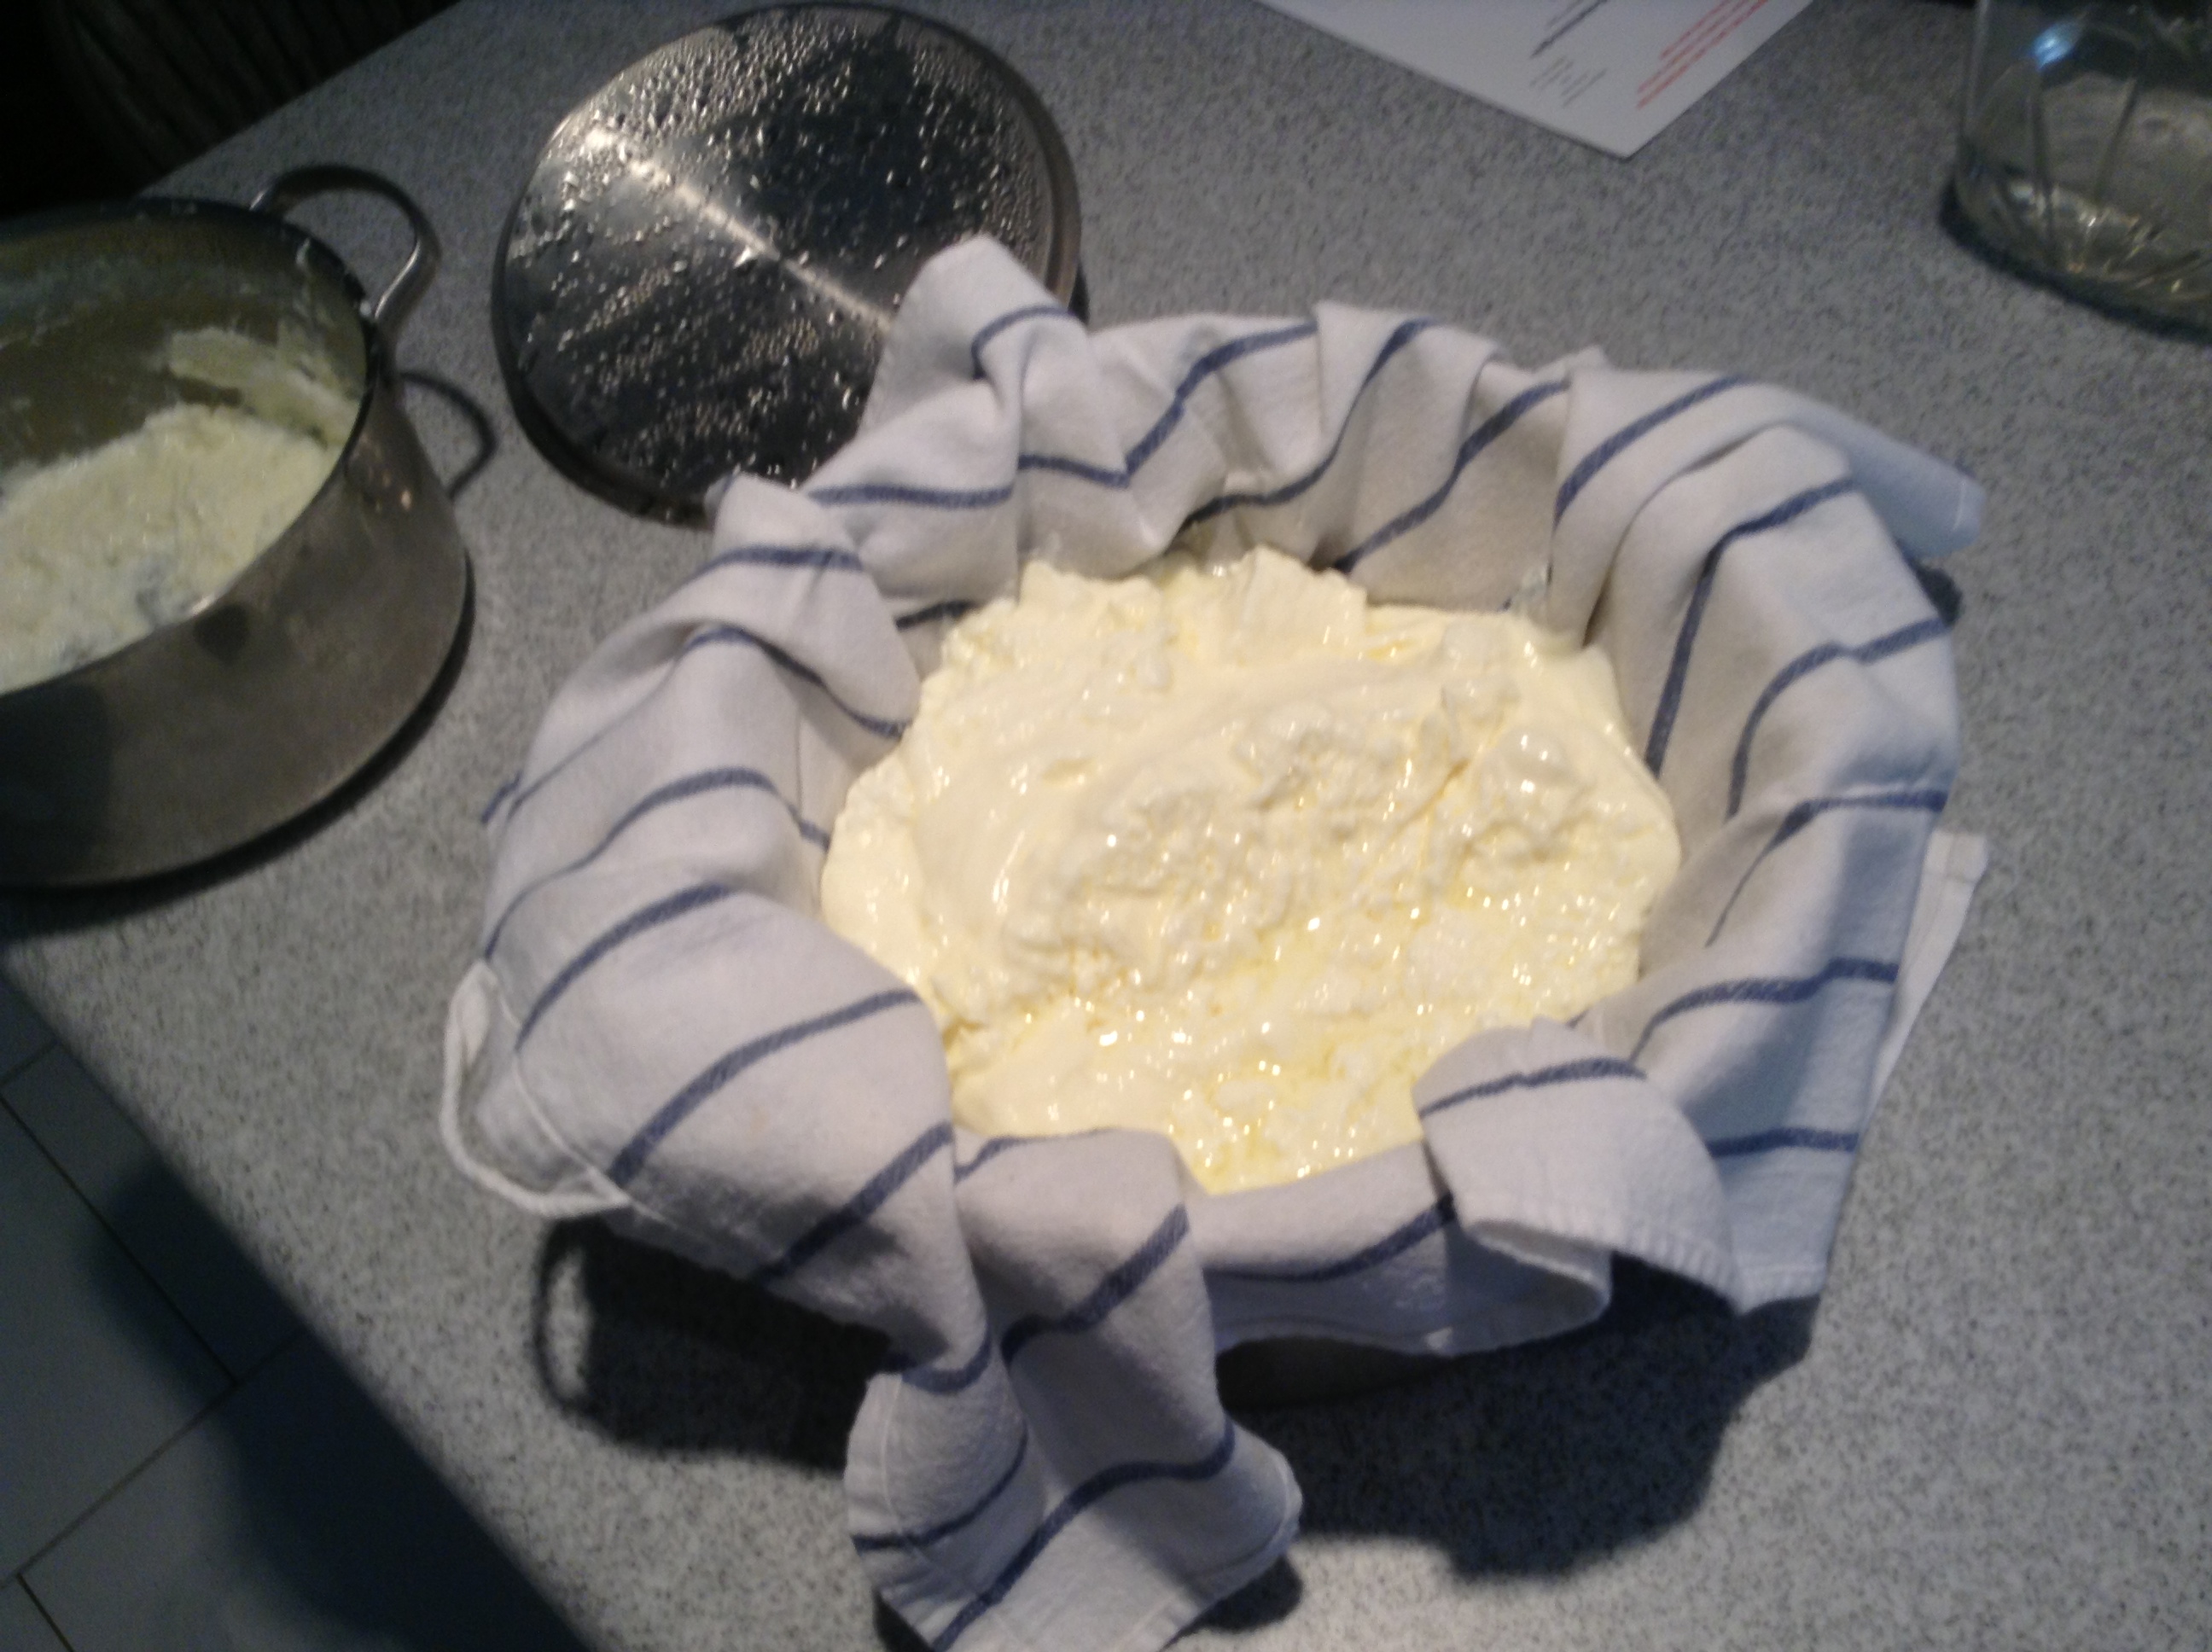
Yogurt has been poured into the towel, which has been placed over the strainer, which has been placed over the pot.
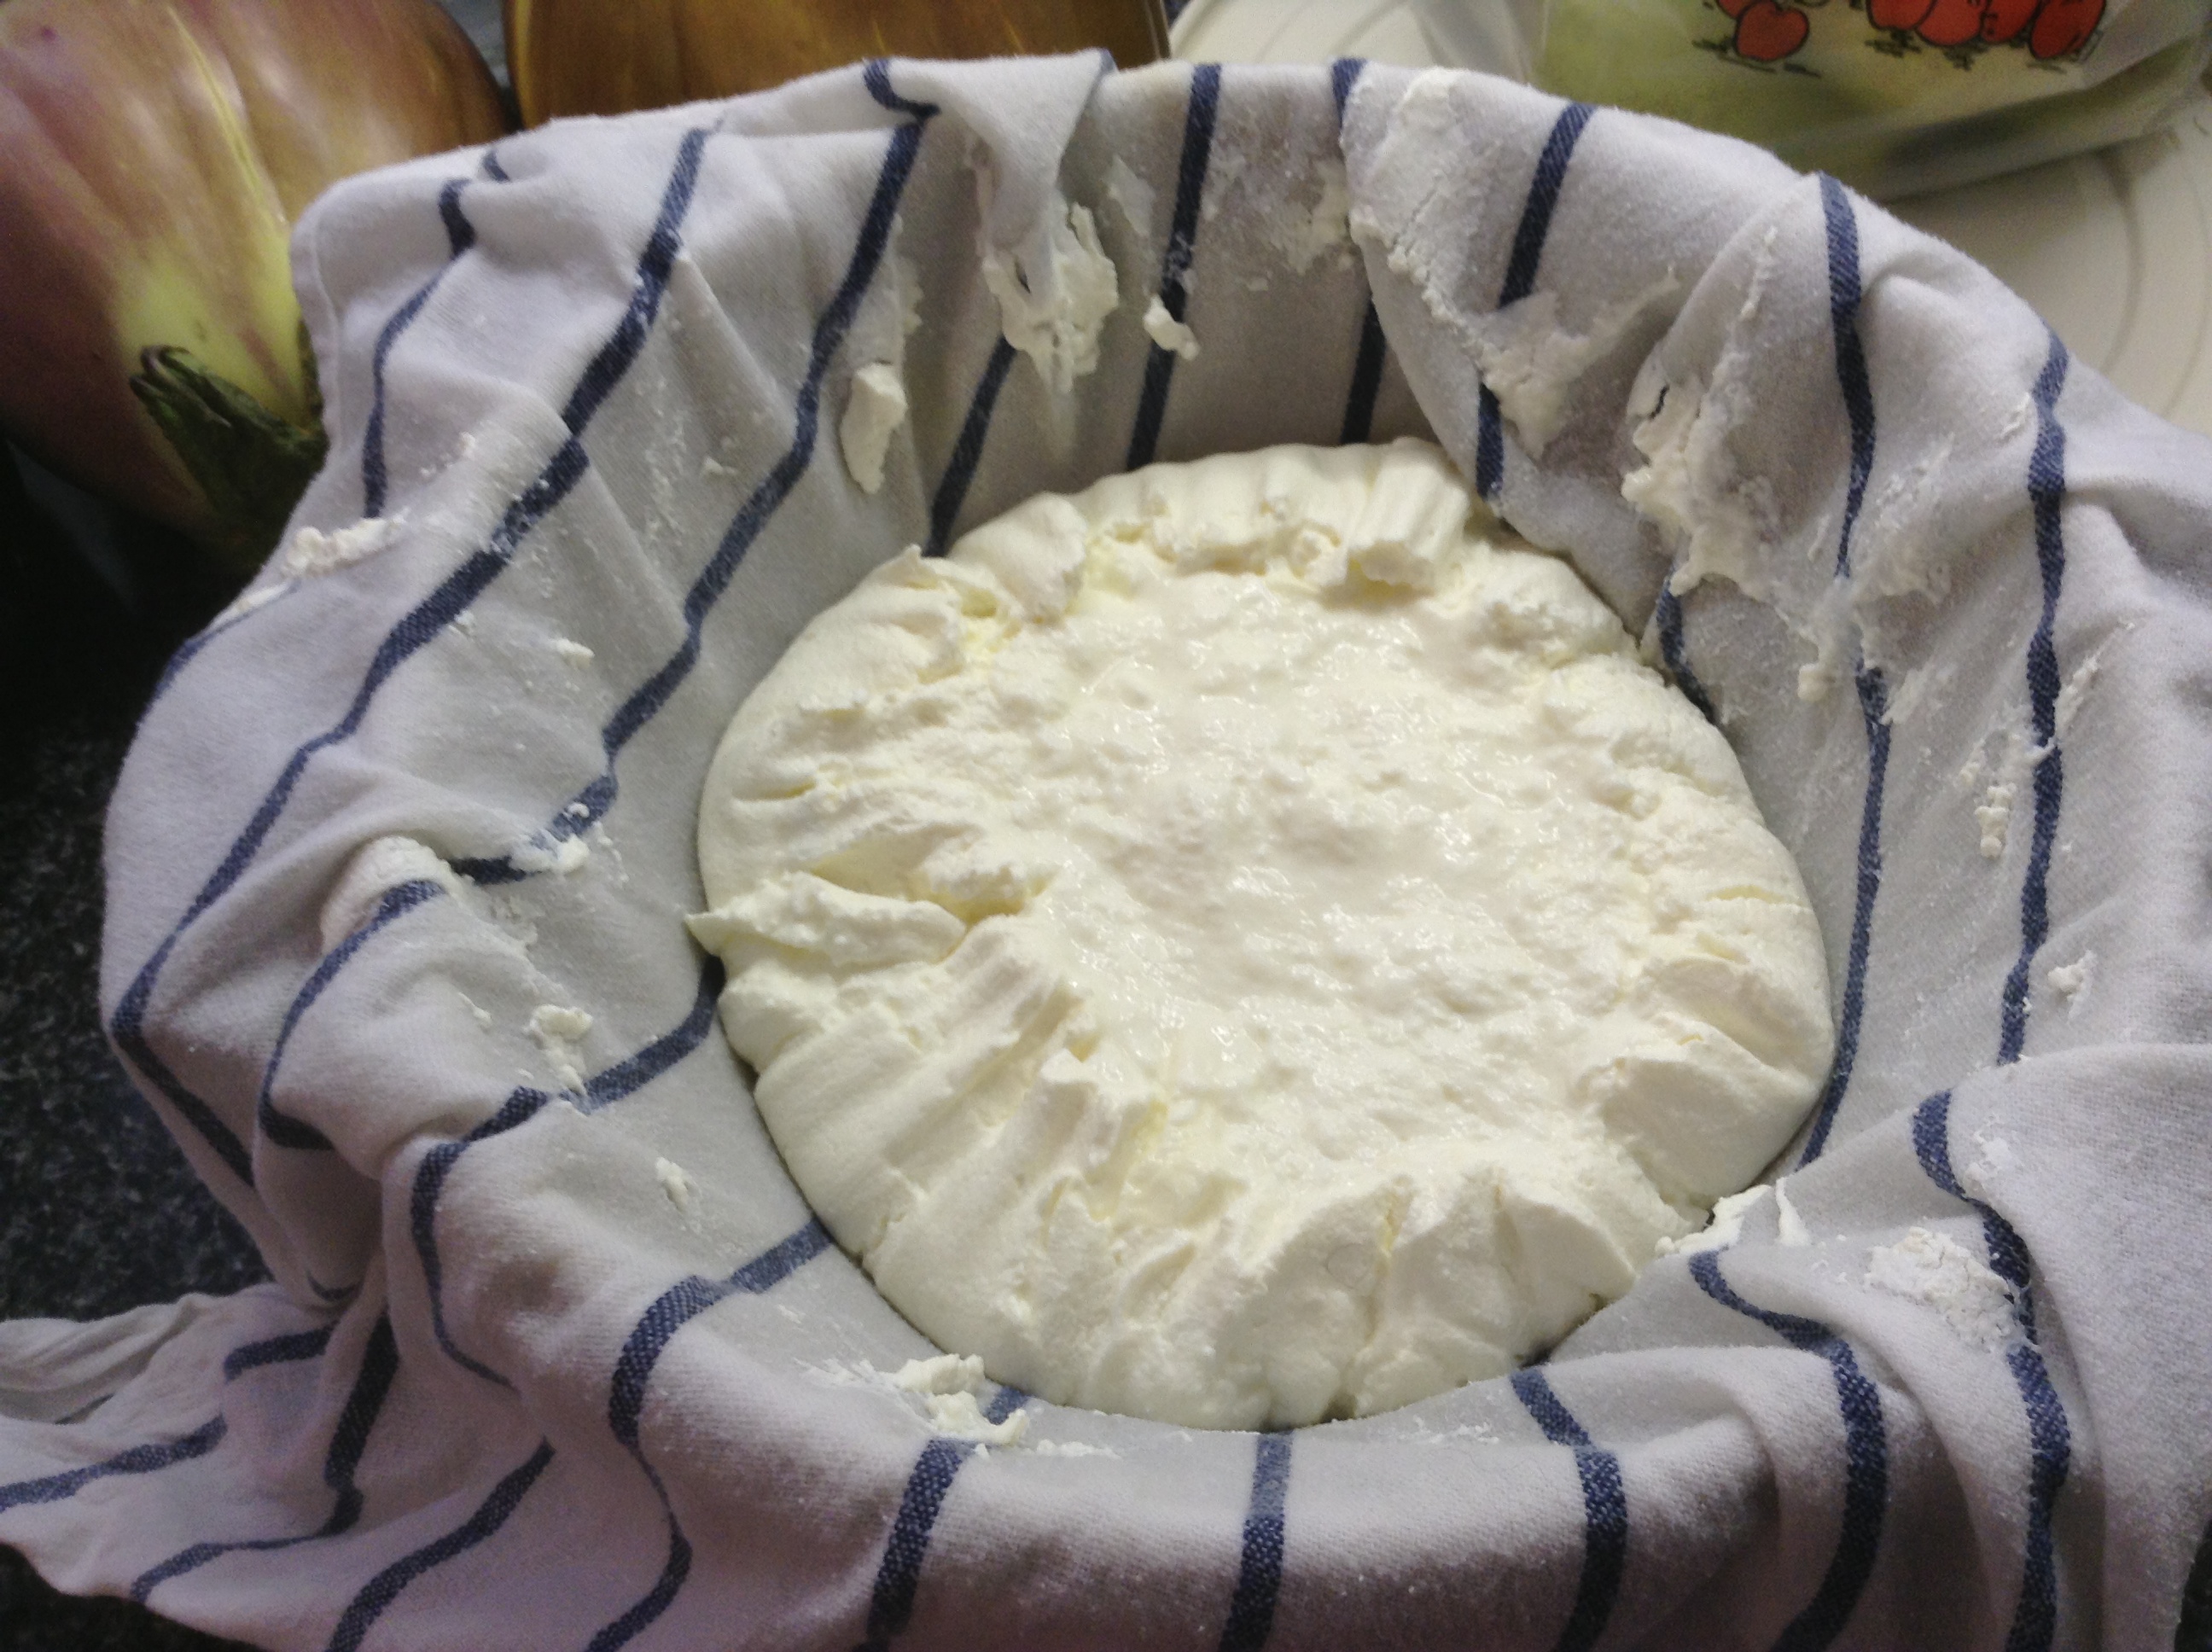
Step 14 – Tie up the towel and hang it up to allow the yogurt to strain.
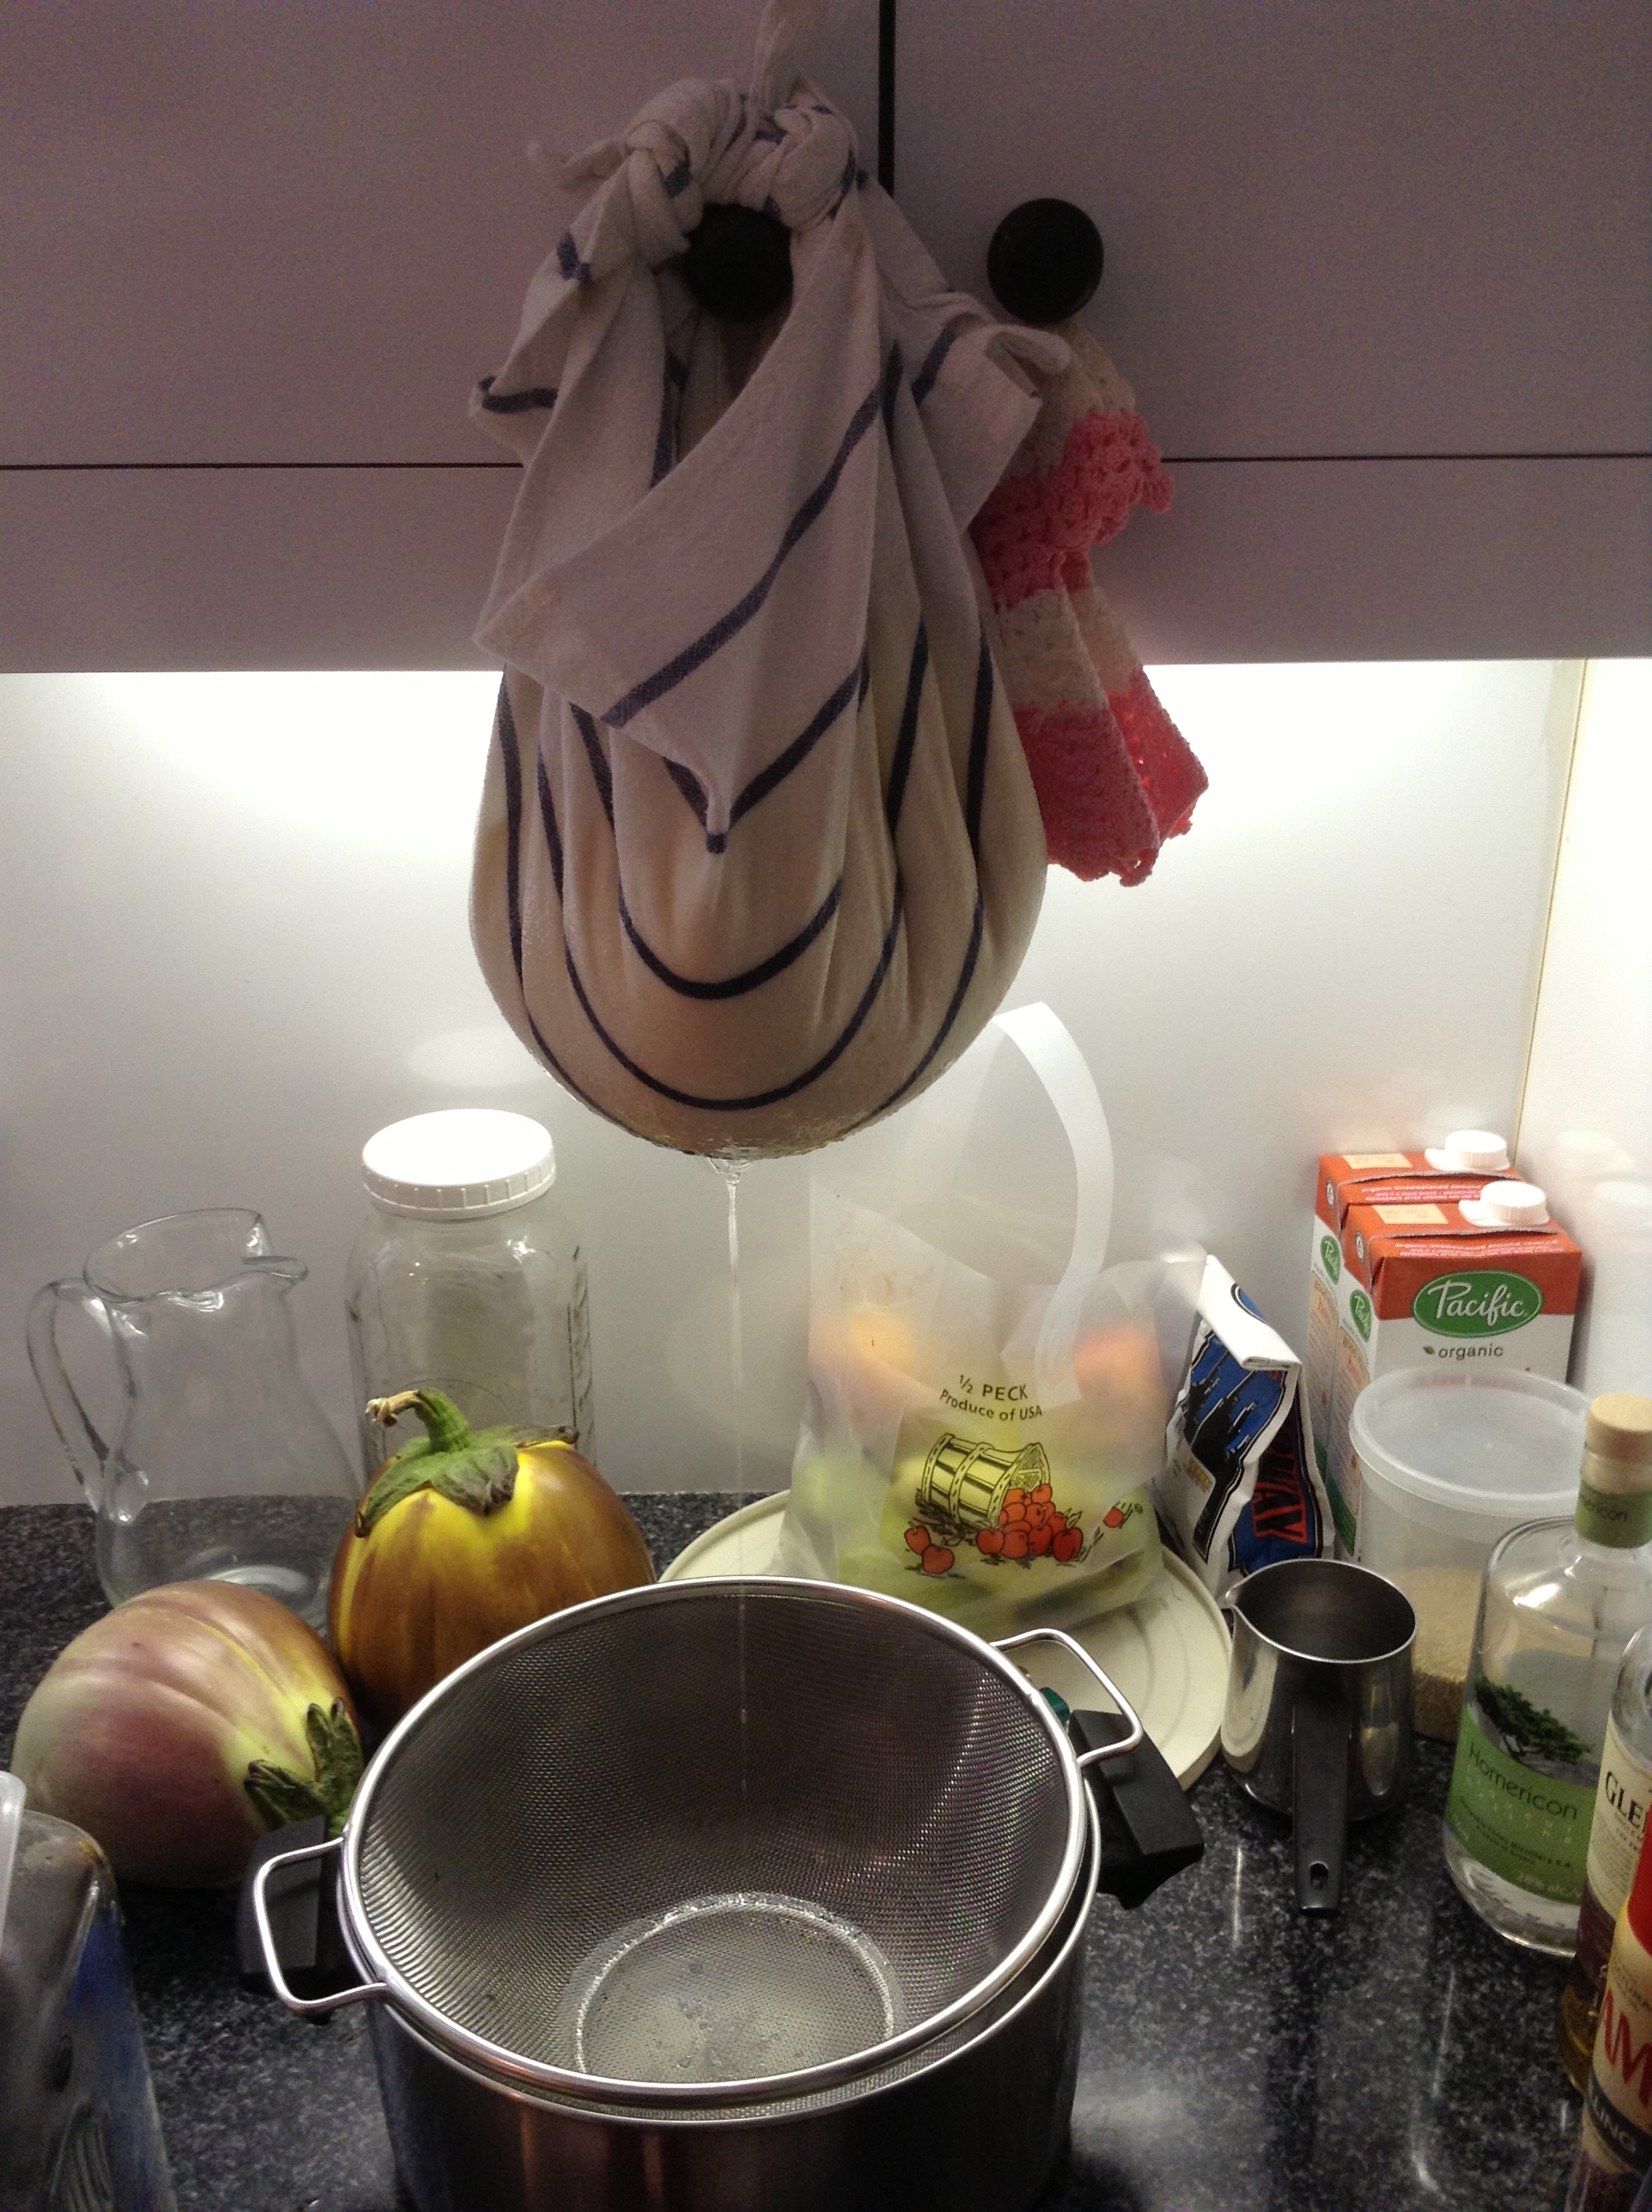
Towel has been tied up and has been hanged up to allow for the excess why to leave the yogurt.
Step 15 – Unwrap the towel after at least 4 hours. The longer you leave the yogurt hanging the more dry the yogurt will be. This all depends on taste. I personally like my yogurt to have some of its juice in it, but I don’t like it to have all of its juice/whey. Of course, if you strain it too much you can always add back some whey and stir it back in. Here is the end result of the batch that I made:
End result
Finish – Amount of yogurt produced:
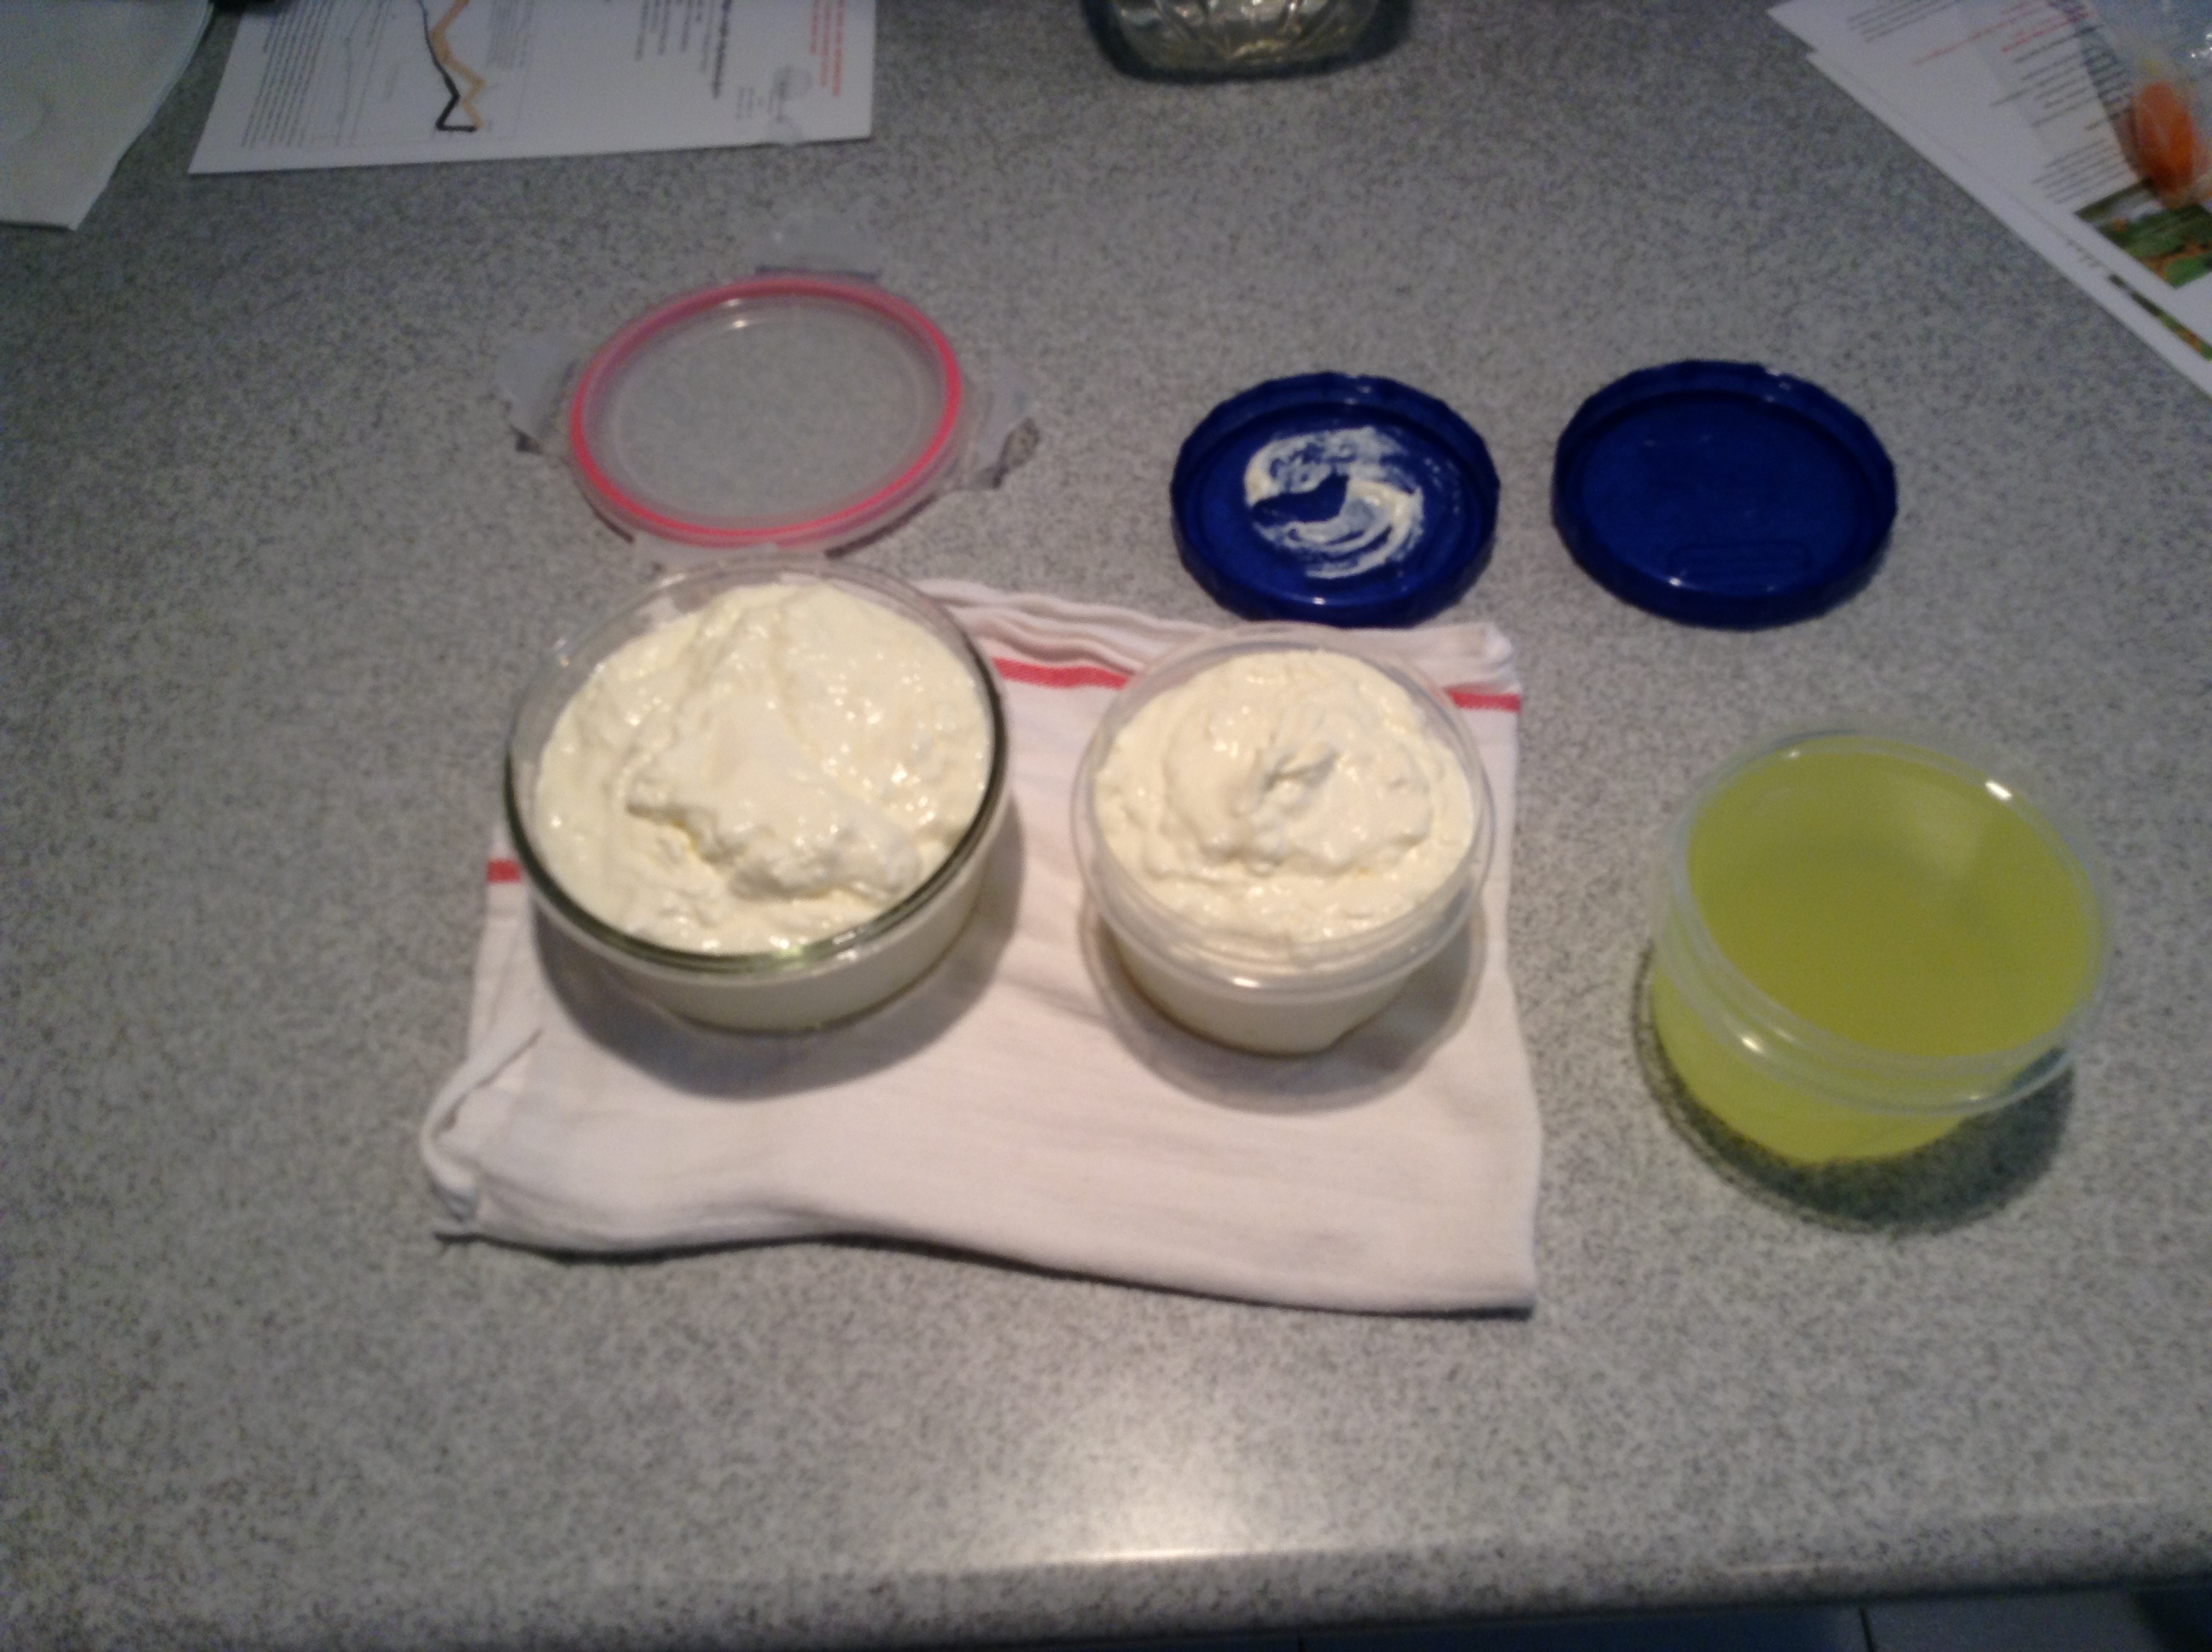
Amount of yogurt and whey produced from a half gallon of milk.